Recipe: Chocolat-Framboise (Glazed Raspberry Chocolate Cake)
Level: Intermediate
Techniques: Chocolate Sponge, Raspberry Compote, Raspberry Syrup, Chocolat Mousse
This week I had my first ever request to bake a cake for someone because of the creation of this blog and my facebook page. Initially I was flattered, this quickly turned to fear. What would I make? Would it look good enough? Would it be edible?
I decided upon this recipe and it is the first cake I have now made twice. I had to make it a second time partly because I wanted to know what it actually tasted like, but also because I had a lot of raspberries left over (a multi-buy deal too good to ignore) and I wanted to practice my decorations/techniques.
I couldn’t find anything out about this recipe, so no interesting tidbits or historical facts to the blog this week. The marriage of chocolate and raspberry however is a classic in its own right and I can say that it definitely works in this recipe.
Like so many of the recipes in the book there are a great deal of separate components to make for the assembly of the cake at the end. Nothing in this recipe needs freezing individually, instead the whole cake is chilled at the end. So first, like nearly all of the recipes I began by making the cake.
A fatless sponge is made by whipping egg whites and then adding sugar, egg yolks, flour and cocoa powder. This cake recipe is a bit different as it’s the first layer cake that I’ve had to pipe into the tins. I have no idea why this recipe calls for you to pipe the cake when neither the marronnier or the tiramisu needed piping.

However it makes the resulting cake much more level and even. I think I will try and do it like this in future. A quick 12 minute bake in the oven and the cakes were cooked and left to cool.
I used this time to make the raspberry syrup and the raspberry compote. Both of these were very easy. The syrup was made by heating puréed raspberries, sugar and water on the hob. The compote was even easier, raspberries and raspberry jam mixed together and again heated until the raspberries break down and the sauce thickens.
I put both of these in the fridge to chill and moved on to making the mousse.
This is the first time I have used Lindt cooking chocolate. Normally I use Green & Blacks or Menier. Whilst the taste of the Lindt chocolate was excellent, I found it much less stable than the other chocolates. When melting and combining it with other ingredients, it always seemed like it was moments away from splitting or becoming grainy.
Has anyone else had this problem?
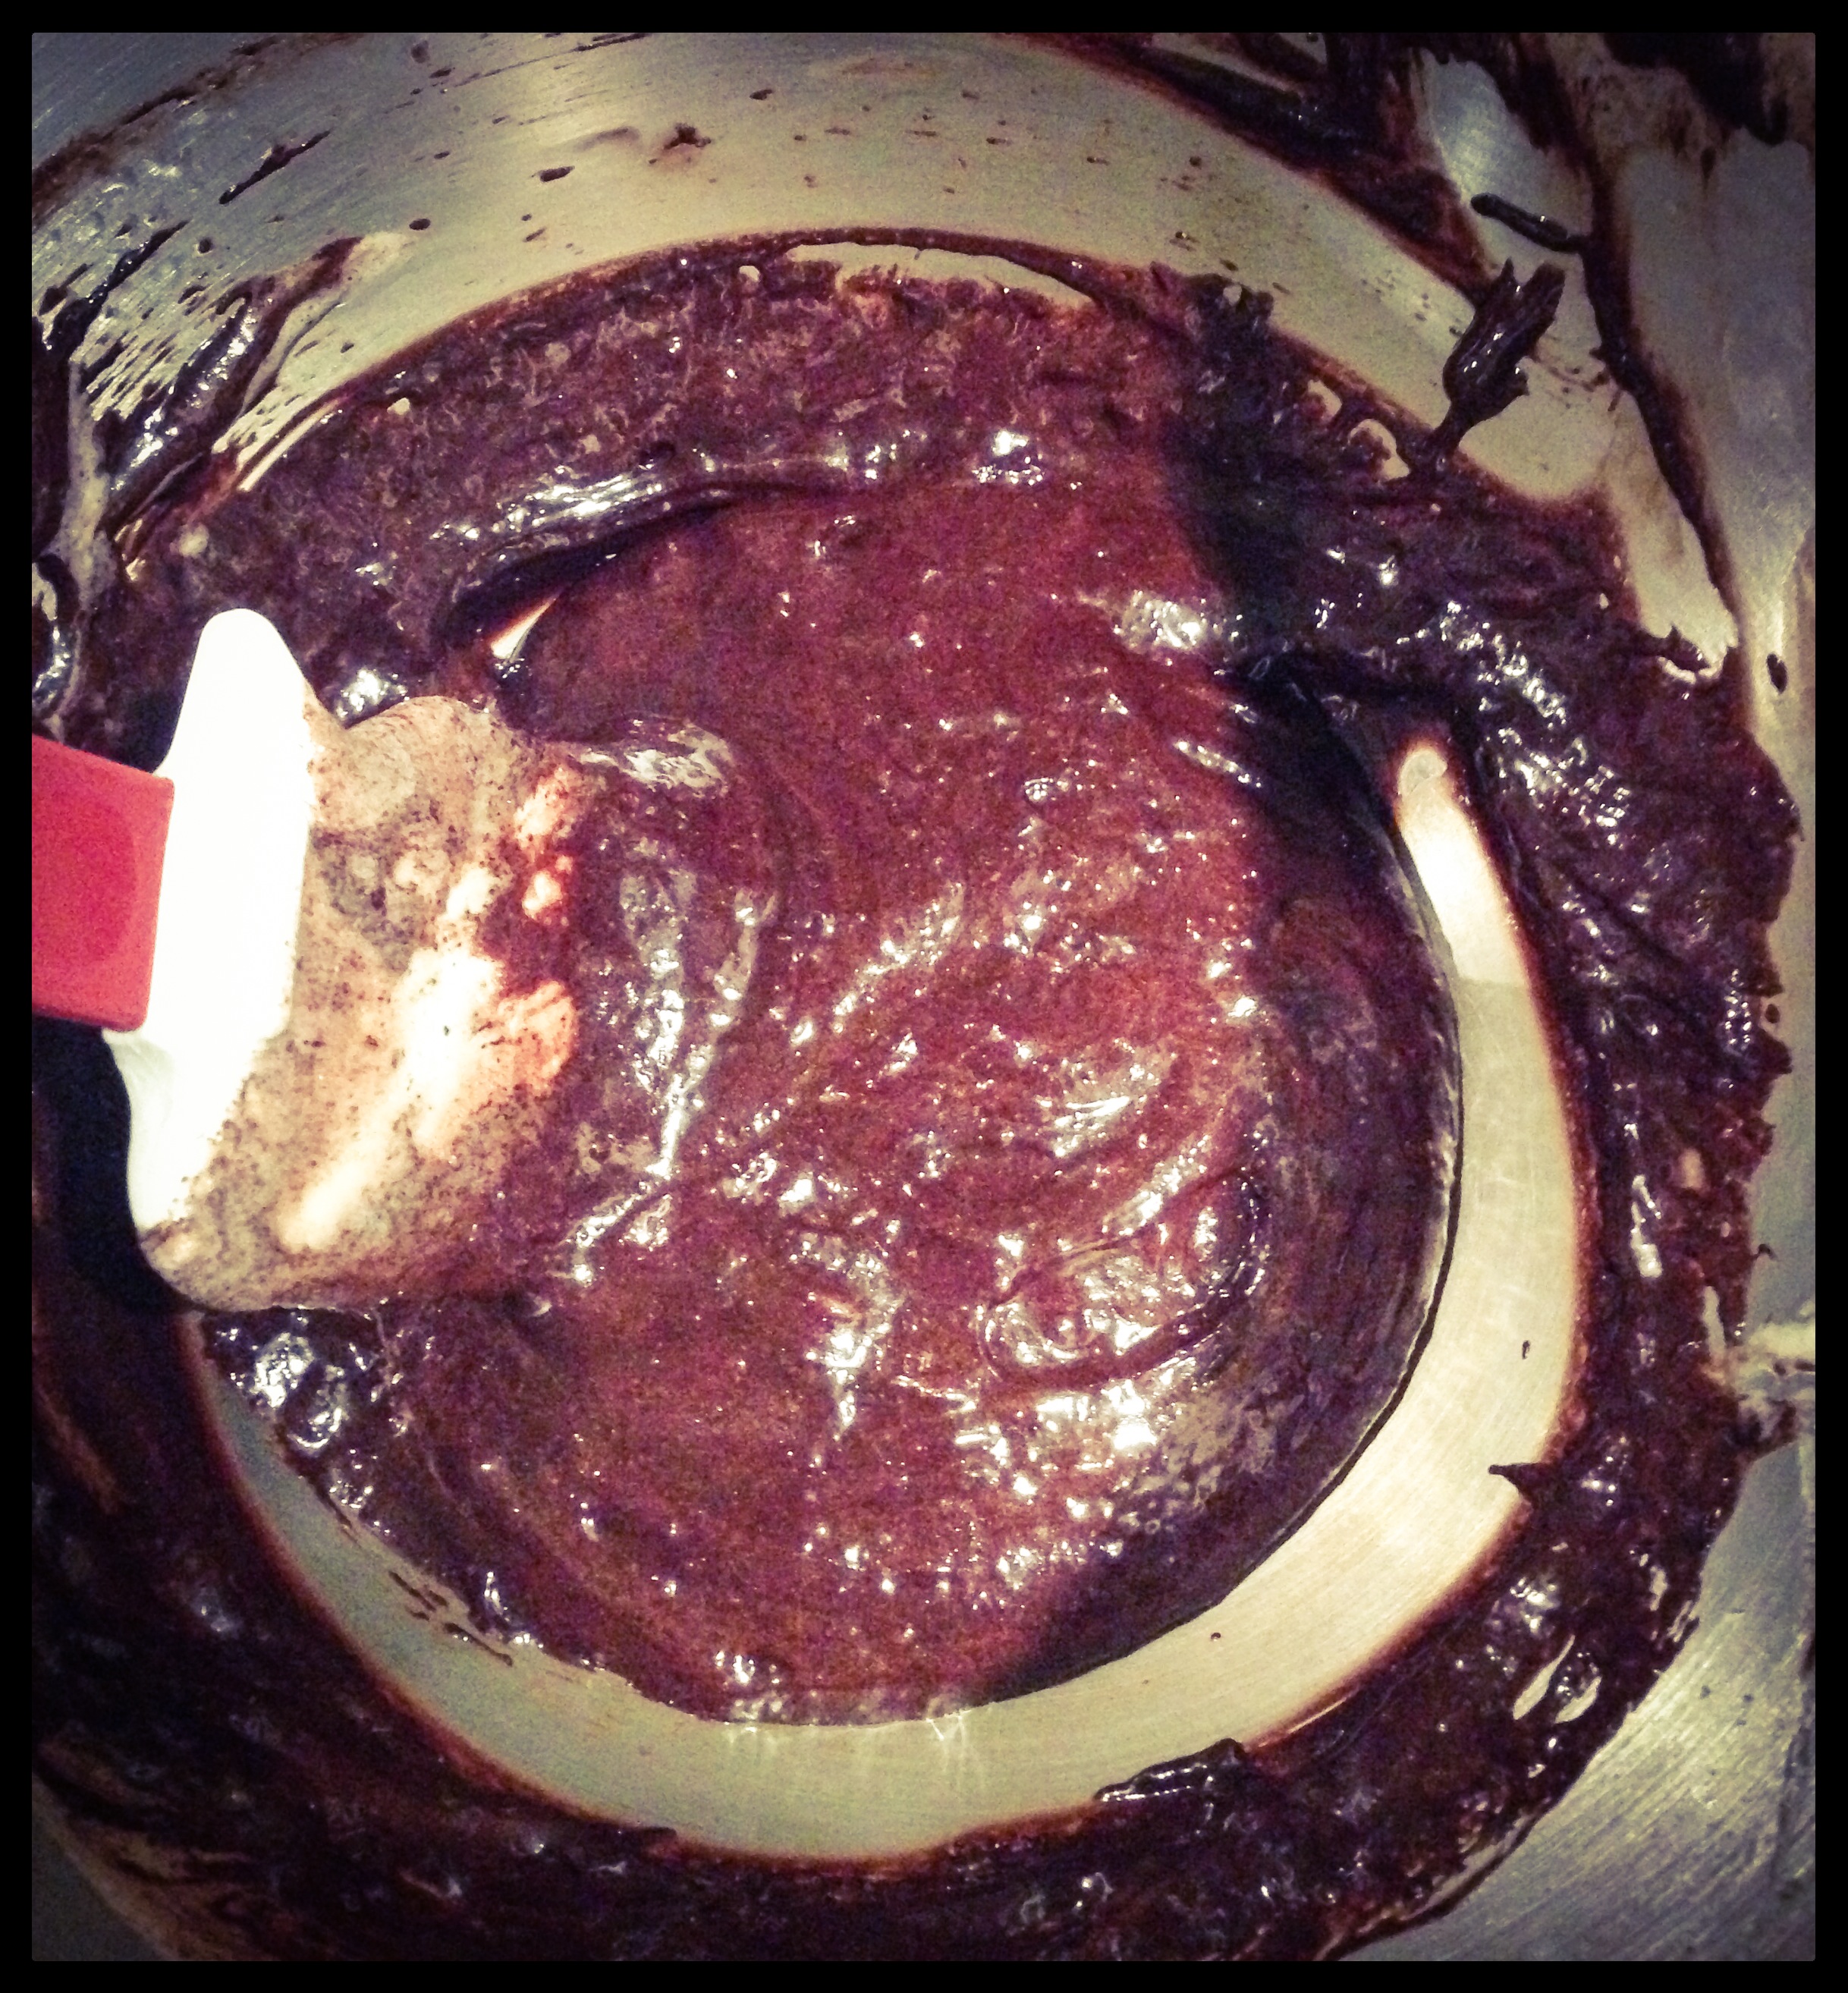
The mousse in this recipe I had made before, when creating the chocolate mousse cake for the decorations chapter. Egg yolks and one whole egg are beaten in a food mixer and a sugar syrup is beaten in until it becomes light and fluffy. To this some melted chocolate is added.
This is where I got a bit worried, both of the times that I made this cake it really felt as though the melted chocolate had knocked all of the air out of the egg yolks and the texture really didn’t look appealing.
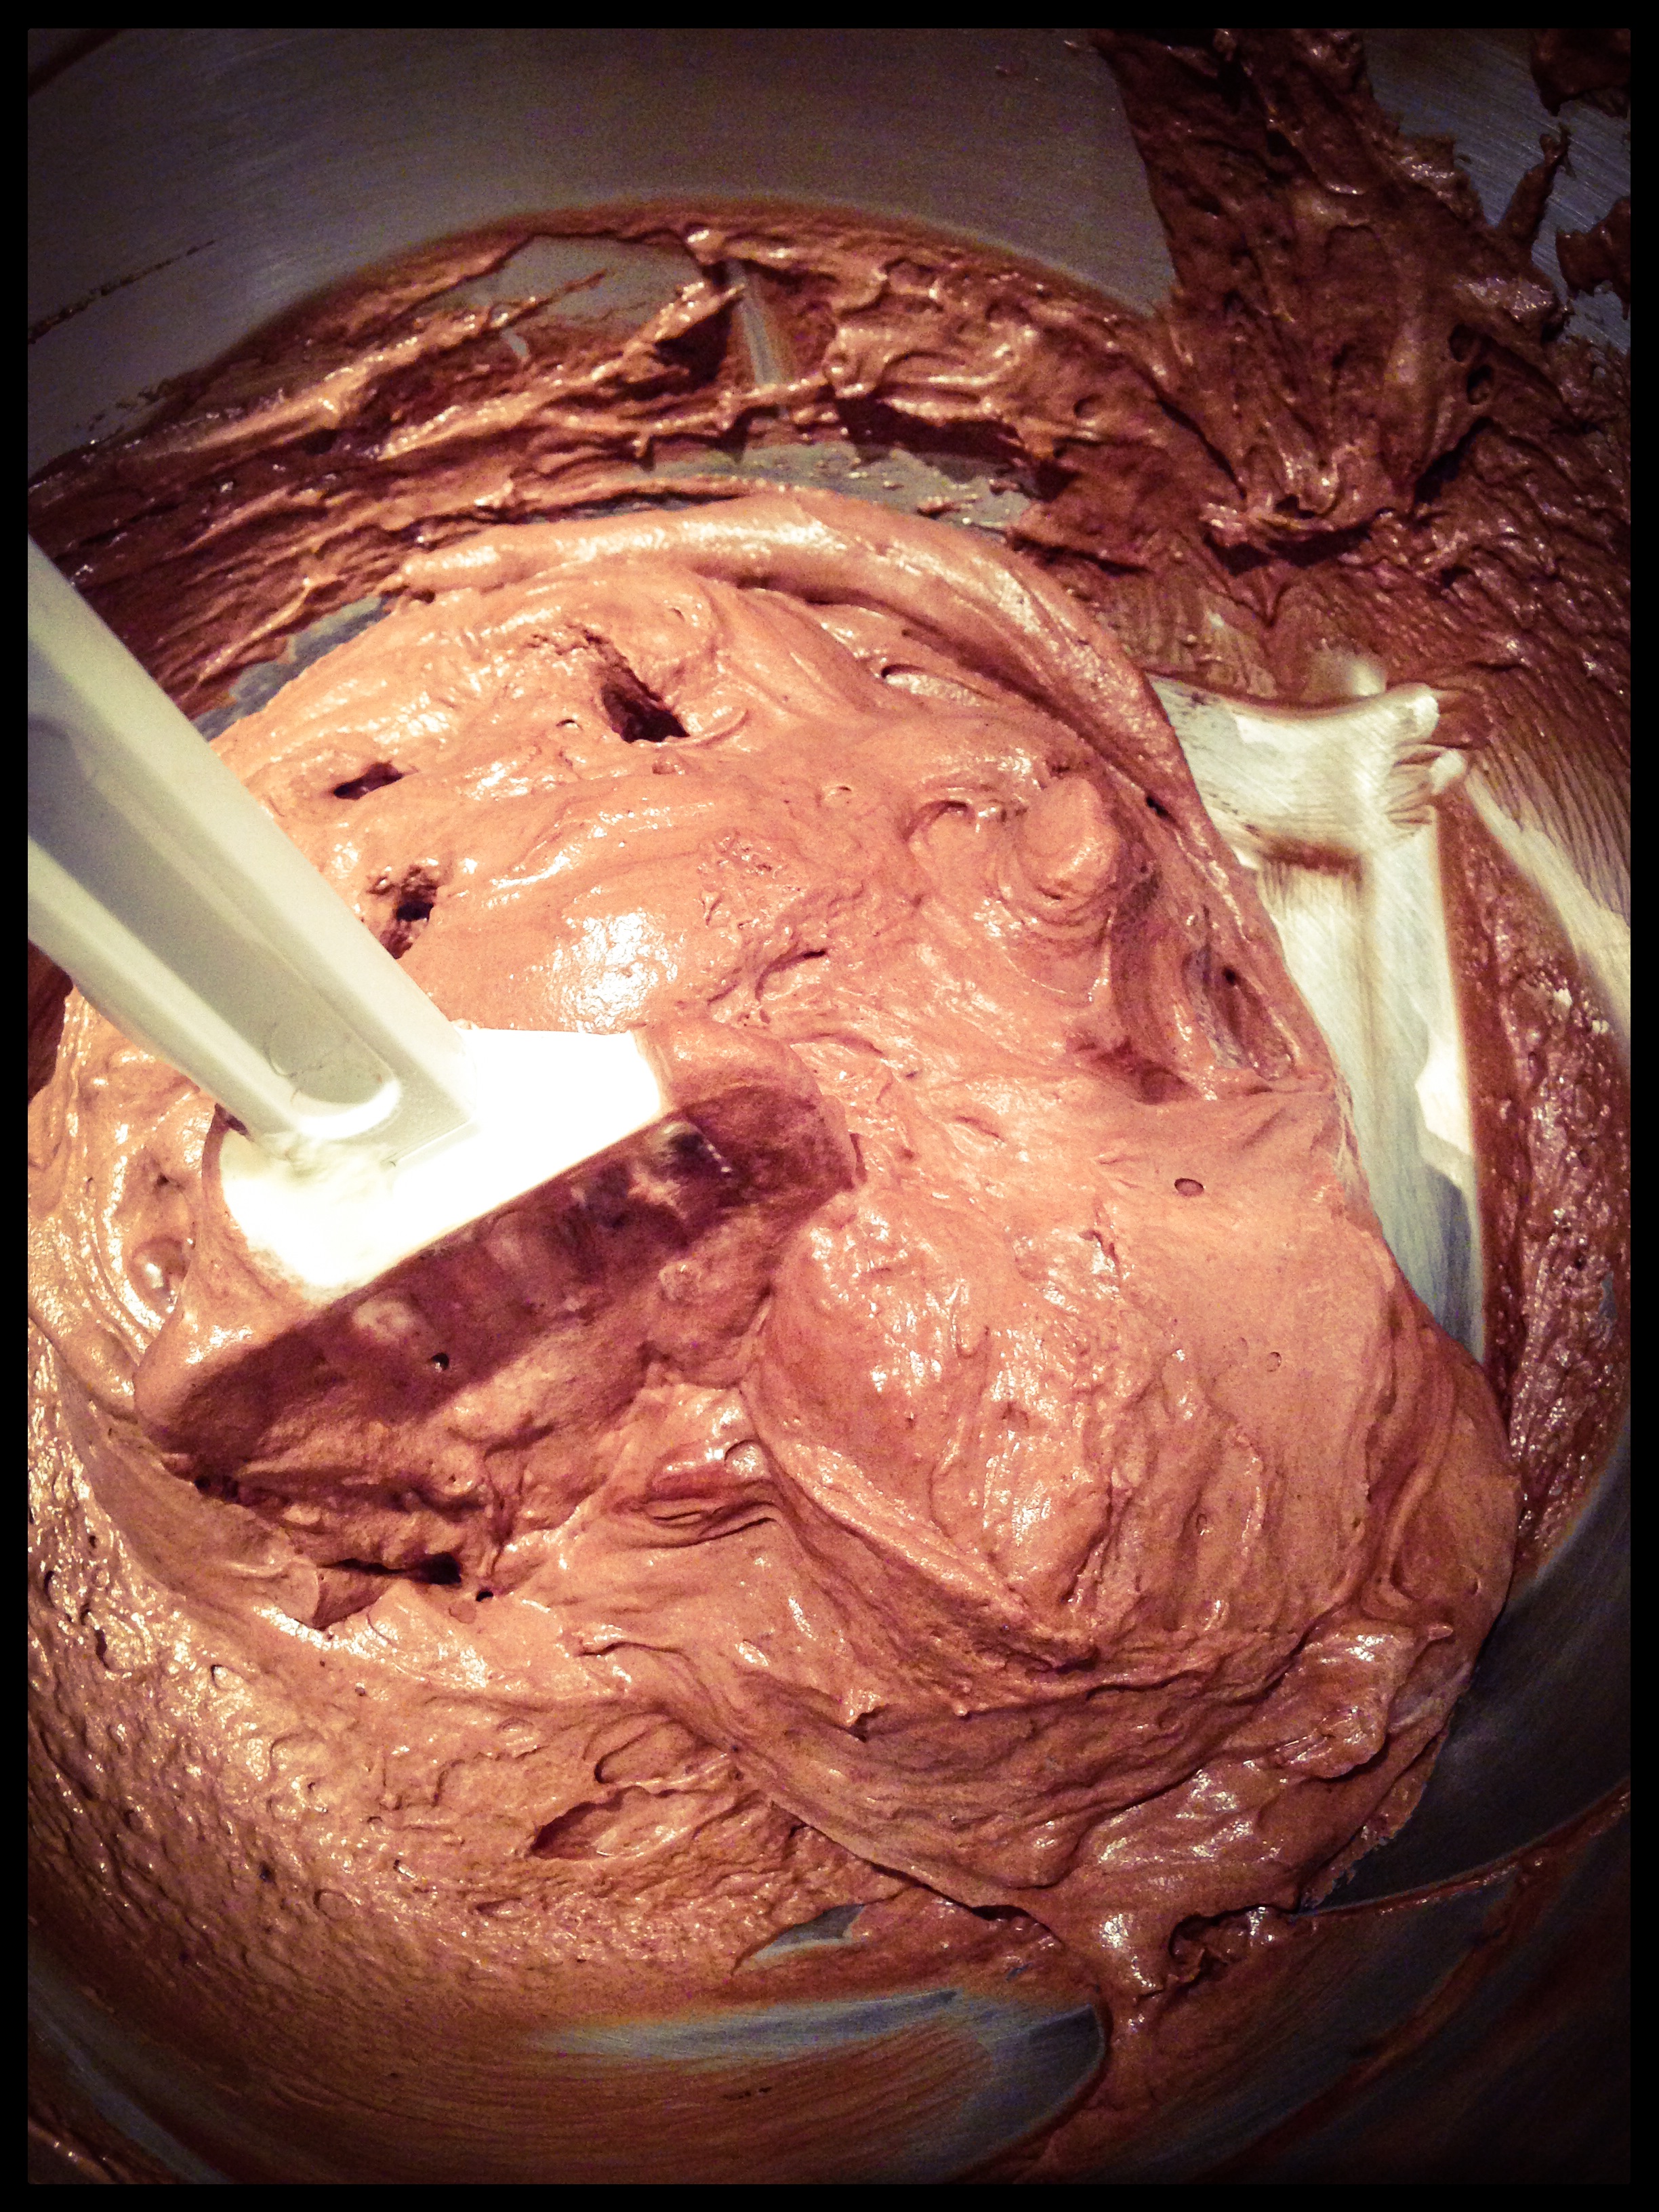
I ignored my natural instincts to throw the mix away and instead I folded in the whipped cream. This seemed to sort the mixture out and I was left with a rich silky chocolate mousse. Just what I aiming for.
This was a pretty uneventful recipe. I didn’t get injured, I didn’t have to throw anything away and I didn’t have to make anything more than once. I did cause a small fire with the blowtorch, but that’s barely worth writing about.
So either this is a really fool-proof recipe or some of this stuff is starting to sink in.
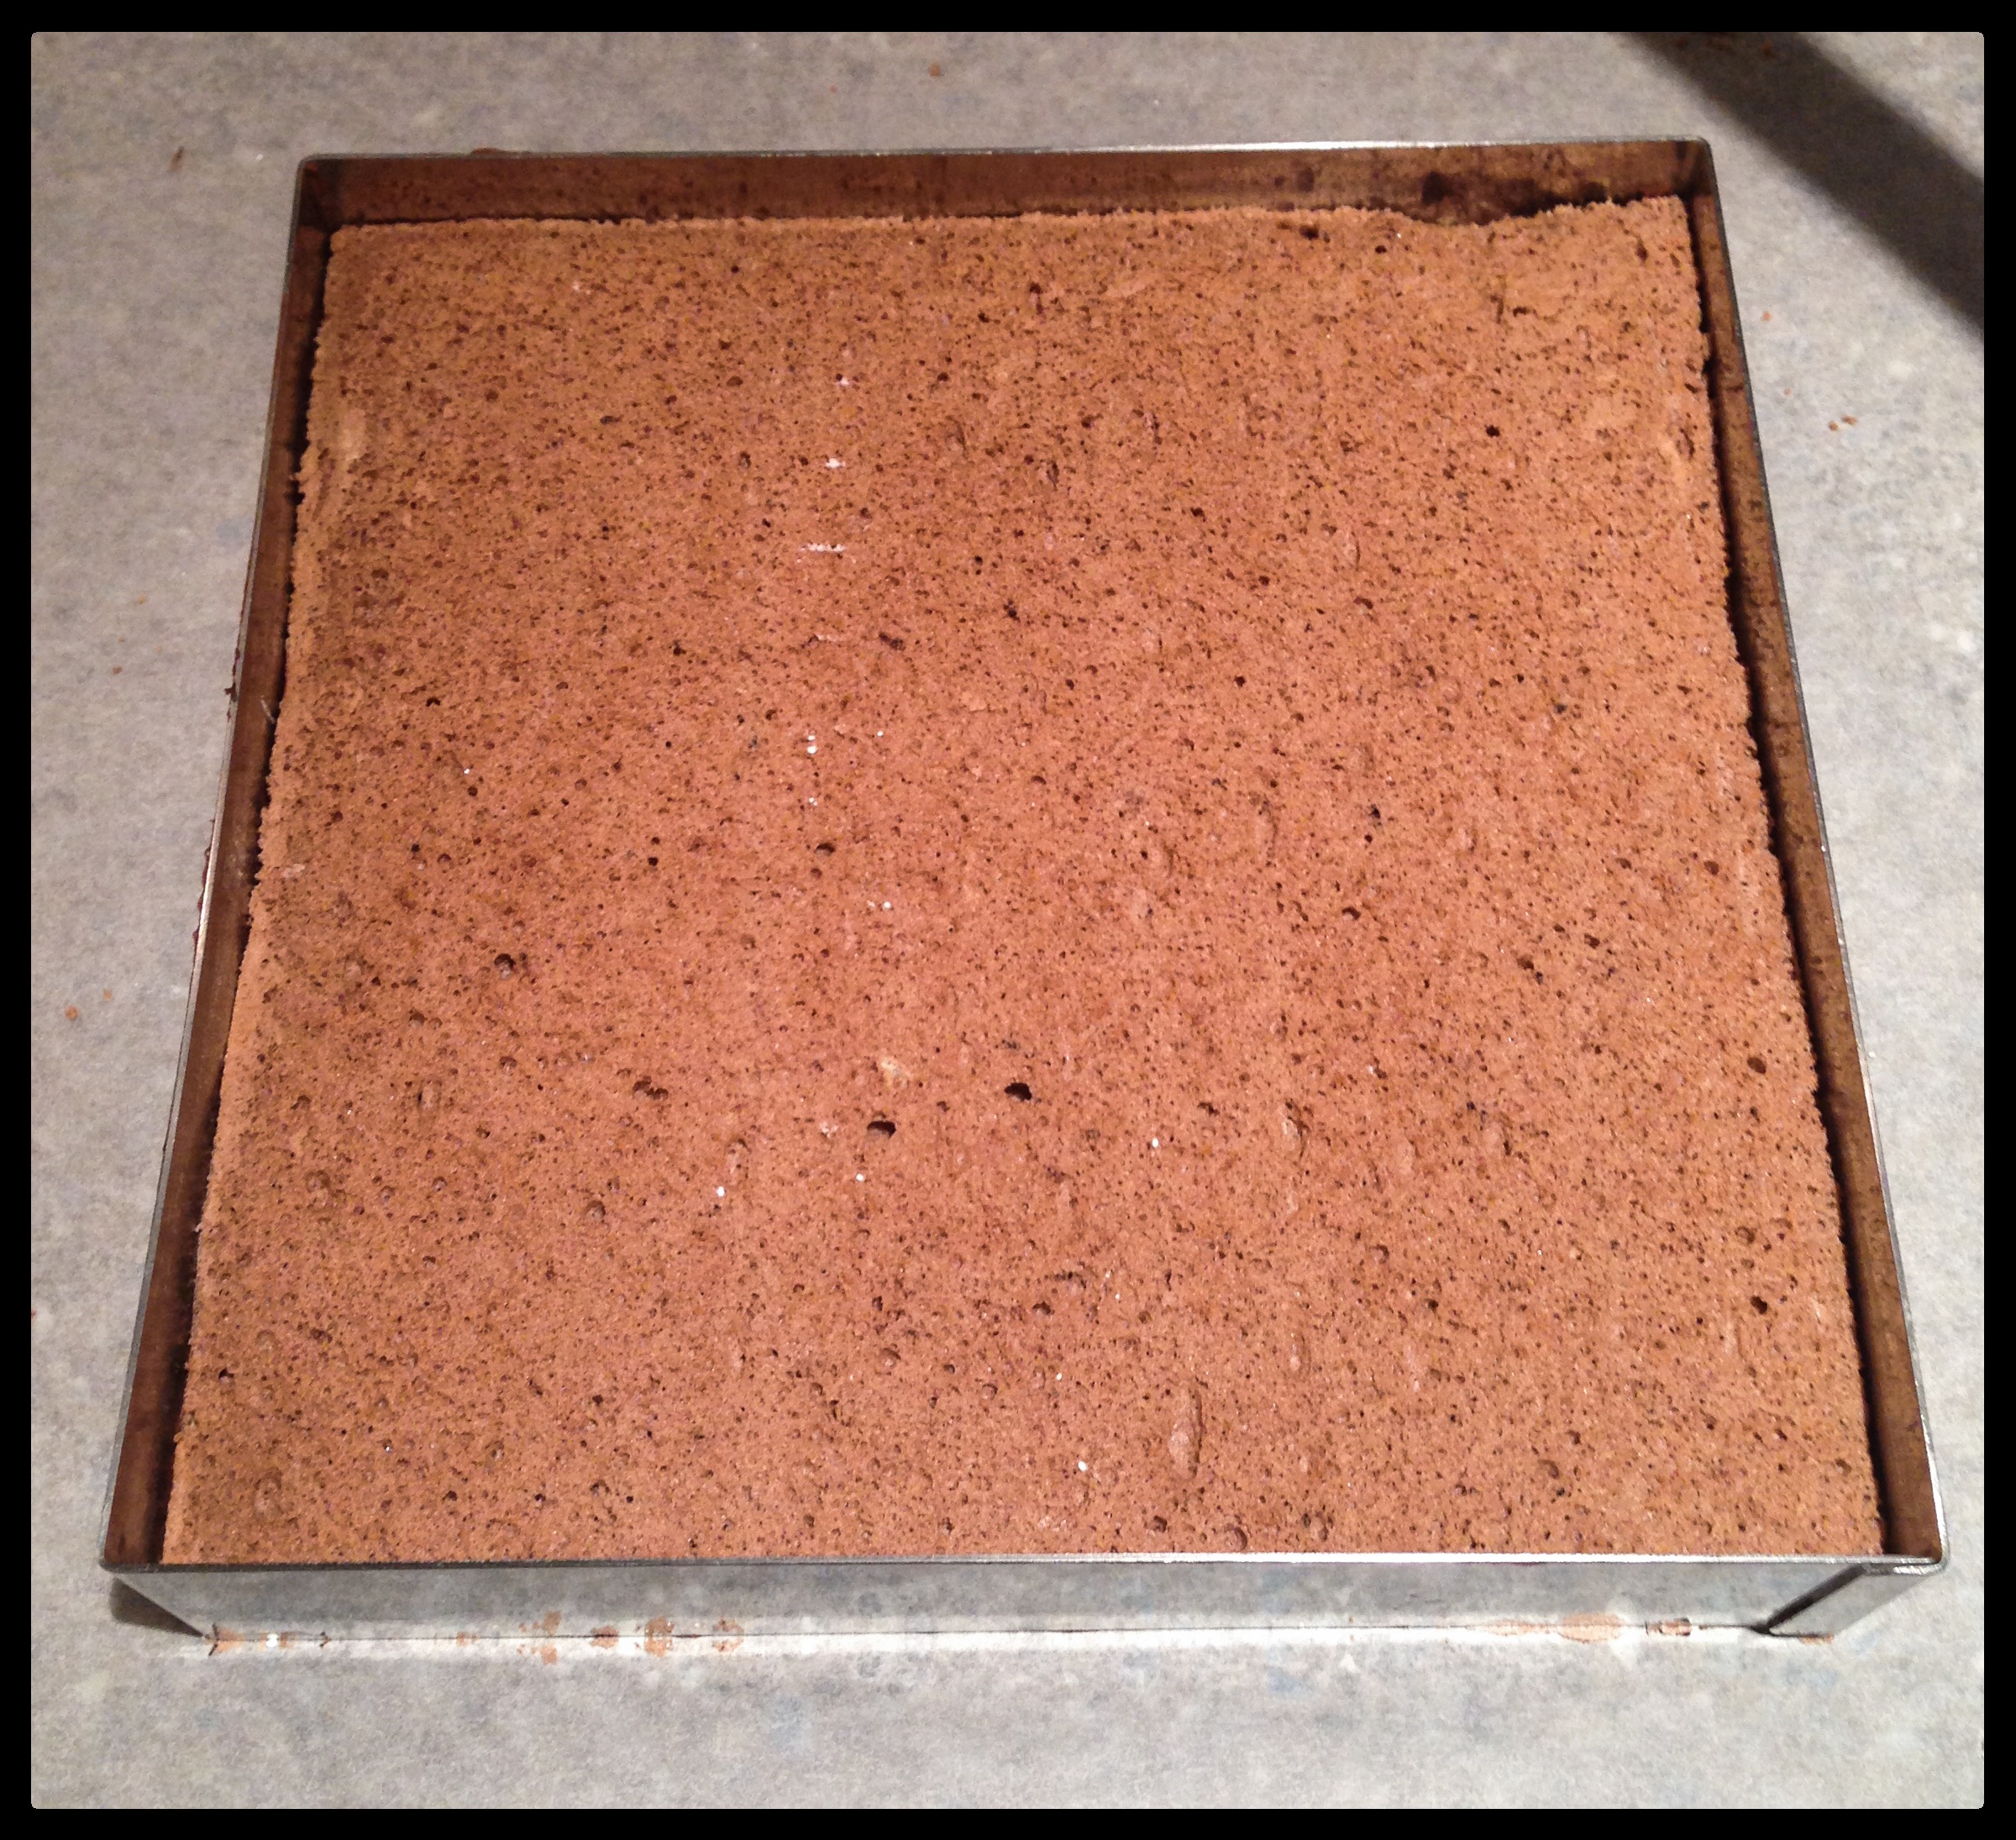
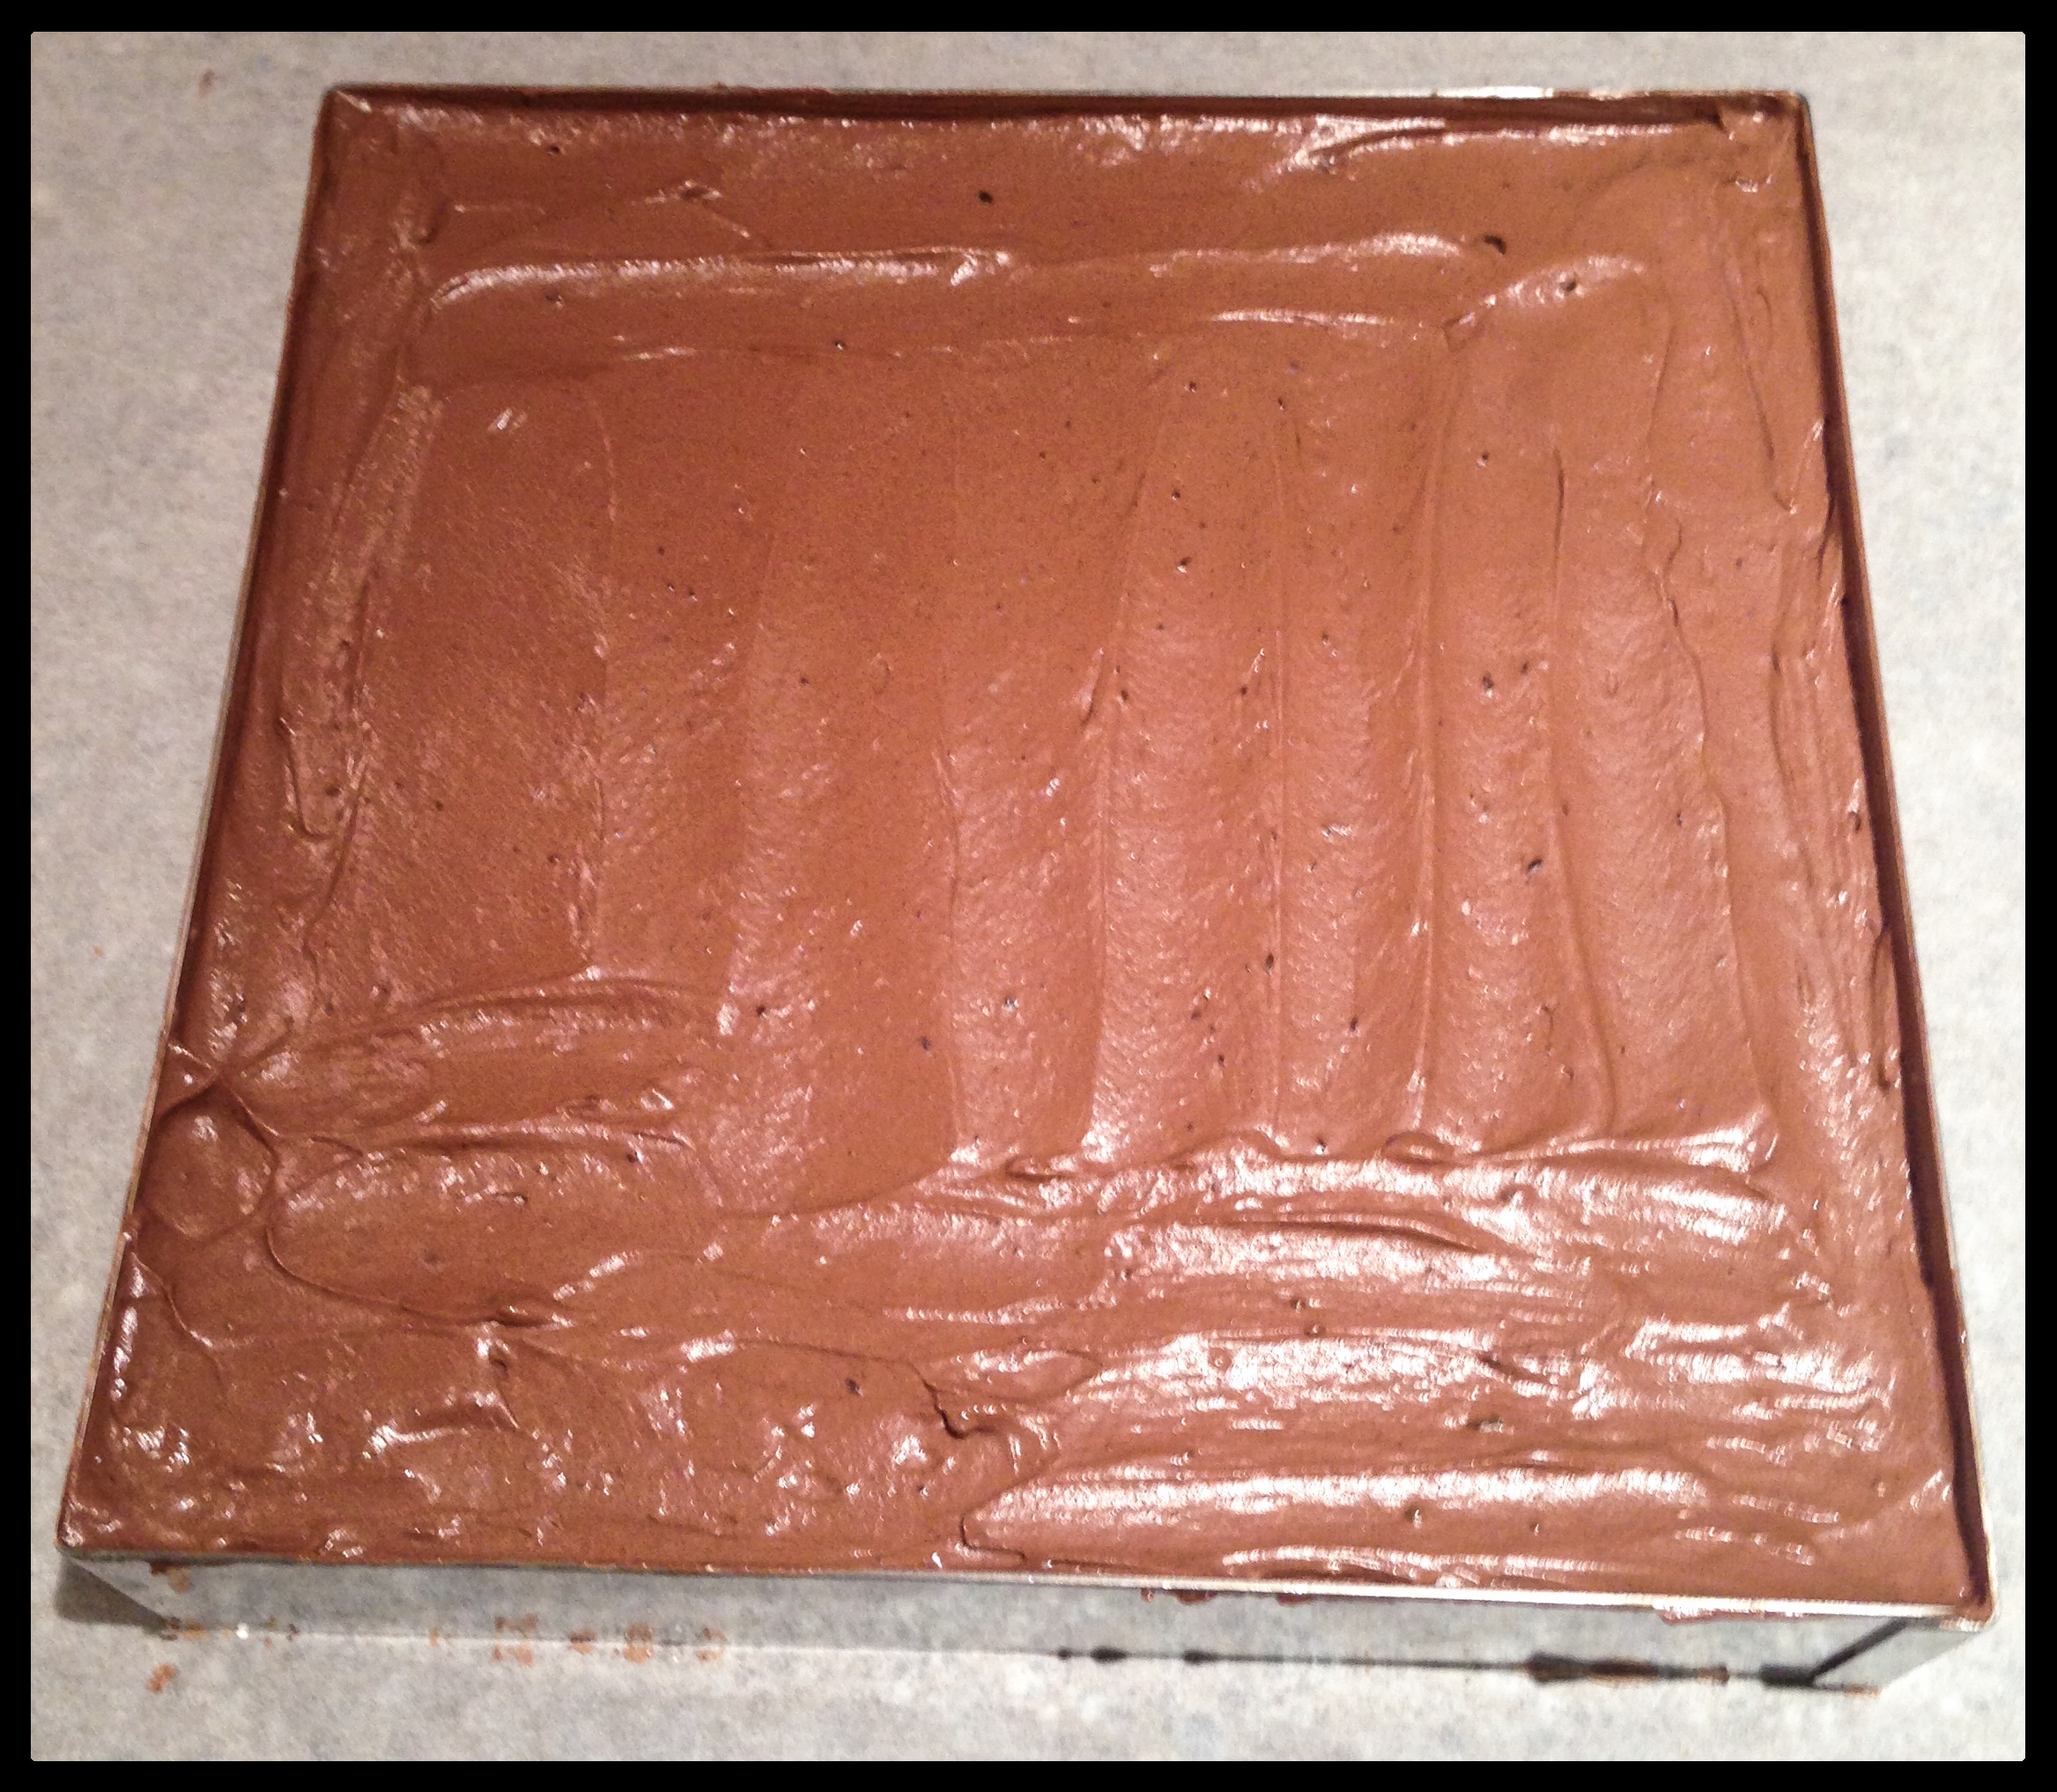
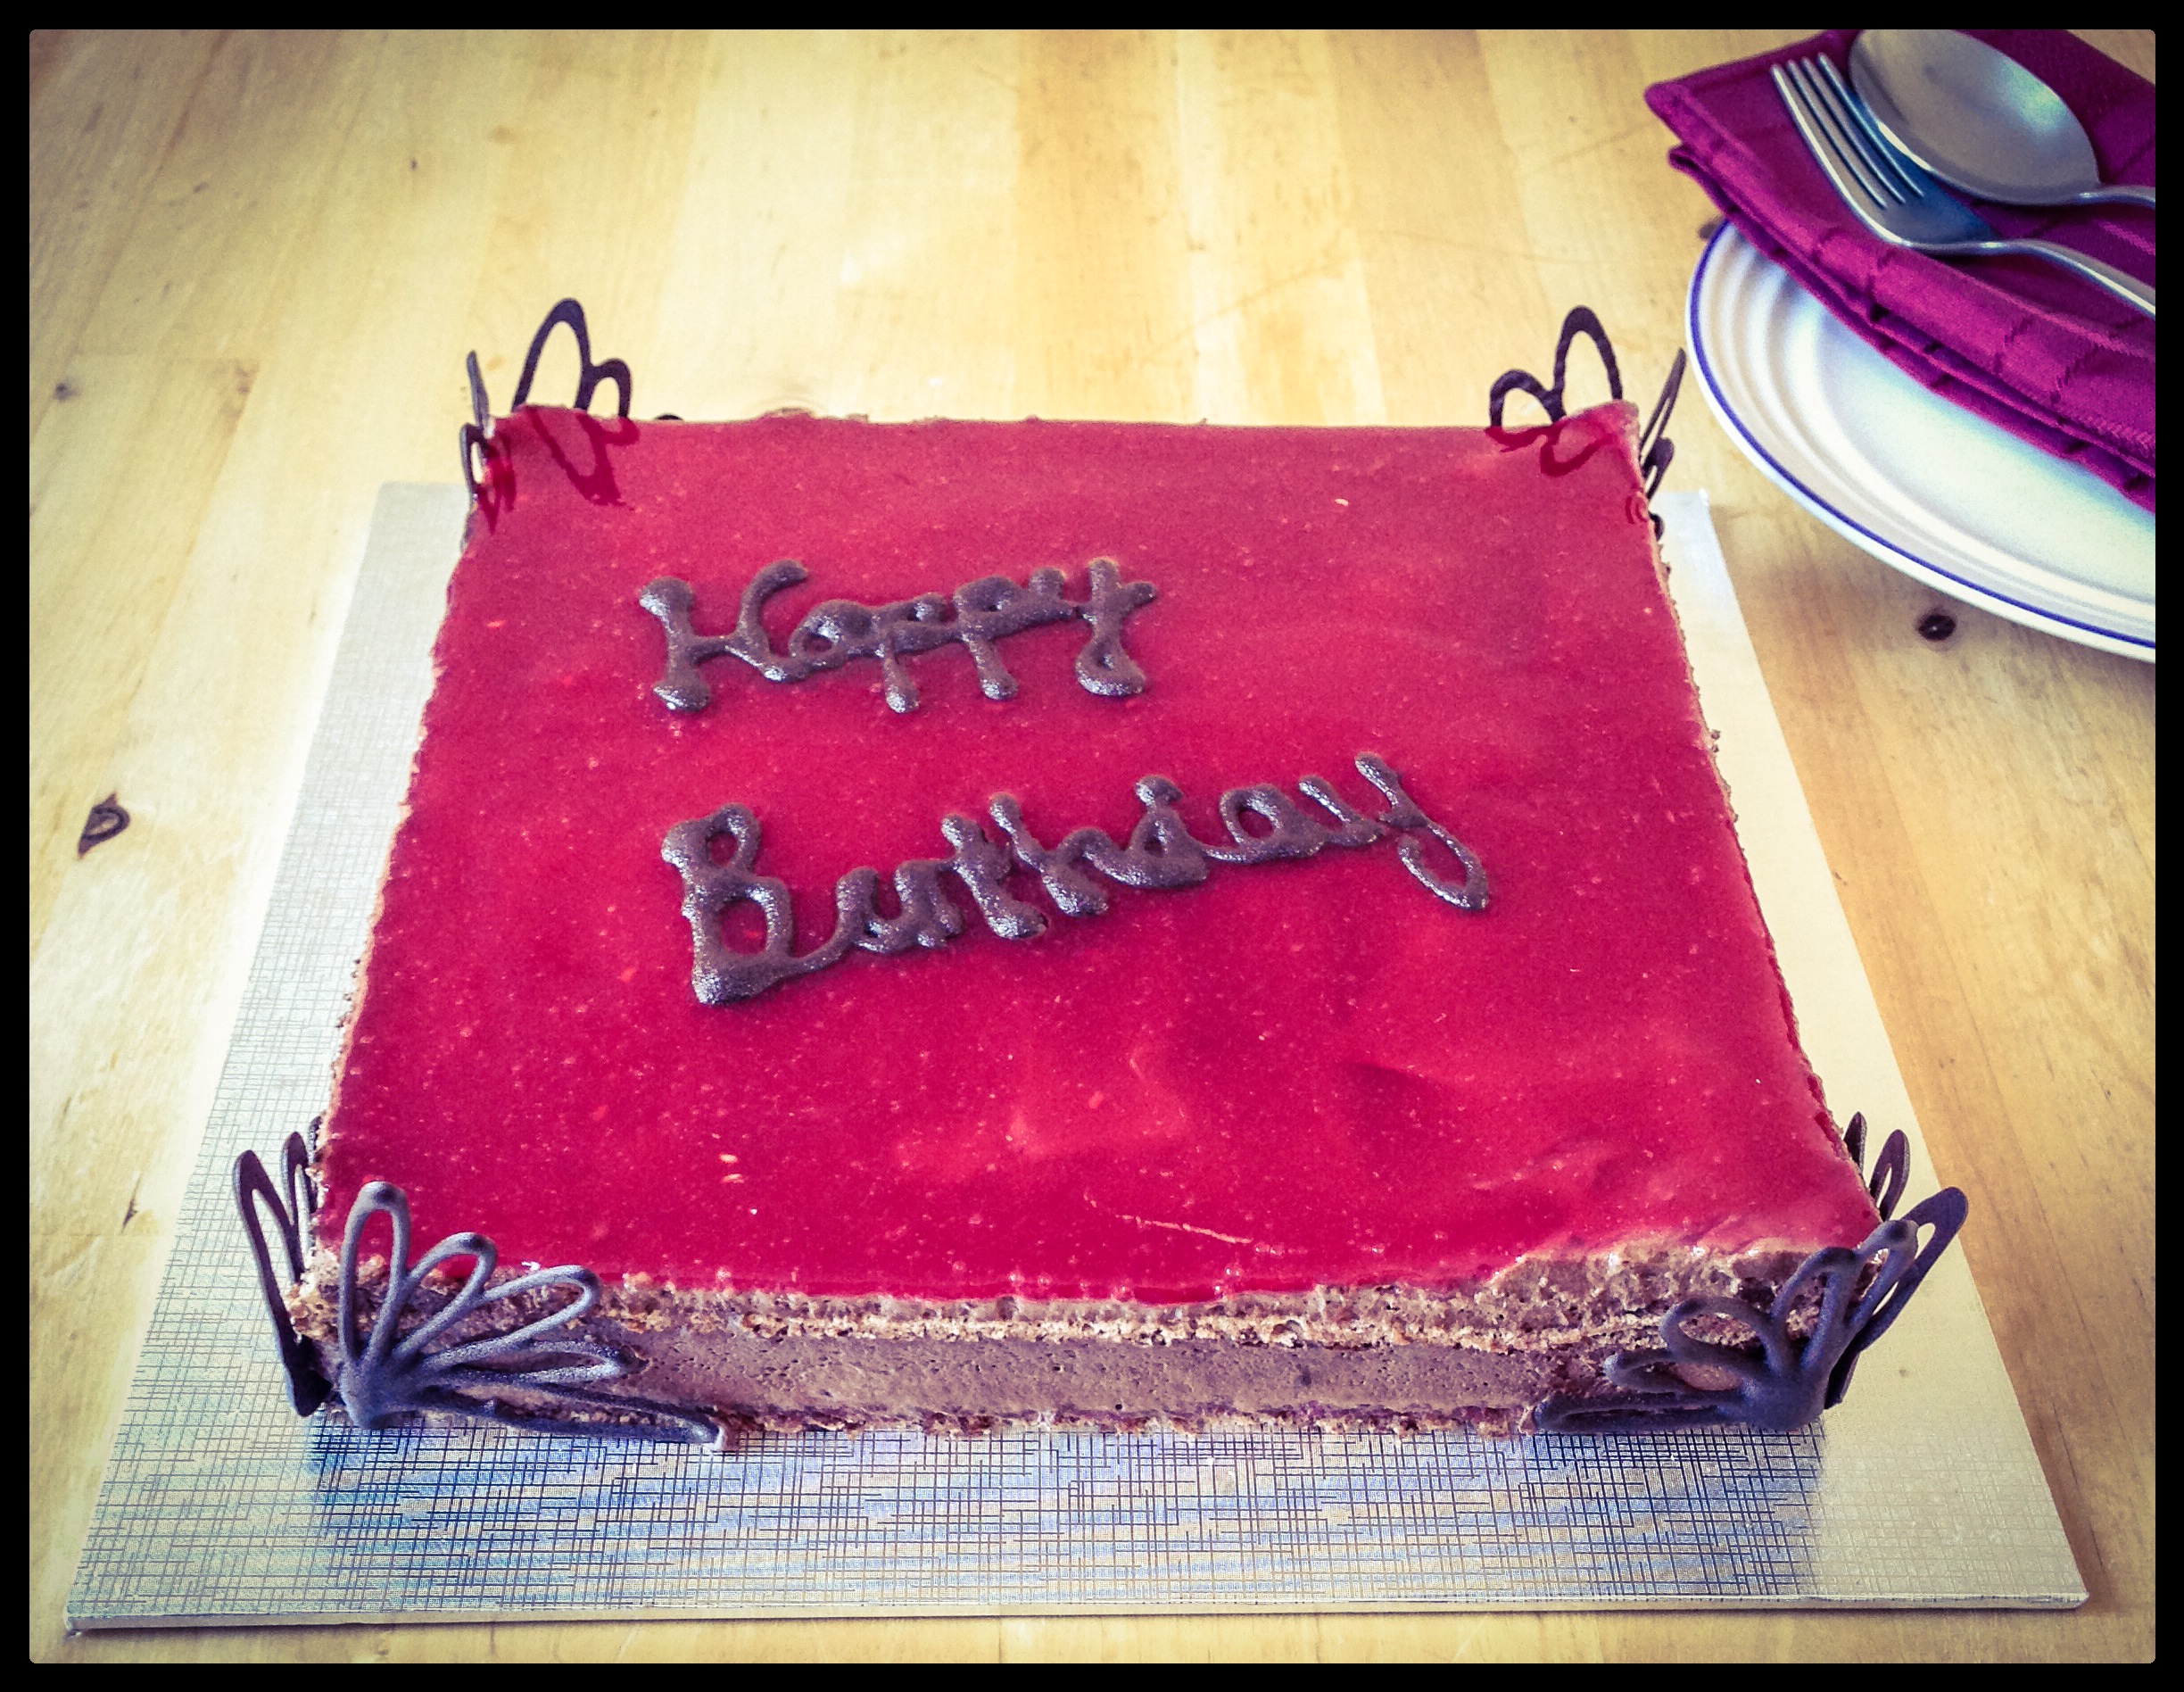
The last thing to do before the cake could be put together was to melt a small amount of chocolate to pour over one of the sponge cakes. Once melted the chocolate is poured over the bottom layer of cake and dusted with icing (confectioner’s) sugar.
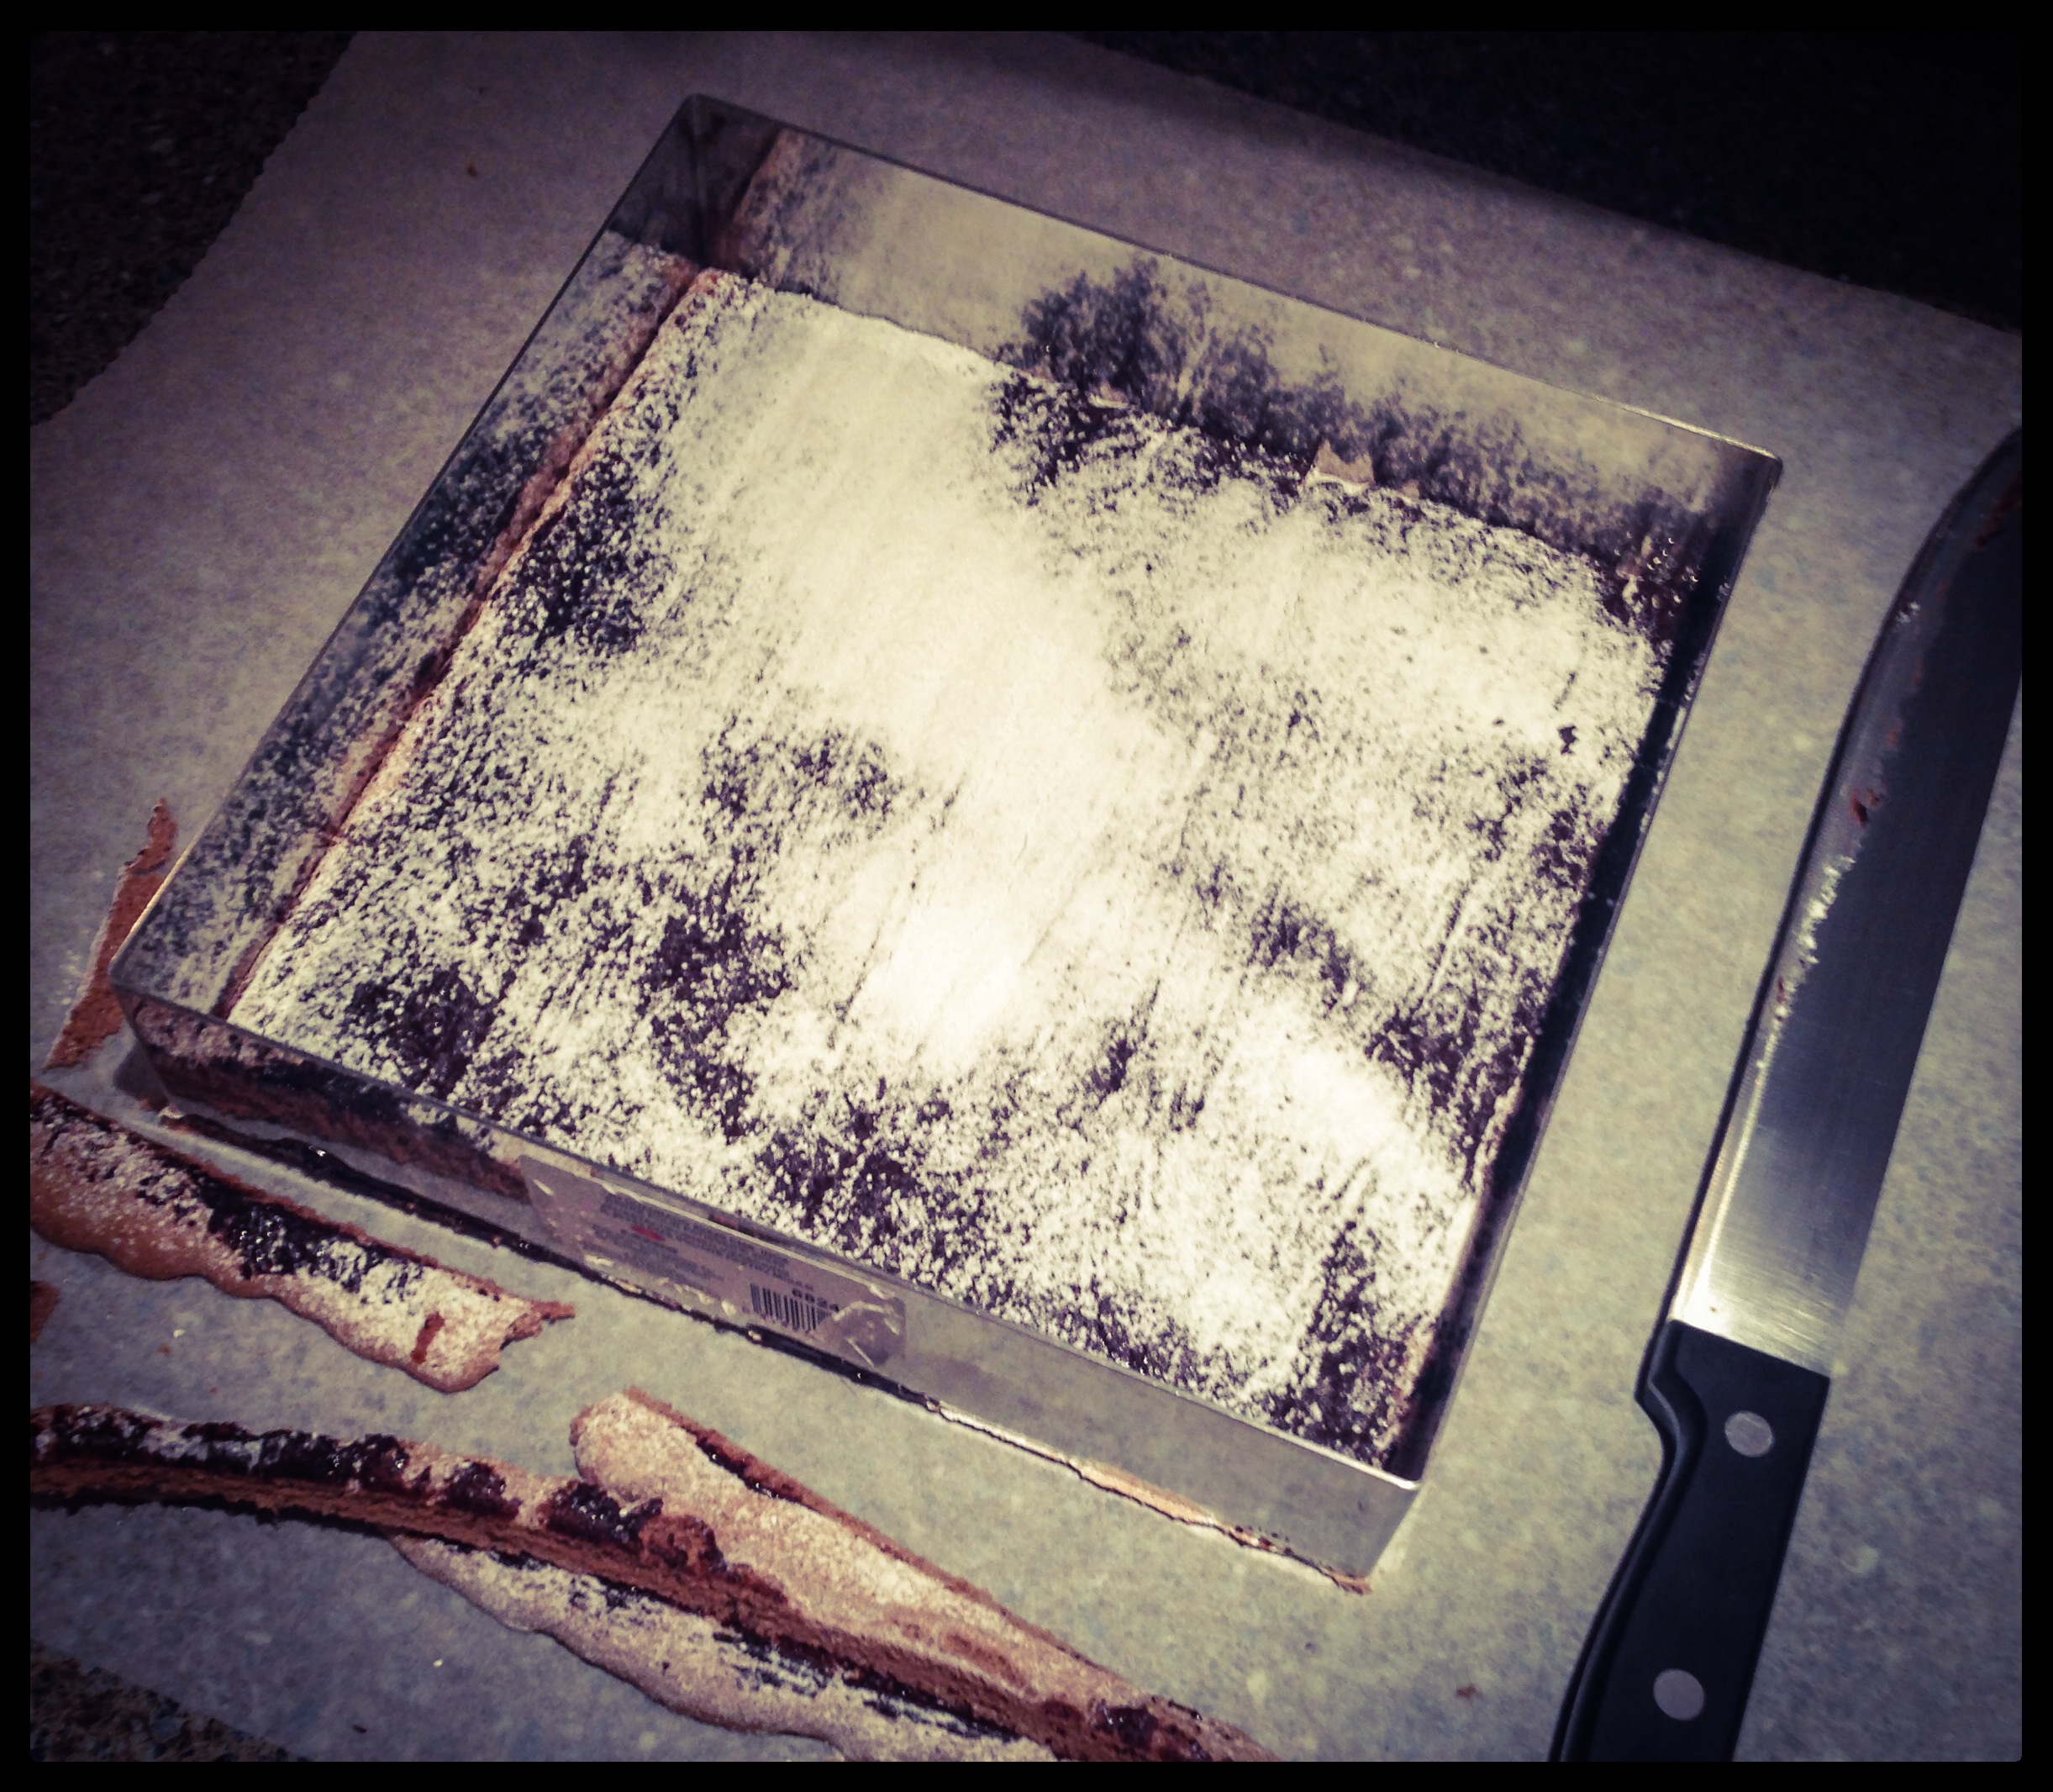
Then a layer of raspberry syrup is spread over the cake. This keeps the mousse from soaking into the cake below and gives a contrasting sharpness to the otherwise sweet cake.
Onto this, half the mousse is spread out and then another cake is placed on top.
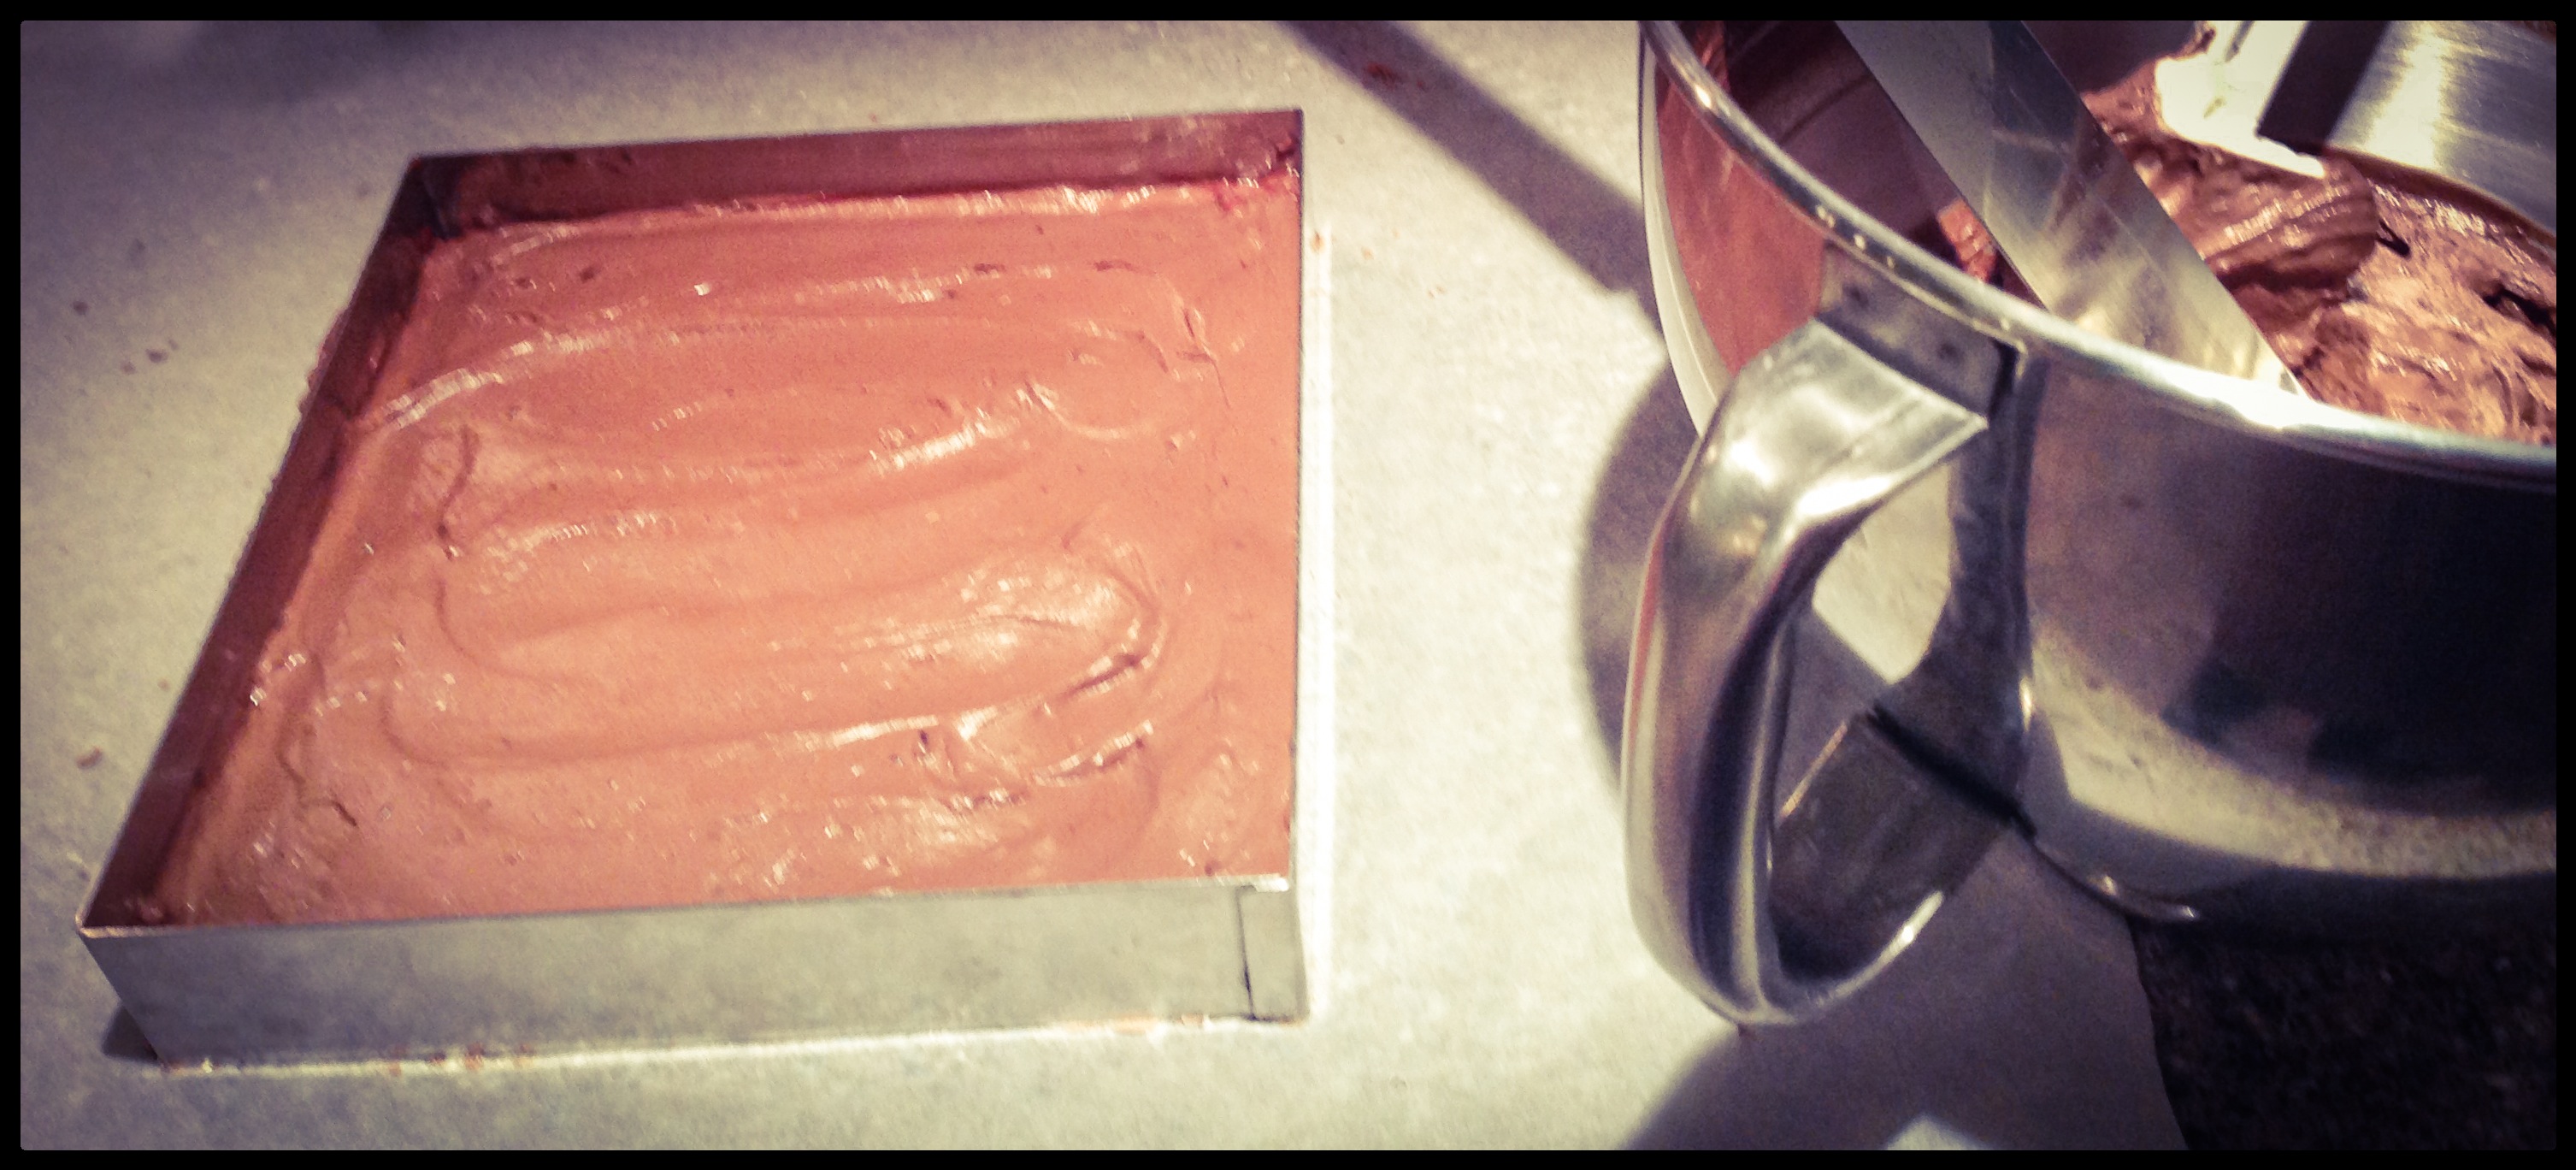
This layer of cake is then covered in raspberry syrup, a layer of mousse and placed in the freezer for about an hour.
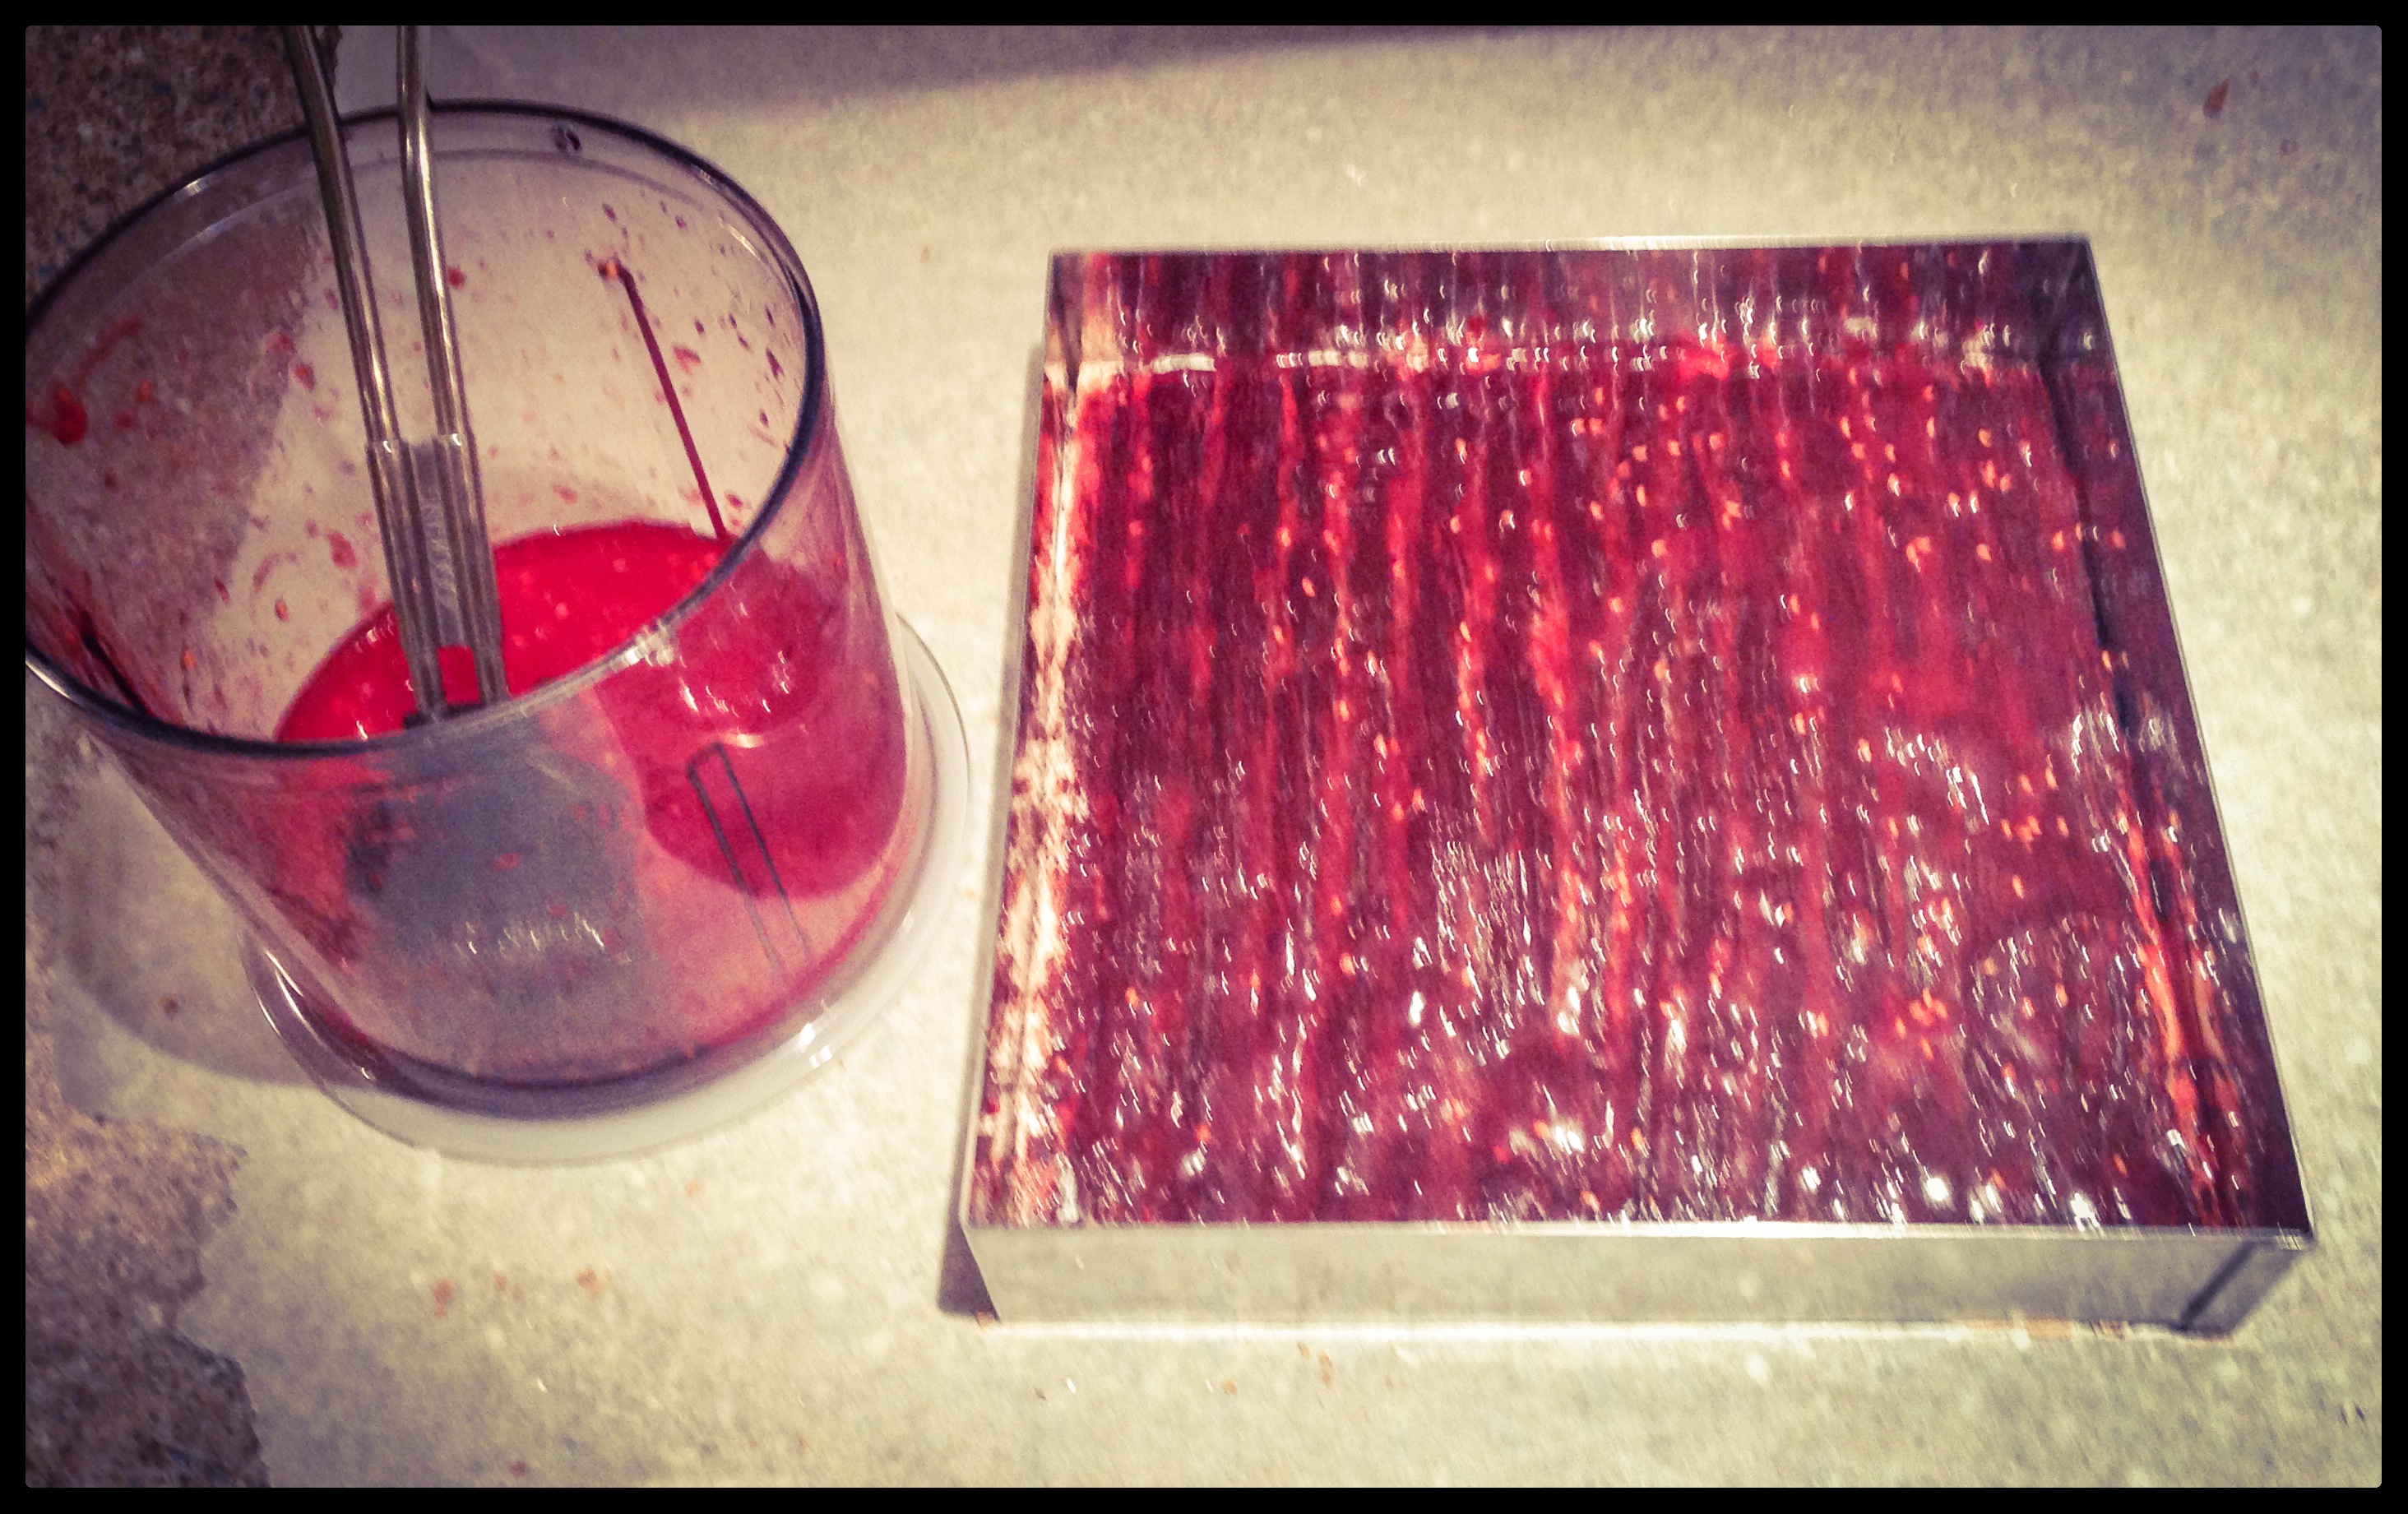
After filling an hour with washing some dishes and drinking a Japanese wheat beer, the cake was ready to take out of the freezer and cover with the raspberry compote.
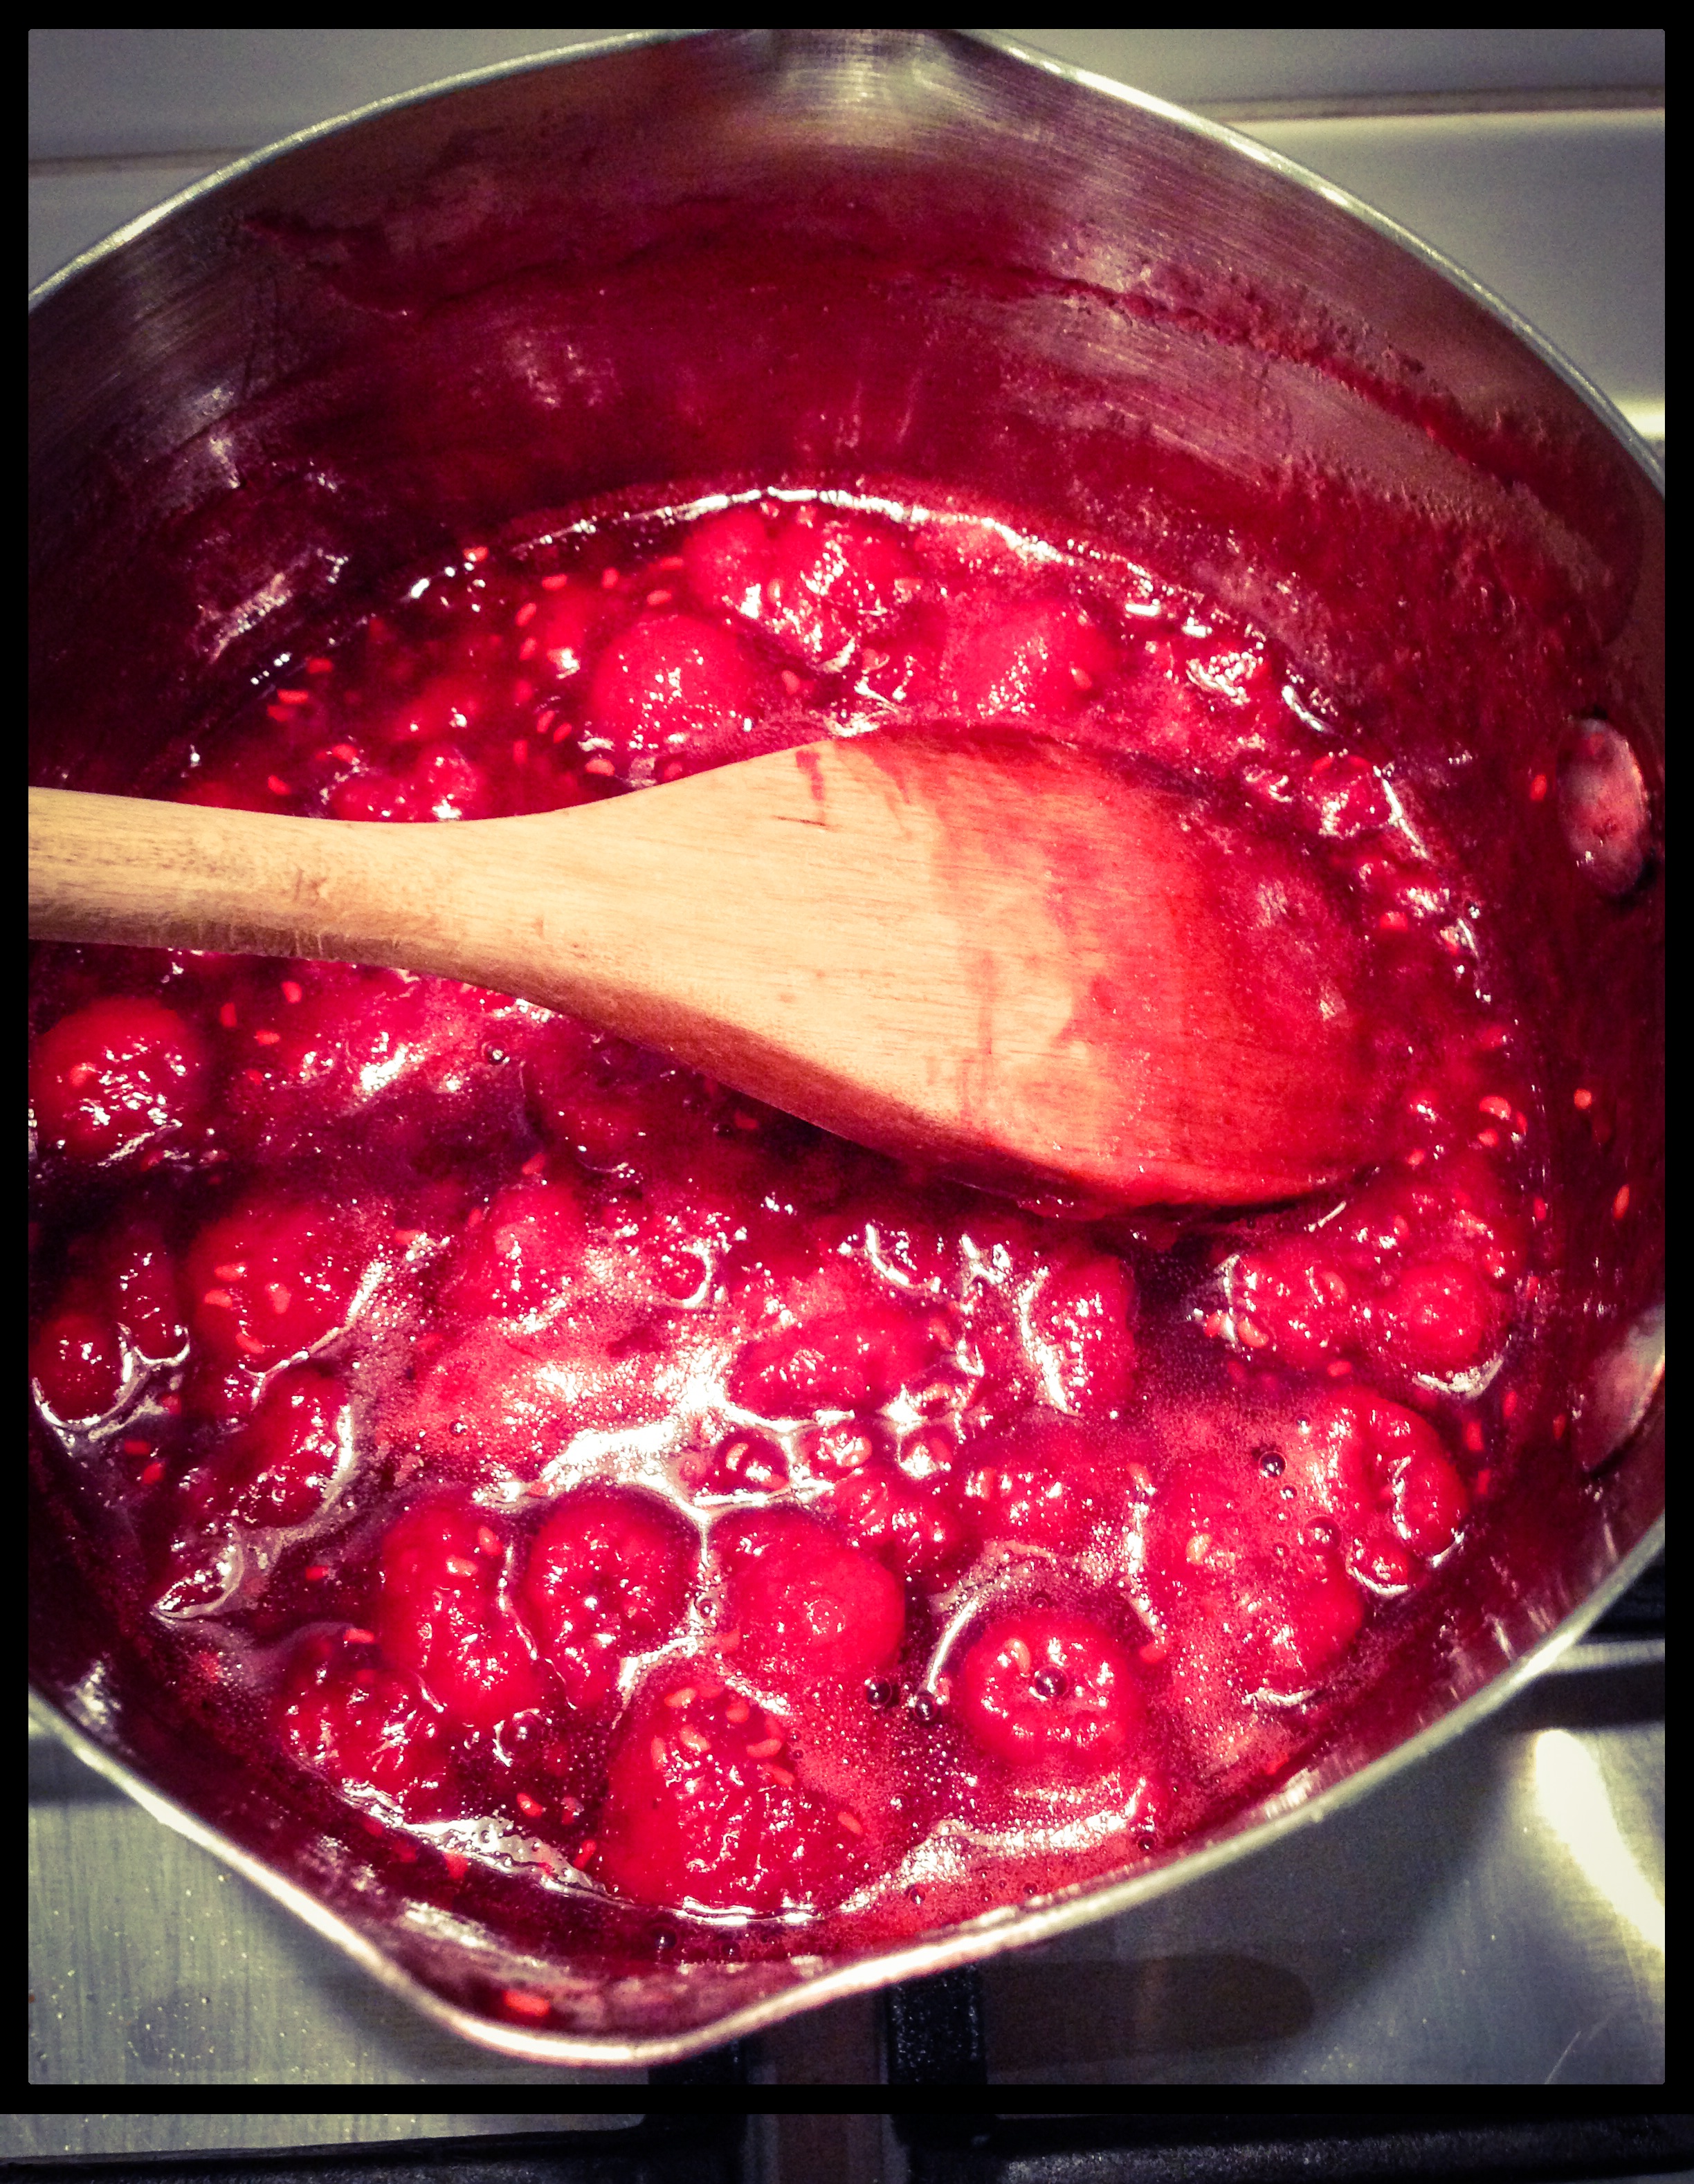
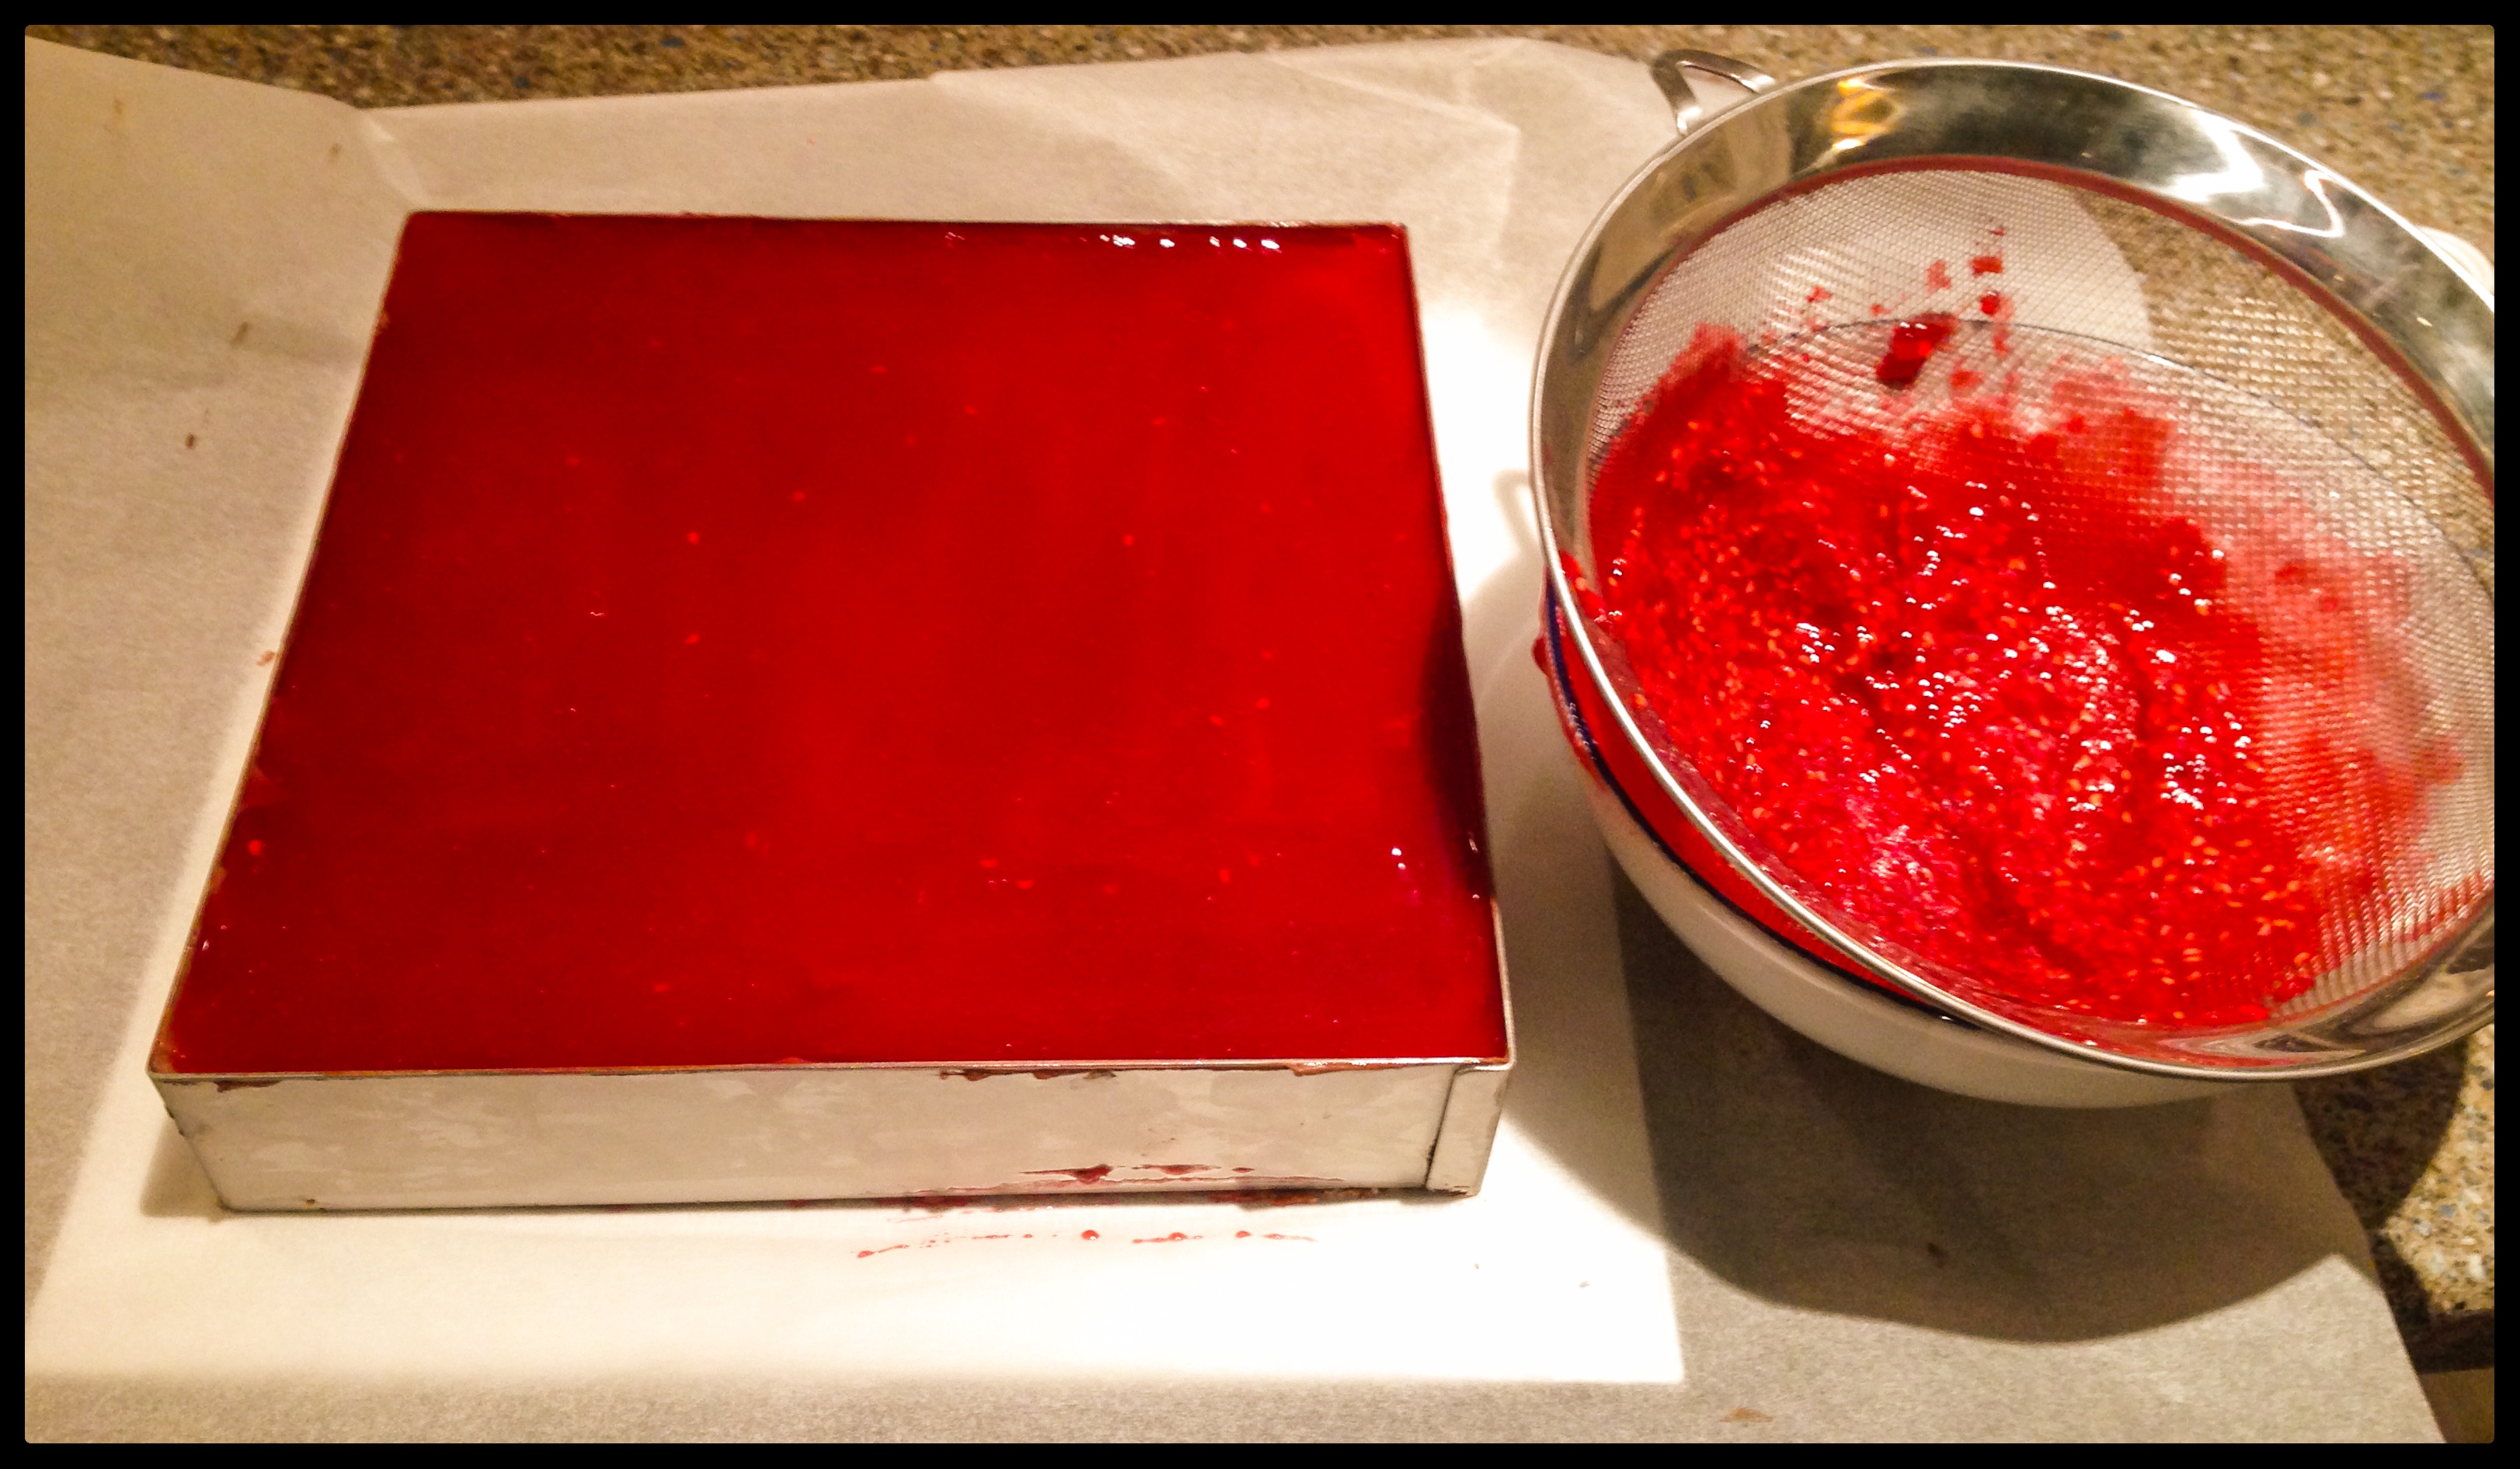
The recipe didn’t mention straining the raspberries, but I think doing so gave the cake a better finish, I also don’t really like chewing raspberry seeds.
As I mentioned earlier, I made two of these cakes. I chilled both of them for another hour so that the compote on top would set.
I then had to remove the pastry ring. The quickest way to do this is to use a chef’s blowtorch. I accidentally caught the baking paper and board I was working on with the flame. However the fire was all over very quickly and pretty unexciting.
I then left one cake whole and decorated it, whilst the other was cut into slices and decorated with chocolate and raspberries.
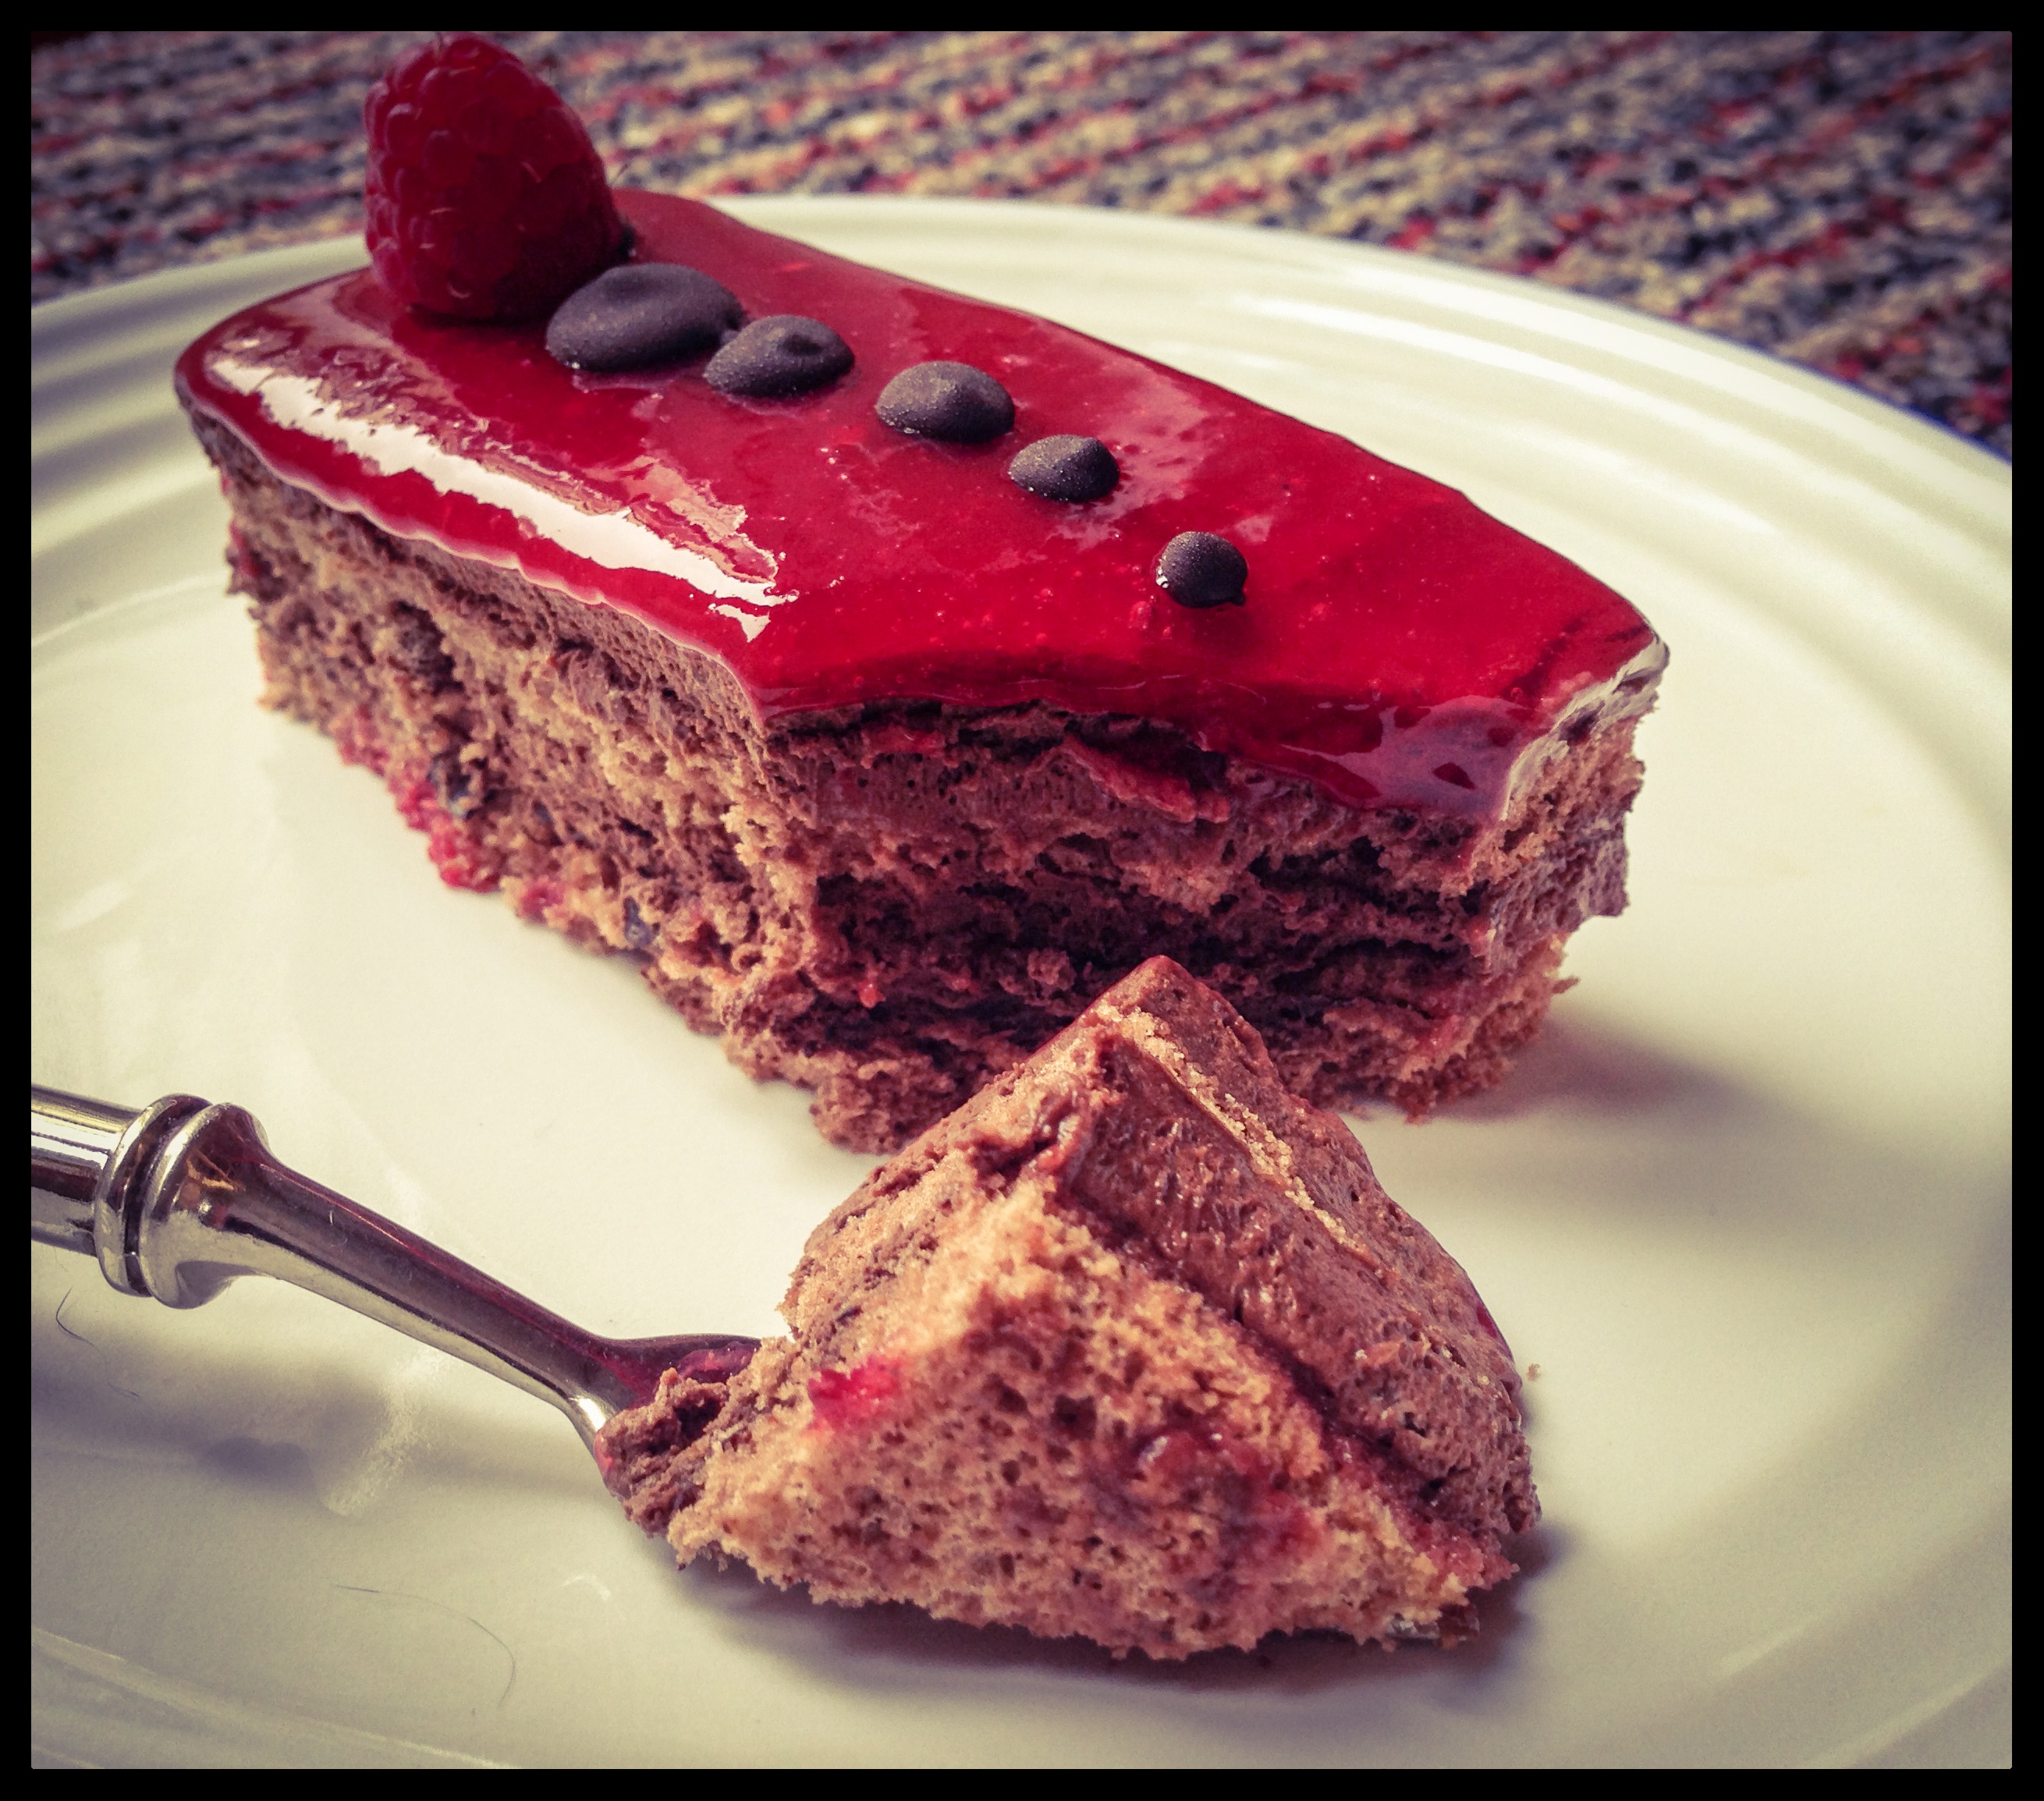
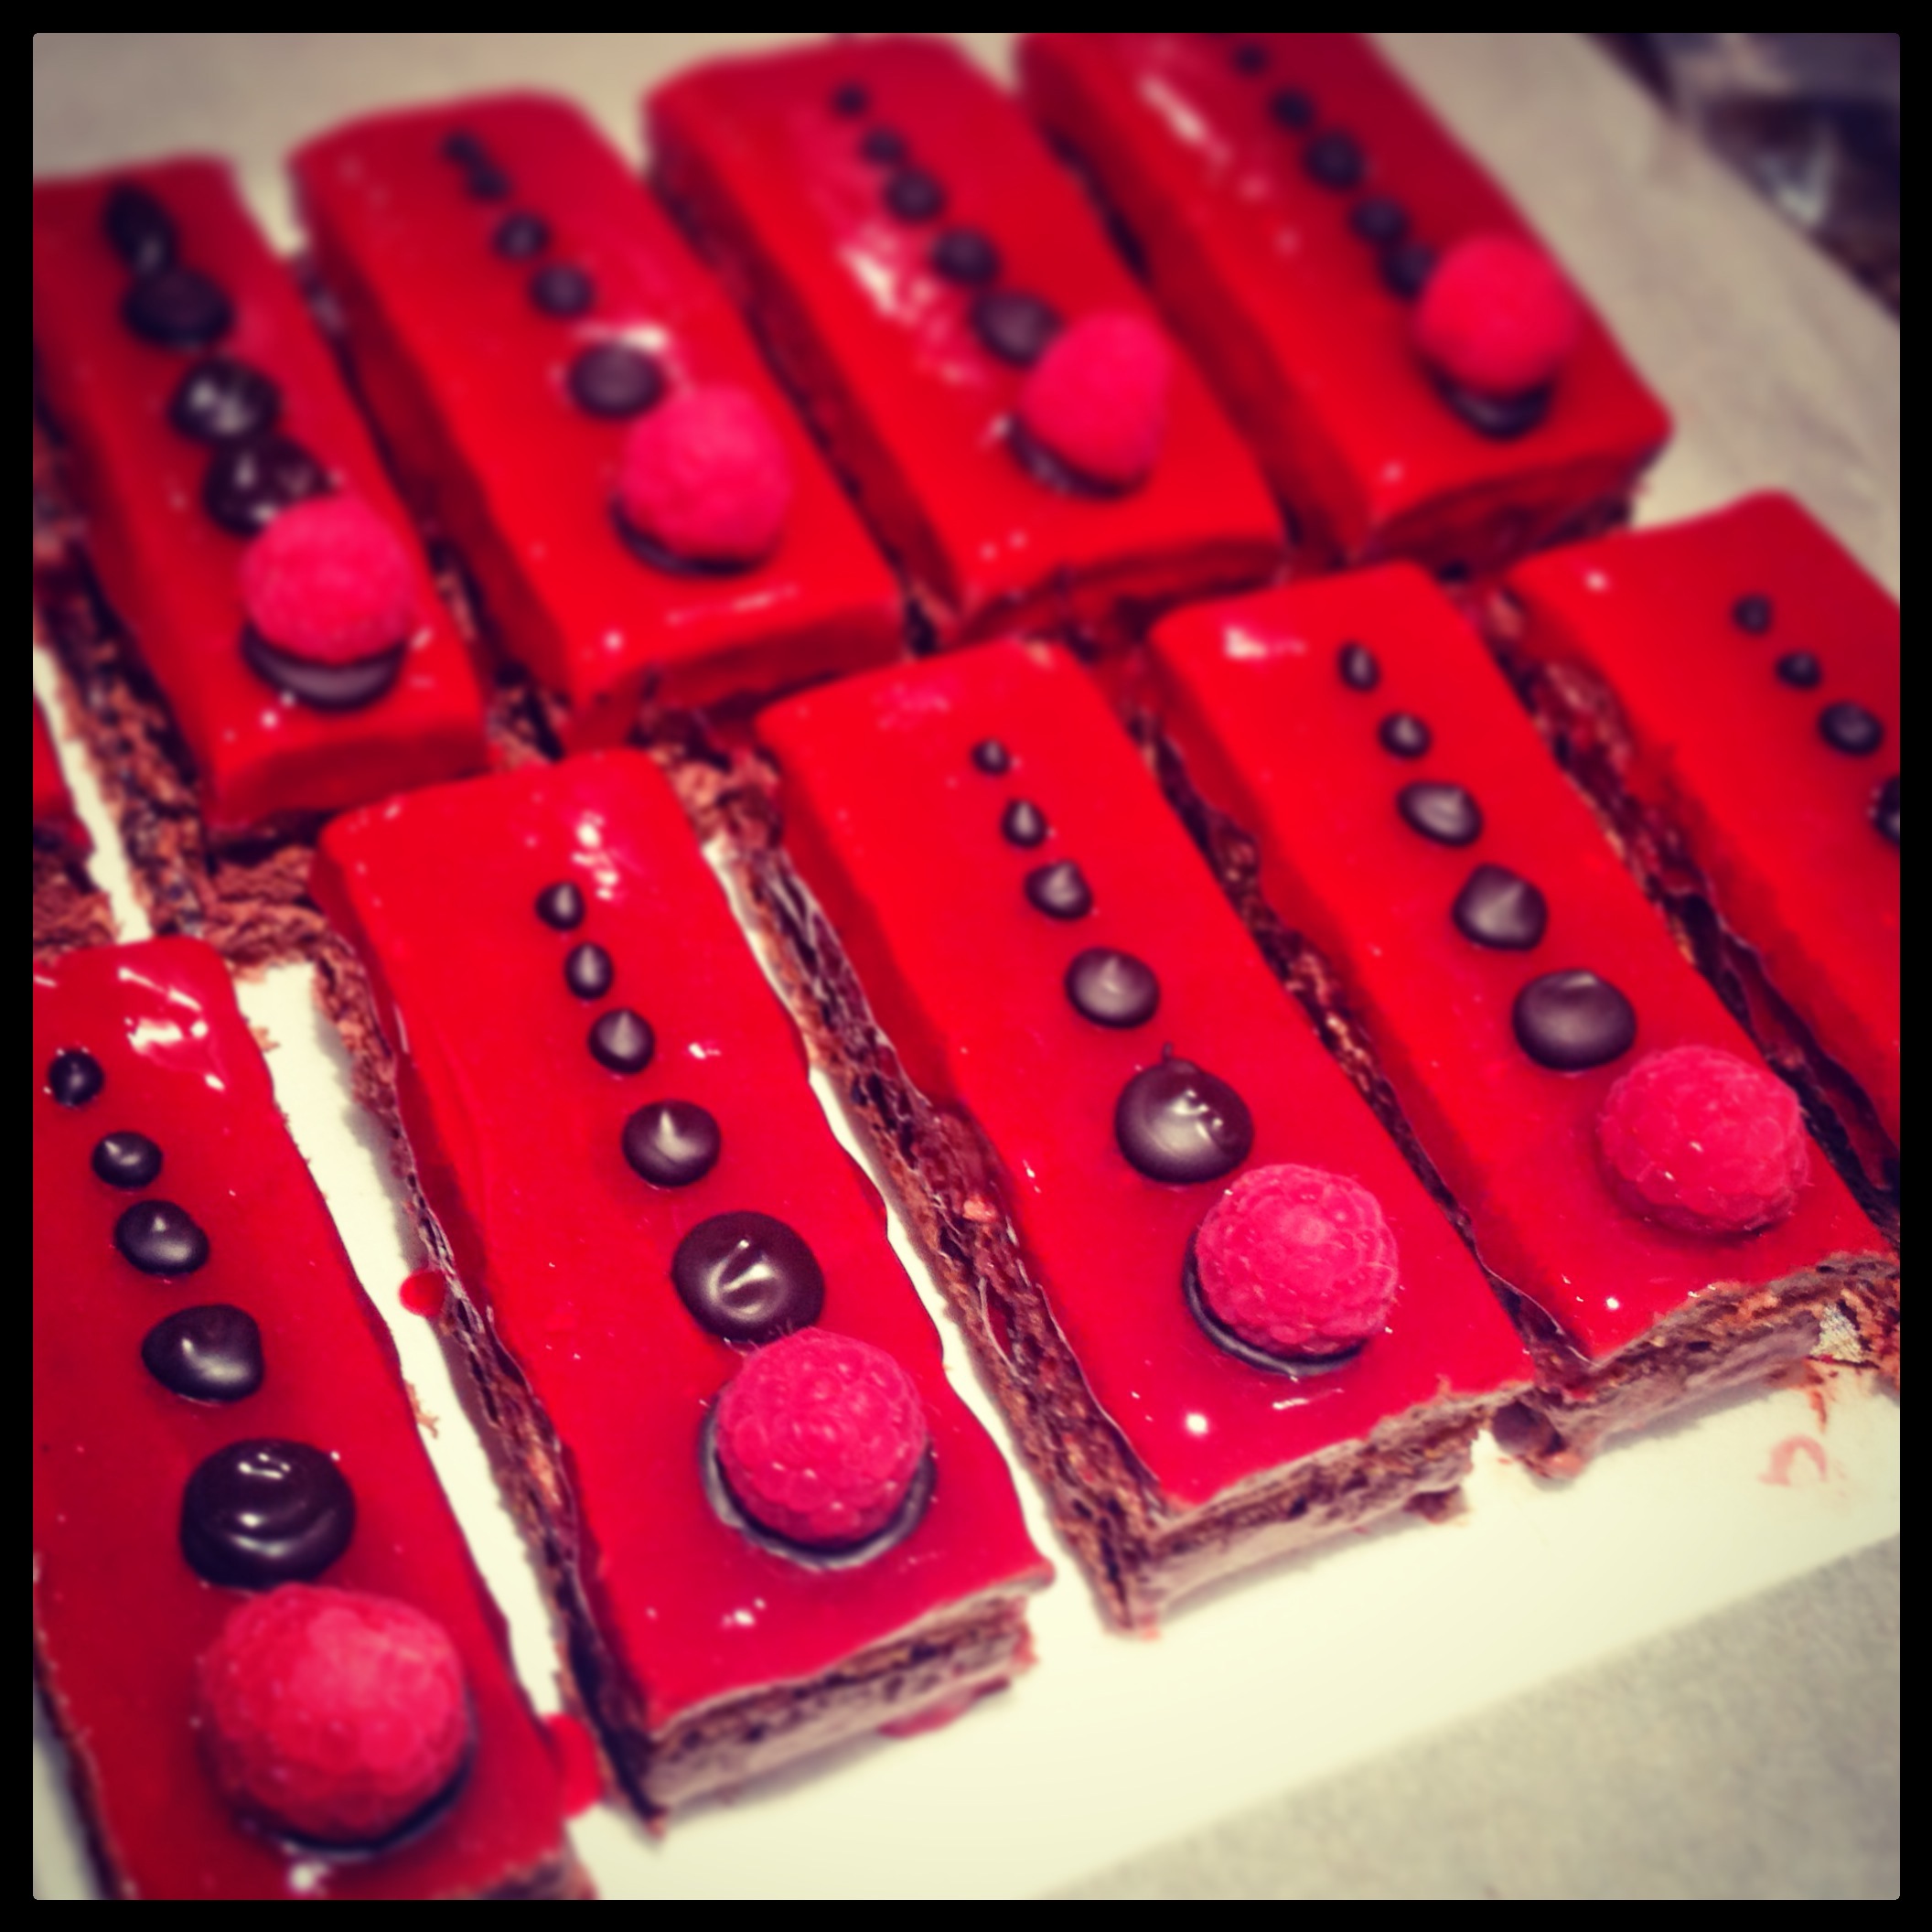
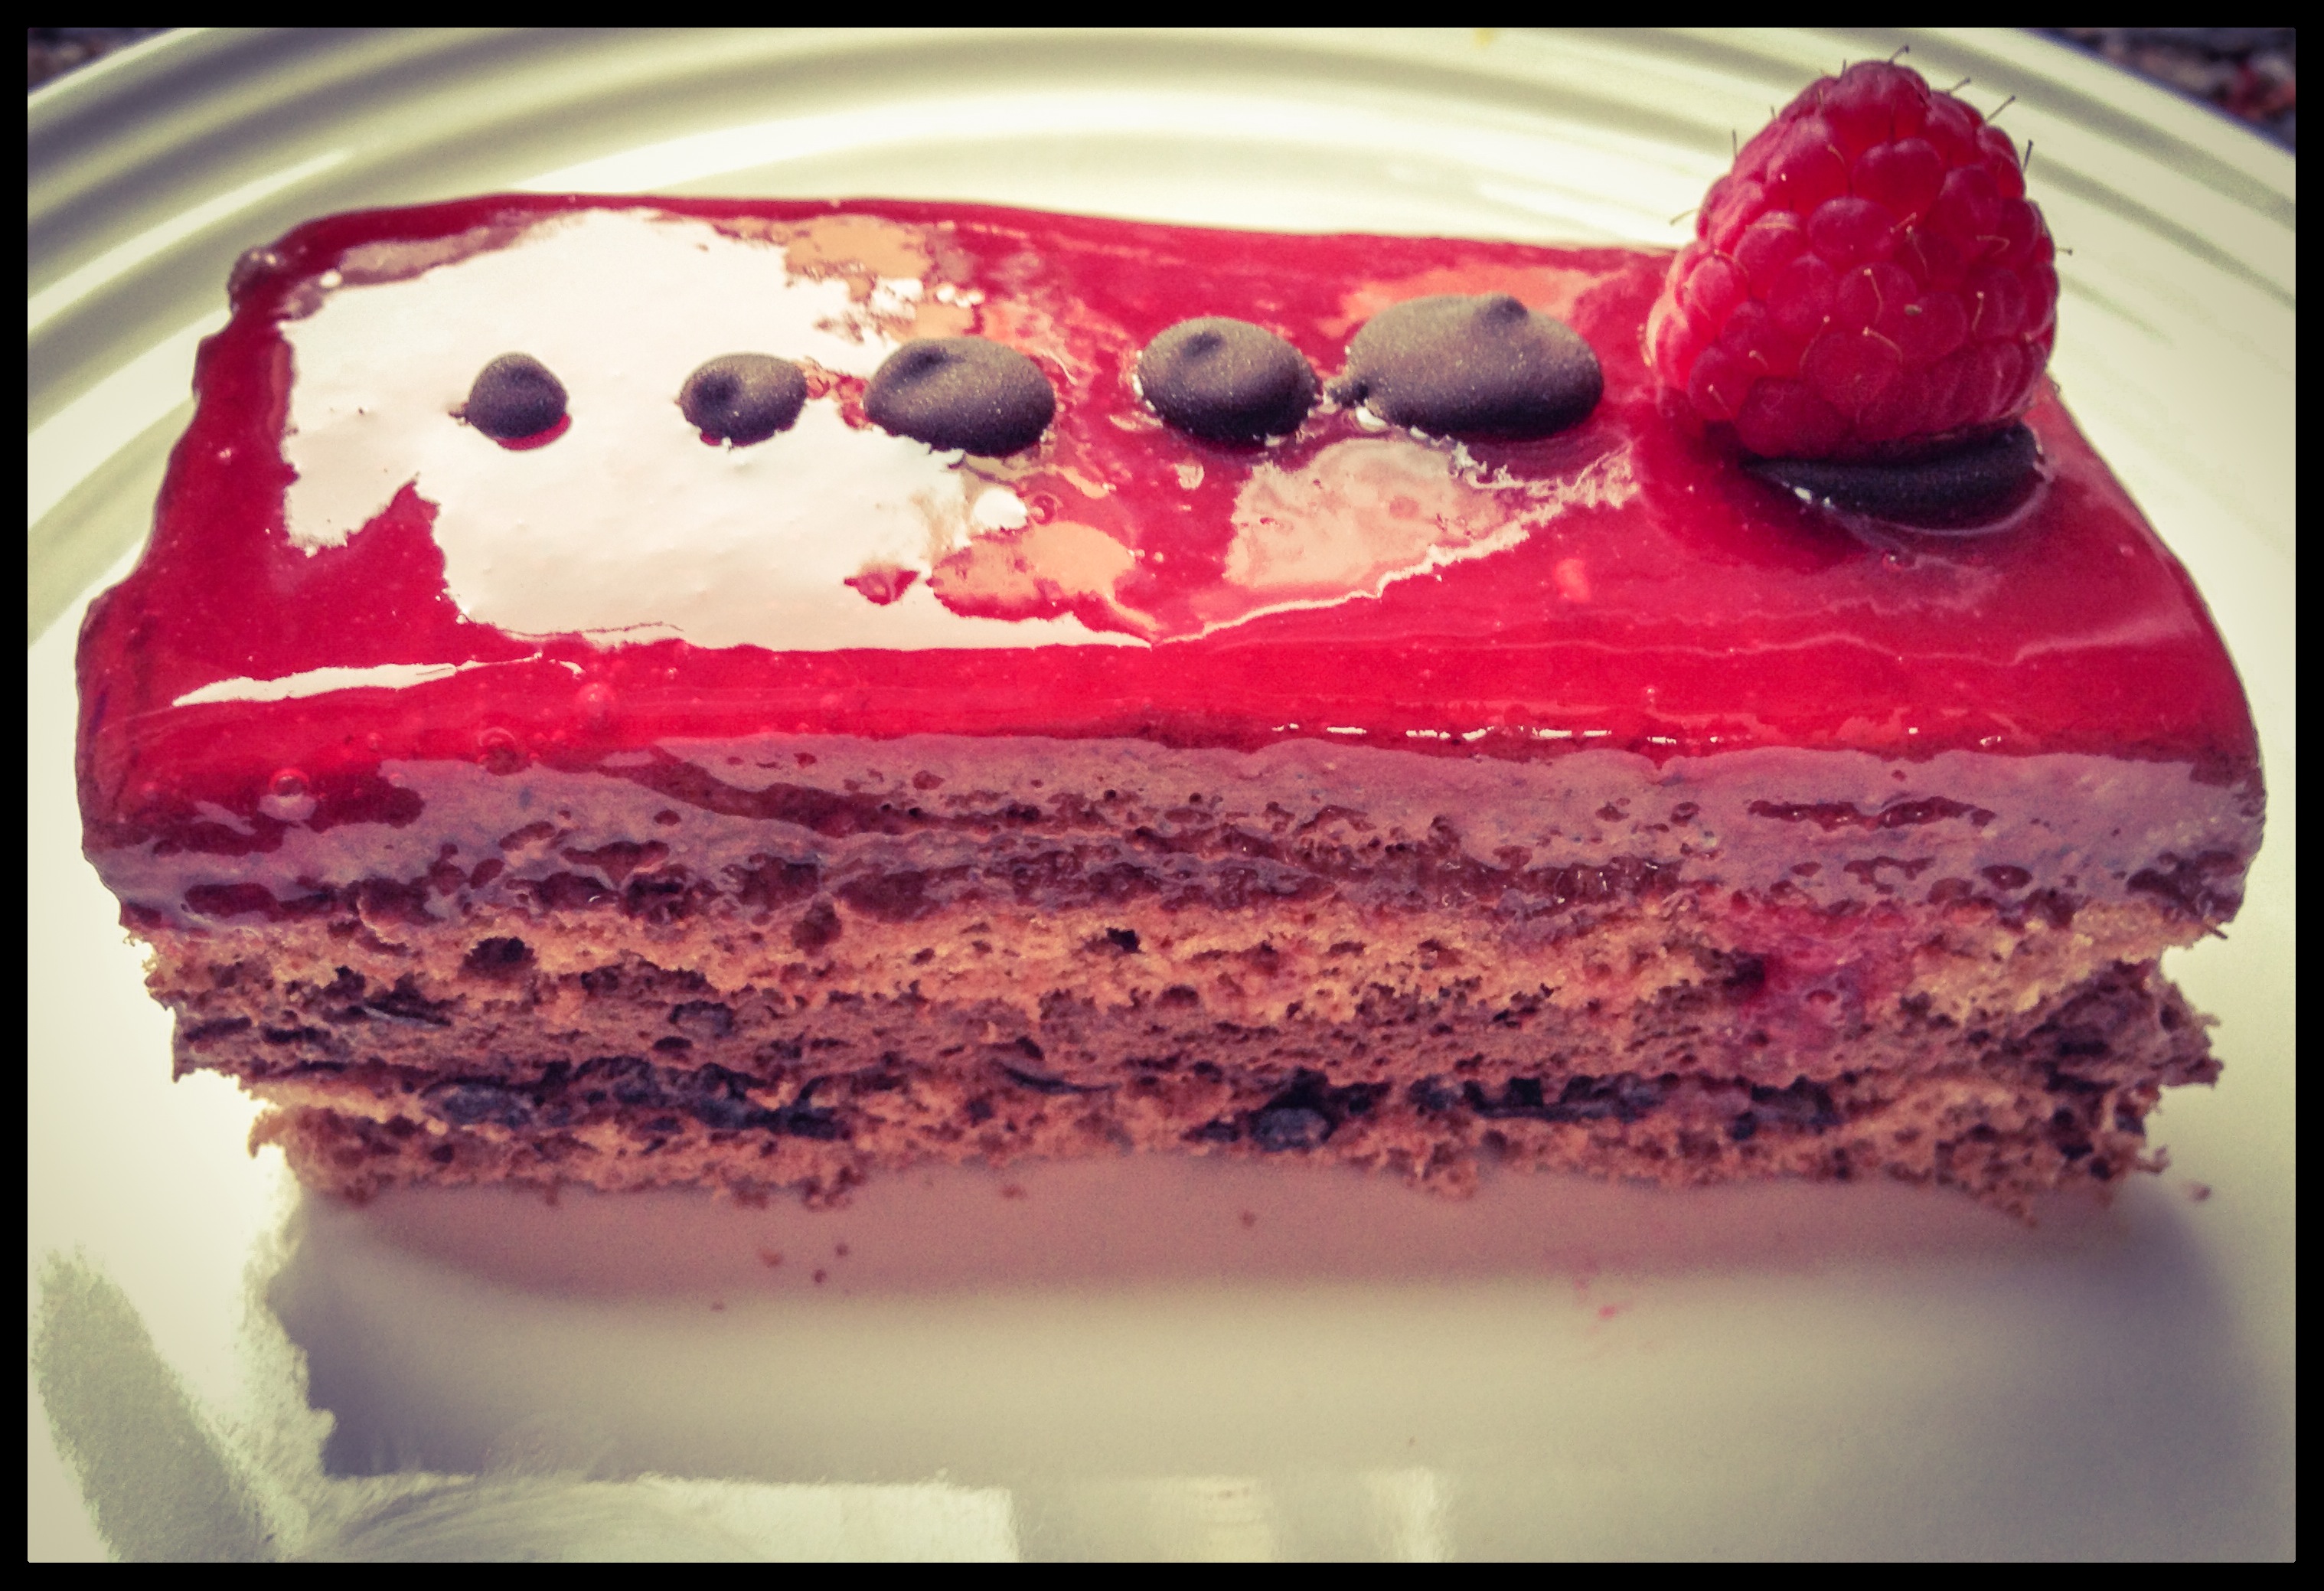
This cake was delicious and looked really good. My favourite is still the Mille-Feuille, however others seemed to love this cake. This will definitely be made again, I may try other fruits with it, perhaps with strawberries or blackberries.
Next week, I will be making the classic Opera cake. This is the cake I have been working up to, it’s a triple layered coffee buttercream, chocolate extravaganza. This will be the last cake from the classic cakes chapter.
Thanks for reading.
Angela
Leave a Reply