
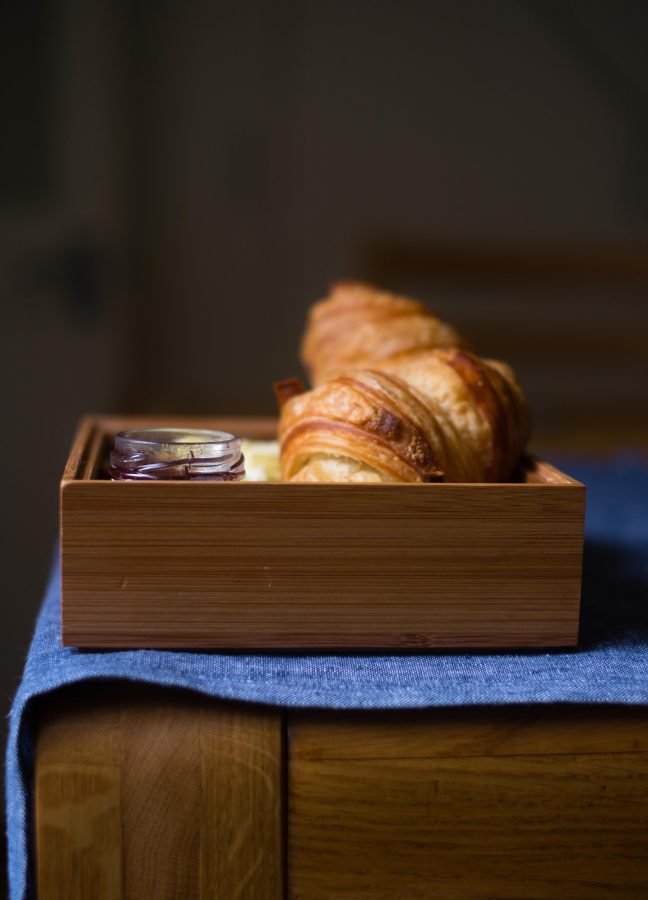
Croissants are iconic, their shape, the flaky pastry and the distinctive layers are what makes them delicious and unique. I’ve made croissants quite a few times on the blog, from wholegrain versions to cronuts, but I always keep coming back to these traditional homemade flaky croissants. Something about the buttery flavour combined with strawberry jam is for me, just perfect, I don’t need all of the icings and fillings.
I did a bit of research before making these croissants and I read all of the different recipes in my patisserie books, to see what the similarities and differences were between them. I finally settled on the Bouchon Bakery recipe because it was the only one that used a poolish. A poolish or pre-ferment is a mix of flour, water and yeast that you prepare the day before and then add to your dough. It’s thought that the poolish helps to improve the taste of the dough and the lifespan.
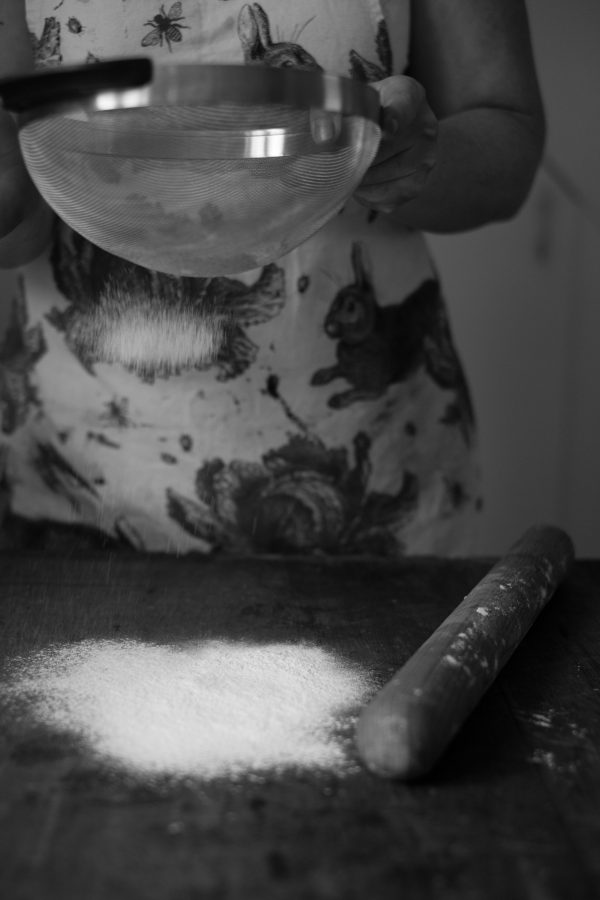
I have to say I really think the poolish improved the taste of these croissants. I made the croissants in batches and I think they tasted better the longer they had been in the freezer. So don’t feel you have to make 16-18 croissants all at once, stagger the baking so that you can have fresh croissants on more than one occasion.
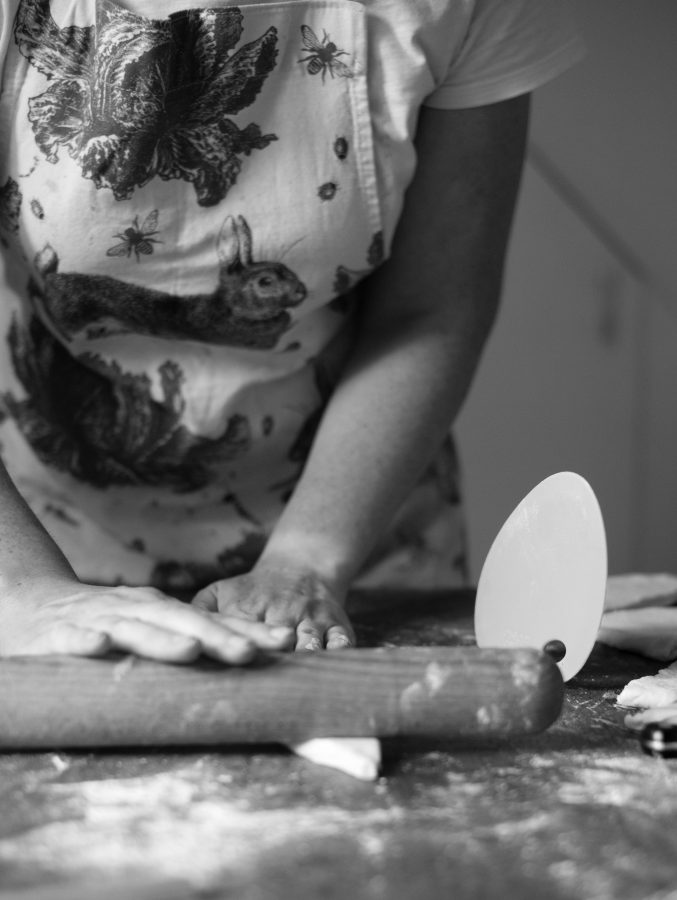
To make these croissants I also had some assistance from some great new Joseph Joseph baking tools, in particular the fin silicone bowl scraper that has a base so you can stand it up when you’re not using it.
They also have a baking utensil that can help with glazing your finished pastries, it’s a great little refillable pastry brush that you put your egg wash or milk into and then you can squeeze it out and use the silicone pastry brush to apply just the right amount.

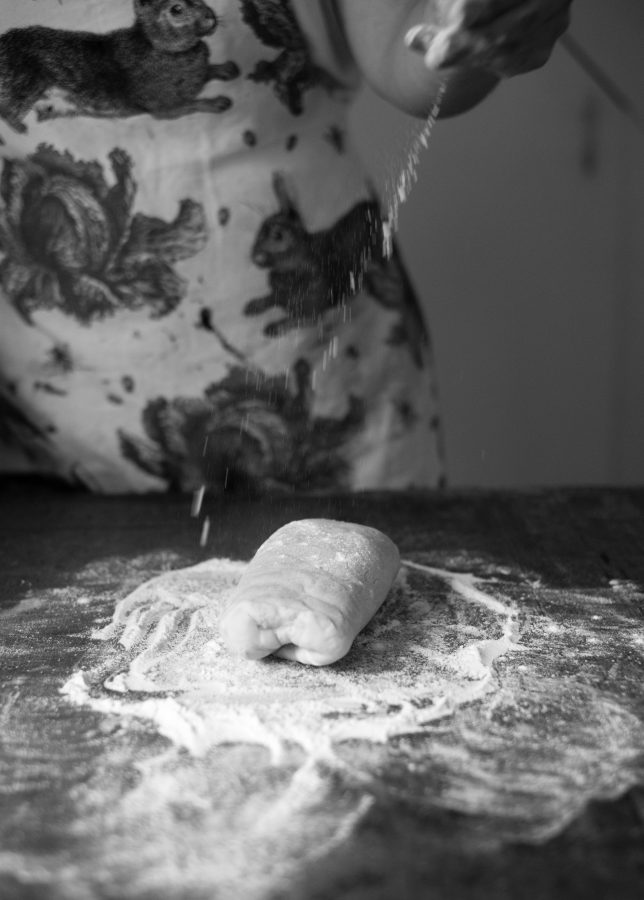
The other main difference with this croissant recipe is that you froze it between turns for 20 minutes at a time, rather than chilling the dough in the fridge for a couple of hours. I found the freezer method worked really well for me and it produced a really great dough. There was lots of lamination and the butter spread very evenly, the pastry was hard to work, you needed very strong arms to roll out all of that frozen butter.
I also rolled these individual croissants out a lot longer than usual, so that you get a tighter croissant with more rolls, this recipe asks you to roll each individual triangle out to 30cm and it made the croissants look much better.


Croissants
Ingredients
- ***Poolish***
- 100 g Strong White Bread Flour
- Pinch of Instant Yeast
- 100 g Water room temperature
- ***Butter Block***
- 330 g Butter in one block
- ***Dough***
- 500 g Strong White Bread Flour
- 75 g Granulated Sugar
- 10 g Instant Yeast
- 200 g Water room temperature
- 100 g Unsalted Butter softened
- 15 g Salt
- Egg
Instructions
- To make the poolish combine the flour and yeast in a medium bowl and mix with your fingers. Pour in the water and mix until thoroughly combined. The mixture should have the consistency of a thin pancake batter.
- Cover the bowl loosely with cling film and let it sit at room temperature for 12-15 hours. The mixture will be bubbly and ready for use.
- Make a butter block by combining the butter on a piece of grease proof paper, then place another piece of paper on top and hit the butter with a rolling pin to begin to flatten it. Keep flattening the butter into a rectangle that is 15cm x 20cm.
- Wrap it tightly in the grease proof paper and refrigerate it until you are ready to use it.
- To make the croissant dough, mix the flour, sugar and yeast in the bowl of a stand mixer fitted with the dough hook and give it a quick mix on the lowest setting to distribute all of the ingredients evenly.
- Pour about half the water around the edges of the bowl of poolish to help release it, then add the contents of the bowl along with the water (holding back 50g) to the mixer.
- Add the butter and mix on low speed for 2 minutes to moisten the dry ingredients. Scrape down the sides and bottom of the bowl to make sure all the flour has been incorporated.
- Sprinkle the salt over the top and mix on low speed for 2 minutes to dissolve the salt. If the mixture feels at all dry add the reserved water in very small amounts as needed. Continue to mix on low speed for 20 minutes.
- Run a bowl scraper around the sides and bottom of the bowl to release the dough and turn out onto the work surface. Stretch the left side of the dough outward and fold it over the centre of the dough, then stretch and fold the right side over to the opposite side, as if you were folding a letter.
- Repeat the process working from the bottom and then the top. Turn the dough over, lift it with a bench scraper and place the dough back in the mixing bowl. Cover with cling film and leave to sit at room temperature for an hour.
- Prepare a baking tray with baking parchment, uncover the dough and use a dough scraper to release the dough and turn it out onto a floured surface. Gently but firmly pat the dough into a rectangle approximately 25cm by 19cm, press any large gas bubbles out of the dough and place the dough on the baking tray and put it in the freezer for 20 minutes.
- Lightly flour the work surface and a heavy rolling pin. Turn the dough out onto the work surface and lightly dust the top with flour. Roll the dough outward from the centre, rotating it frequently and flipping and fluffing it from time to time, adding just enough flour to the work surface, dough and or pin to prevent it sticking until you have a rectangle of dough that is around 1cm thick.
- Lay the butter block across the centre of the dough, stretch and fold over the two longer sides so they meet in the centre and pinch them together to seal.
- Using the rolling pin, press down firmly on the dough across the seam from one side to the other to expand the dough. Turn the dough so a short end faces you. Roll to expand the length of the dough turning the dough over and adding flour only as needed, until you have a rectangle that is 50cm by 22cm and 1cm thick.
- Fold the bottom third of the dough up as if you were folding a letter. Fold the top third down to cover the bottom third. Turn the block 90 degrees, so the dough resembles a book with the opening on the right. This completes the first turn, return the dough to the pan, cover with clingfilm and freeze for 20 minutes until the dough is stiffened but not hard.
- For the second turn, lightly dust the work surface with flour, place the dough on the surface with the opening on the right. Work quickly with the dough so it doesn't warm up, but be careful not to expose the butter.
- Expand the dough by pressing firmly with the rolling pin, working up the length of the dough. If it cracks, stop a minute and let the dough warm a bit more at room temperature. Roll out the dough as before to a rectangle that is 50cm by 22cm and 1cm thick. Repeat the letter fold as before and return the dough to the freezer for 20 minutes.
- For the final turn repeat the same as the step above and then place the dough back in the freezer for 20 minutes. Cut the dough crosswise in half, making two rectangles. Cover two baking trays with parchment paper.
- Lightly flour the work surface. Remove one piece of dough from the freezer and position it on the work surface with the short end towards you; transfer the second piece of dough (if using at this time) to the fridge.
- Roll the dough out to a rectangle 50cm x 20cm. Turn the dough so that a long side is facing you and trim it to a neat rectangle. Trim the remaining sides only as needed for straight edges.
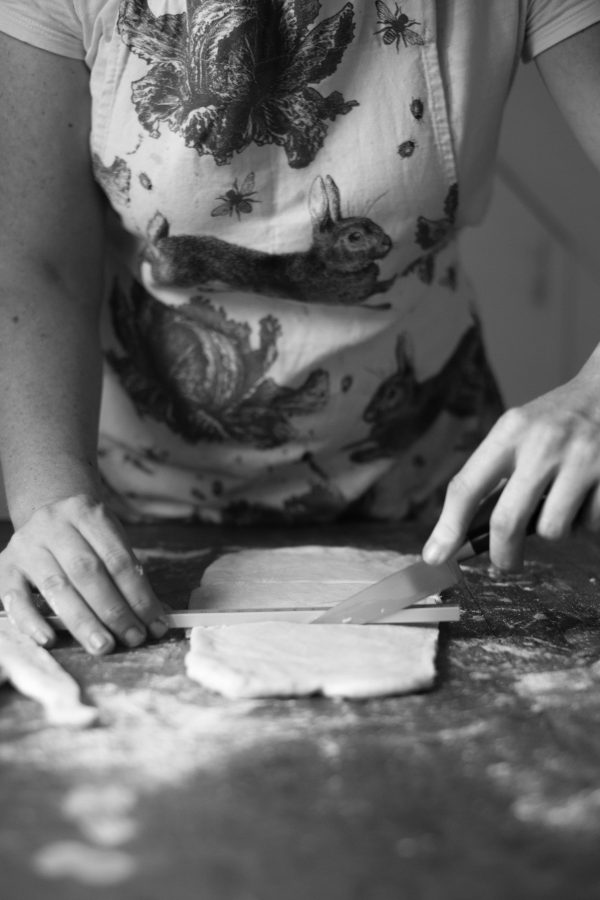
- Cut the dough in half, so that you have two squares. Then cut each square in half so that you end up with four rectangles. Cut each rectangle diagonally so that you end up with 8 right triangles.
- Hold one triangle up by the base with one hand and, using your fingertips, gently pull the dough until it is stretched to about 30cm.
- Put the dough on the work surface, with the base of the triangle close to you. cut a snip in the middle of the base about 1.5cm long, roll the dough up from the wide end to the tip. Put on a prepared sheet with the tail tucked under. Repeat with the remaining 7 triangles of dough, spacing them evenly on the baking tray.
- If baking all the croissants now, repeat these steps with the remaining dough in the fridge until you have 16 croissants.
- Brush the croissants with the egg wash, cover the pans with plastic tubs or cardboard boxes and let prove for about 2 hours.
- Position the racks in the upper and lower two-thirds of the oven. Preheat to 170C Fan/190C/350°F.
- Brush the croissants again with egg wash. Bake for 35-40 minutes, rotating the pans once halfway through baking and separating the croissants if they are touching, until the tops are a rich golden brown and no portions, particularly between the layers, look under cooked. Set the pans on a rack and cool completely.
The finished croissants were flaky on the outside and nice and fluffy in the middle with lots of layers and pockets of air, they were the best croissants I have made, you should definitely try this recipe.

 Thanks for reading.
Angela
The baking utensils were provided to me for free by Joseph Joseph and they are part of a new baking range including a whisk, sieve and a nest of bowls. These can all be bought from the Joseph Joseph website.





nicole Cameron
Hello,
your page is amazing ! thank you so much for sharing , I attempted this recipe from the actual book last friday the flavour was sensational but I did not get good expansion in the oven or much rise while proving. I also wanted to mention that the original recipe calls for all purpose flour not bread flour, was this a personal choice to change ? i might do the same for better results.
patisseriemakesperfect
Hi Nicole – thanks for your lovely comments.
I have to be honest, this post is quite old and it was actually the last time I made croissants! I have a feeling I thought ‘All-purpose’ flour was bread flour. I can see from a quick google that it isn’t. I was really pleased with how these came out, you could always use a combination of plain and strong white bread flour (which I do for choux pastry) and see how that works.
I’ll have to try making these again soon, as I miss a good croissant.
nicole Cameron
Thank you so much for your speedy response x il share my results with full bread flour recipe.
Amy Pinkos
These turned out horribly. I didn’t read the comments and therefore ended up using full bread flour. They were pure garbage. If APF is supposed to be used then the recipe should be changed. Because I literally just wasted hours of work. Not to mention the wasted ingredients.
patisseriemakesperfect
Thanks Amy for your comment, firstly I’m not based in the US, so it’s not possible to get APF – which I assume is All Purpose Flour, I used bread flour and did not have any problems with this recipe.
I’m sorry that the free recipe I made available for you to use was not up to scratch, but as you will see from the reviews plenty of others managed to make successful croissants.
Danielle
Your croissants looked so amazing! I’ve been wanting to give this Thomas Keller recipe a go but my results were not too successful. My end result were were hard, overly crunchy croissants and even though I had layers(my butter block did shatter while I was rolling out the dough but it did not leak and I had a lot of layers) they didn’t taste like a regular croissant. They are definitely buttery; but they have a more yeasty, bread-like smell and taste (closer to a scone or roll than a croissant). I was wondering if you may have a clue as to where I could have gone wrong? That would be a great help. 😊
Danielle
patisseriemakesperfect
I have had this exact problem with cracking butter before and I think it is because your butter block was too cold. You don’t want the butter so cold that you can’t roll it out as you want it to disperse evenly throughout the dough.
Ideally you want your butter and dough to be the same temperature – so taking the temperature of both before you start joining (rolling) them together might be a good idea.
Did you use fresh yeast? Or instant yeast? I have used both and I haven’t had the yeasty smell issue. With regards to how crunchy they were, the only other thing I can suggest is trying different temperatures or cooking times as each oven is different. Adding a little water to the oven on a shallow tray may help the croissants steam as they cook too. Most professional pastry kitchens/bakeries add steam to their bakes.
I hope all of that helps. I am going to try making croissants again sometime soon. I will try a different recipe to see what results I get.
Danielle
I did use instant yeast so maybe I. Will try and use fresh and see if the result is different.
I’ve heard of the steam oven trick and will definitely give it a go, along and letting my butter soften to fix my shattering issue.
Thanks so much for the help and good luck trying that new recipe! 🙂
elfhaven13
Beautiful, my layers didn’t come out half as beautiful as yours (,not even close actually) lol . I’ve got Bouchon Bakery , love Thomas Keller recipes but for some reason I never tried the croissant recipe. You have definitely made me a convert. Your croissants would be hard to beat. Thanks Angela, you’re my hero 🙂
topazalbans
Having spent some time in Paris recently, I was on the hunt for Koughin Amann recipe and figured you had to master croissants first. So three different recipes that failed I have landed with yours. So far so good and am at the “leave dough covered for an hour at room temp” stage. I have a question – can you make the poolish over a week? I’m thinking of starting it and leaving it in an airing cupboard for a week – would this work or does the yeast in essence become saturated and fail to work?
patisseriemakesperfect
I think that a week in an airing cupboard would be too long and too hot to leave your poolish as it would exhaust the yeast. I think you’d be better off using a sourdough starter for your croissants if you wanted a ferment that long – but that isn’t something I know a lot about I’m afraid.
Why would you want to leave it for as long as a week? Also I think a more ambient room temperature would be better than an airing cupboard – that would be more useful for the final proofing.
Any other questions please let me know.
Angela
topazalbans
Hi Angela,
Thank you so much for the reply, I have now tried the recipe a few times and cant quite get the results.
I am having two issues:
1) the inner layers of the croissants dont seem to rise and lift, instead they seem to sit as raw / slightly cooked dough but appear quite thick. The outer layers are perfect, crispy and flaky. I had assumed this was due to the lack of the poolish rising. So thought it was better to leaving it longer. I have since started a batch today to rise at room temp (I’m in the UK so not overly warm to be honest) and will let you know how that goes.
2) I seem to have large butter pools when the cooking is finished, which I think is due to the butter melting a little during the layer process
3) On the final proofing will take your advice and try the airing cupboard to see if that helps things along.
One other thing I wanted to check – I have found one reference to using Malt in the poolish to help accelerate the yeast. Is that required as I do not see it listed or mentioned in your recipe.
patisseriemakesperfect
Hi, I’ve read the recipe through a couple of times and I cannot see any reference to malt. Can you let me know which bit you’re referring to, in case it’s my eyes!
The butter pools are normal and can’t be helped but if your croissants aren’t too fragile I would move them to a cooling rack when cooked so they stay crisp.
These will remain quite soft and fluffy inside, the only thing I can suggest is to try cooking them for a little longer on a slightly lower heat, it could be an oven issue, or it could be that when rolling the pressure isn’t as even, so the insides of the dough are thicker than the rolled edges – hope that makes sense.
Thanks
Angela x
Mariam
Can I half the recipe , coz as first try I wanna make a small batch ? Can you tell me plz the excat measurement for the dough ?
patisseriemakesperfect
I haven’t halved the recipe so I cannot say if it would work. The ingredients would be half of whats included and then you would need to halve the size you roll the dough out to, so 25cm x 10cm.
With dough like this, if the quantity gets too low it can be very difficult to work with. Thanks Angela
Azza
I baked my croissant today,I followed your instructions from A_z ,and you were right when you said,”
The finished croissants were flaky on the outside and nice and fluffy in the middle with lots of layers and pockets of air, they were the best croissants I have made, you should definitely try this recipe.I’ve tried two recipes before you,the first one was buttery, flakey,but no pockets of air,, which I was looking for, these pockets.I will definitely make it again,it was awesome, stunning, thanks for your instructions and inspiration.
I have a question,on baking the croissant,I found the butter out of the croissant,the backing pan was full of butter,,any suggestions why was that,
Many thanks for your instruction s.
patisseriemakesperfect
Hi – thank you for your comments, yes I found a lot of butter leaked out too, but I don’t think there is very much you can do about that as it comes out of the layers of pastry. As soon as the croissants are out of the oven I would take them off the tray and let them cool on a rack, so that they stay crispy and don’t stick to the pan.
Honey
Hi, I’m planning to make it today, but I have a question with the poolish, is it really 12-15 hrs.? Thanks.
patisseriemakesperfect
Hi, yes it really is I’m afraid. In professional bakeries croissants can be up to a 3 day process.
I would normally do the Poolish the day before and leave it overnight.
This is a Bouchon Bakery recipe, so it is their method. Thanks and good luck with it all. x
Elaine
One of the best things I can imagine is having a croissant early in the morning outside of my favorite cafe. Although, something even better is making a croissant like this at home. And this recipe is just perfect!
patisseriemakesperfect
Thanks Elaine – if you have the time I really urge you to try this recipe, it tastes so amazing.
Makos@thehungrybites
I’m still salivating! These look absolutely incredible!
Oh, and I love your blog’s name!
patisseriemakesperfect
Thank you so much. This is such a great recipe, do give them a try!
Liz | Bubble Tea For Dinner
I just pulled off my first successful puff pastry today, and my last batch of croissants were NOT as beautiful as yours. Thank you so so much for posting the Bouchon recipe, I’m absolutely still going to get the cookbook, but it bugged me that the recipe I used before was such a fail. Also, I’m also a self-taught pastry cook, it’s awesome to find others! Cheers. ^^ .
patisseriemakesperfect
Well done. Homemade puff pastry tastes so much better than shop bought. Definitely try the recipe and let me know how you get on. Great to find someone likeminded.
insidetherustickitchen
Wow the photo with the croissant cut in half is amazing. It looks so airy and light, I bet these taste incredible!
patisseriemakesperfect
These are incredible, they’re my 4th attempt at croissants and I think they’re the best recipe I’ve used. Thanks for such lovely comments.
Luci {Luci's Morsels}
Croissants are one of my favorite pastries, but always looked so intimidating to try to make at home. Thank you for inspiring me to tackle it!
Luci’s Morsels | fashion. food. frivolity.
patisseriemakesperfect
Luci you should definitely try them, they just take a bit of time, but you can fit making them around other things, a bit like bread making. They’re so worth it.
Everyday Sarah Jane
These look absolutely perfect. I feel like I can almost smell them through these pictures…and therefore…I’m drooling for one! {or two!!}
patisseriemakesperfect
That is exactly the reaction I was hoping for! These croissants are so good, you won’t be disappointed if you make them. x
Platter Talk
That’s some cross section shot you have of your croissant! Beautiful pictures and great tutorial! Oh. And I love your apron. : )
patisseriemakesperfect
Thank you so much, I was so proud of the layers in these croissants. The apron is a real favourite of mine too.
Amanda | My Gluten-Free Miami
Wow! Those are beautiful. That photo showing all the flaky layers is incredible.
patisseriemakesperfect
Thanks so much Amanda – these croissants taste so good, the flaky layers are great.
li
did you ever try to freeze croissant dough? i plan to bake only half the recipe today and leave the rest in the freezer for a few days….
patisseriemakesperfect
Hi – this freezes really well. I freeze the dough before shaping it into croissants and it works really well. I chopped the dough into 3 and baked it over a number of weeks. You can also roll and shape the croissants and freeze them on a baking tray before their final prove. Then defrost them in the fridge overnight, or allow them to thaw outside of the fridge. Hope that all helps.
Jodie Dodd
I love croissants! And like you, I prefer them simply, either just with butter or plain. I actually love to use croissants to make sandwiches. I’m really impressed with those little swirls of butter in the first picture, looks so cool. I’ve never made croissants but I love to make bread so I may give it a try some time. 🙂
patisseriemakesperfect
Ah Jodie great minds agreeing about the croissants 🙂 The butter was just done with a knife, I like the idea of using them to make sandwiches, what do you put in them?
Hannah Hossack-Lodge
The croissants look perfect! And your photos in this post are gorgeous – really beautifully styled and the light is lovely 🙂
PatisserieMakesPerfect
Thanks Hannah – I thought I’d try something different this time, so I got the tripod out. The light I was so lucky with, as I took these pictures a few days apart. x