Recipe: Selection of Truffles (Hot Cross Bun, Milk Chocolate, Almond Praline), homemade honeycomb and chocolate eggs
Level: Intermediate
Techniques: Tempering Chocolate, Honeycomb, Ganache, Praline
This week in honour of Easter and all things chocolate I decided to take a break from Christophe Felder’s book and I made some cocoa-based treats.
I started off with some grandiose ideas. I wrote lists, researched recipes and located the equipment I would need.
I planned to make fudge, honeycomb and about four to five different kinds of truffle. Once production began in my humble kitchen, I quickly scaled back these ambitions. Time and a lack of skill were against me.
I’d made truffles before and covered them in chocolate that I had tempered. However, these were the hand-rolled kind and they did look a little bit like sprouts/urchins. I knew I wanted a more polished look this time round.
So I took to twitter and approached a Manchester-based Chocolatier and Pâtissier for some advice. I never expected to receive so much help, nor for him to share such a wealth of knowledge with me.
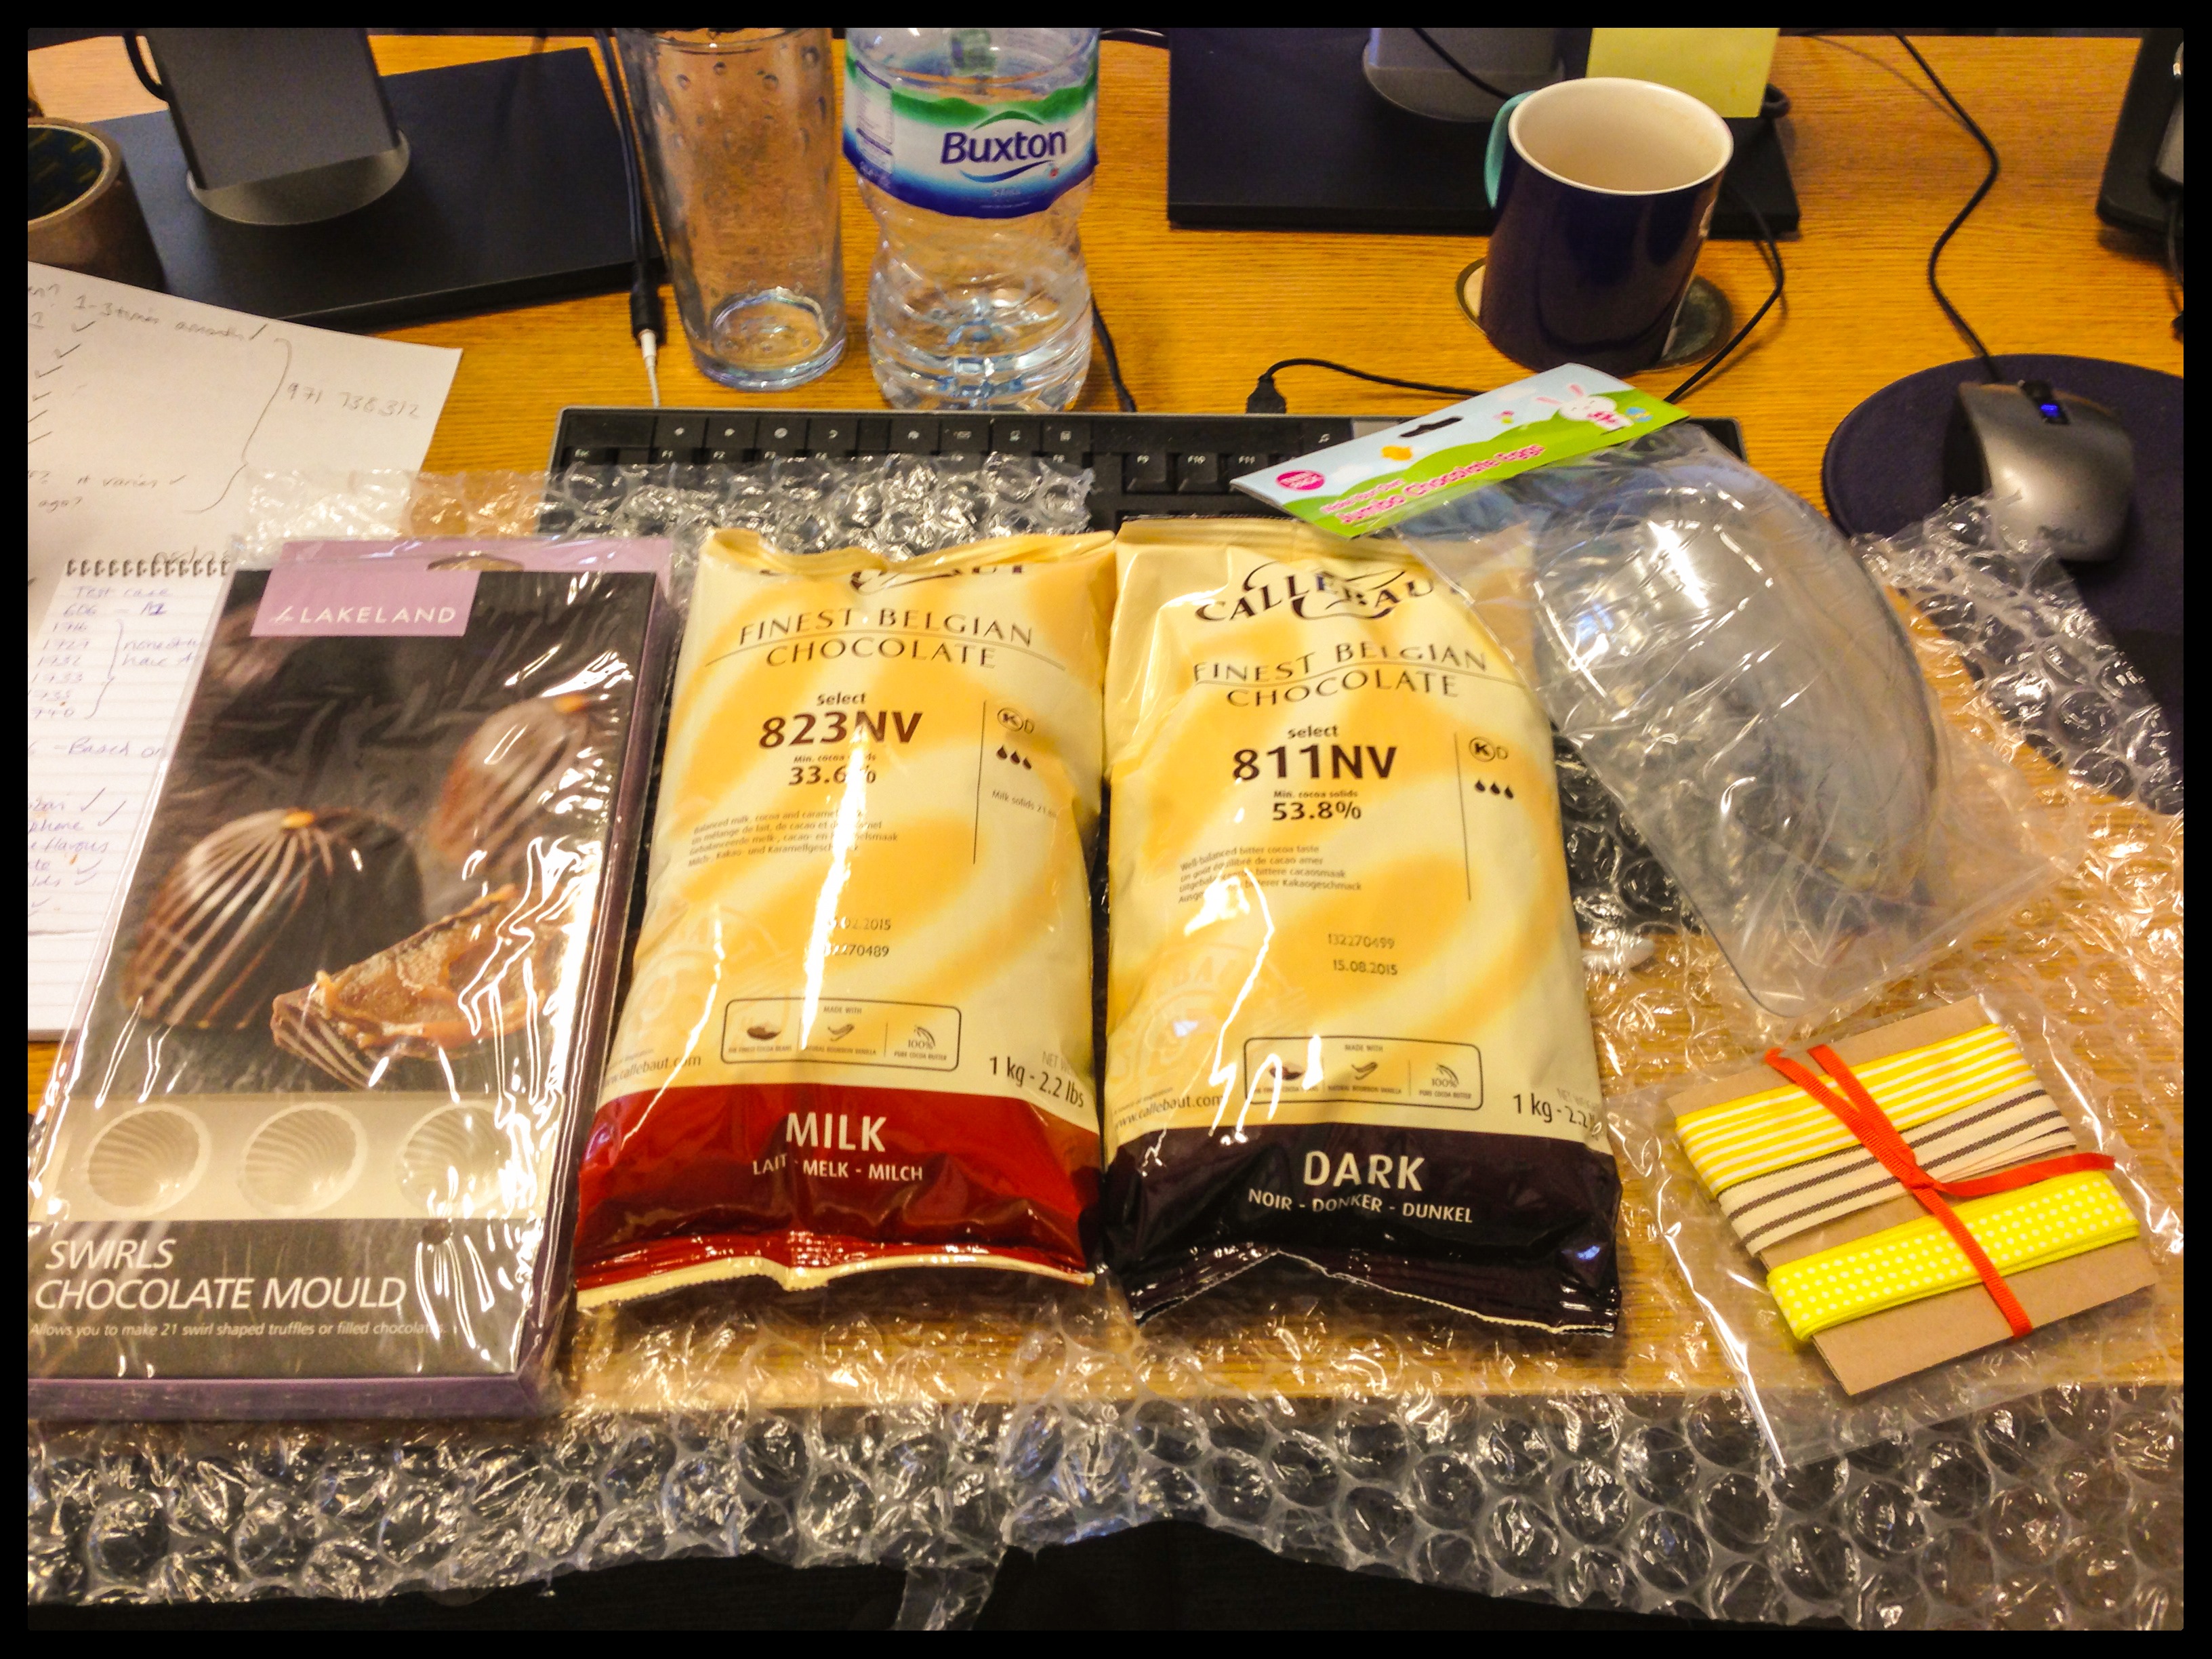
Sam of Sam Joseph Chocolates was hugely helpful, offering to answer any questions I had over email. He provided me with a basic recipe for milk chocolate ganache, information on where to source good quality chocolate (at an affordable price), the type of moulds to use and advice on tempering chocolate.
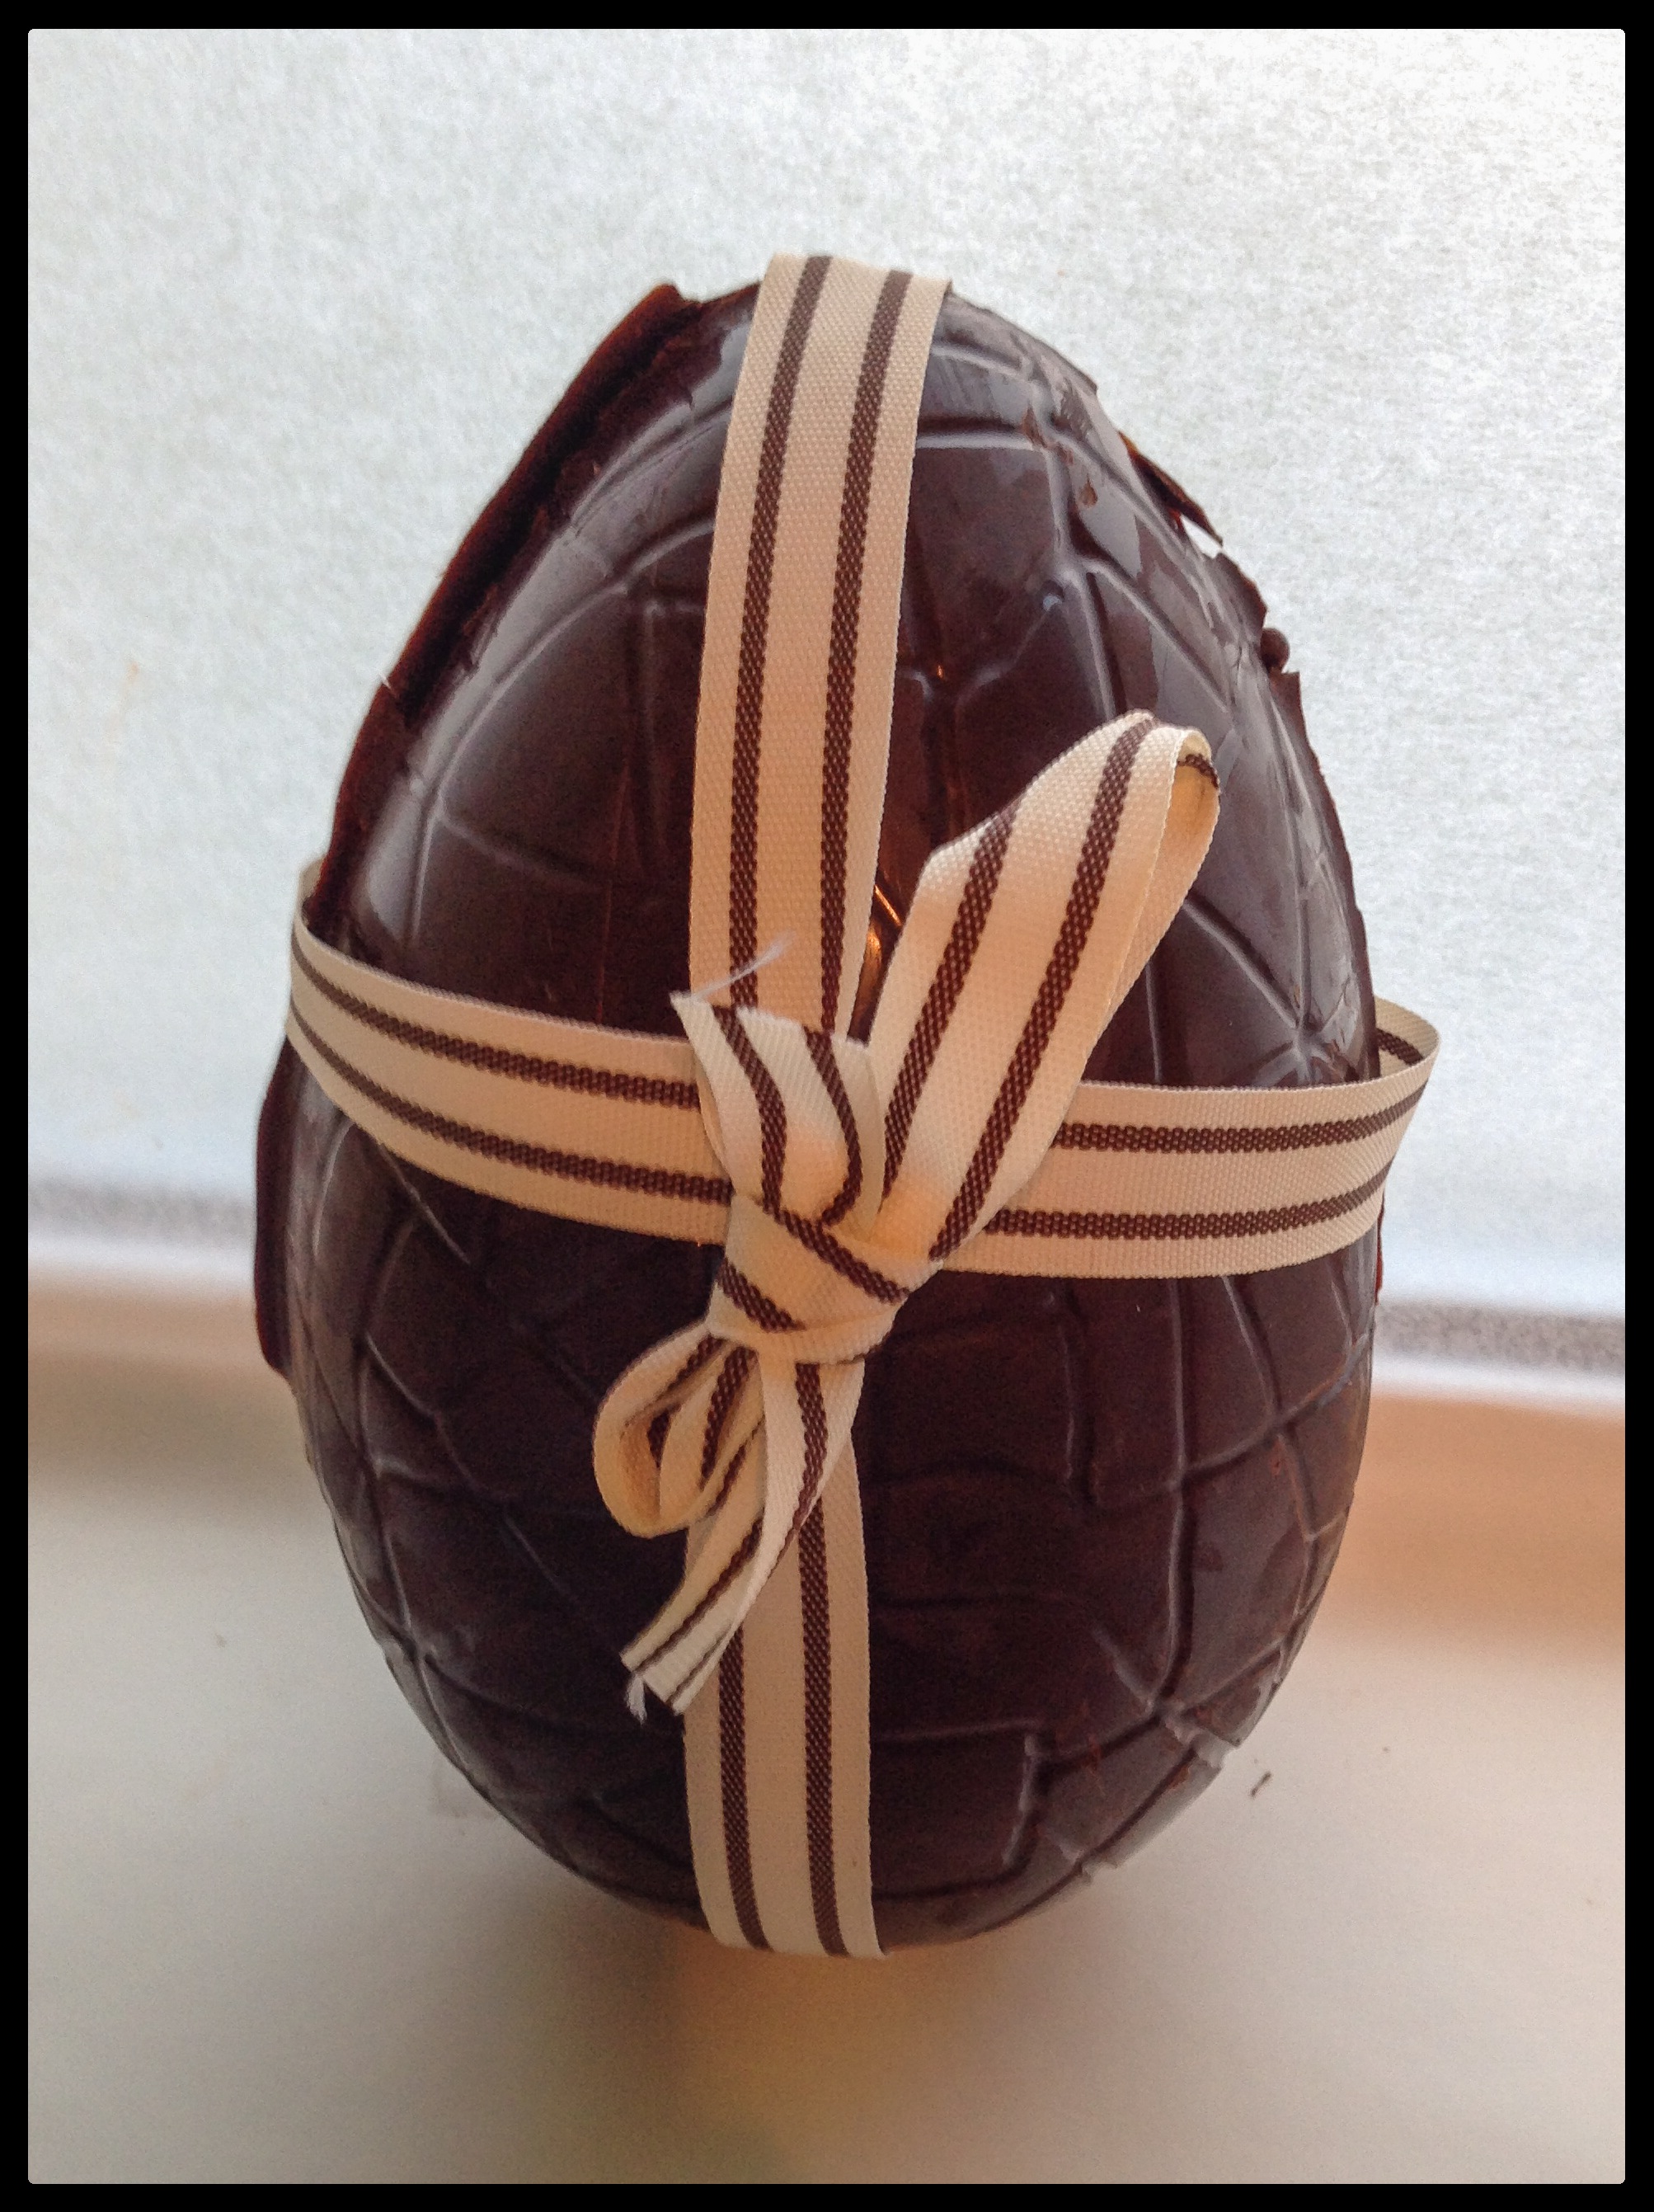
Armed with this information I ordered moulds for both truffles and eggs, two kilos of chocolate(!) and some decorative ribbon.
I began with a practice run of the truffles. My plan was to make Amaretto flavoured truffles. This quickly changed to Morgan’s Spiced Rum truffles when I realised that I didn’t have any Amaretto left in the alcohol cabinet at home. Oops!
Sam’s advice was that a ganache should generally be a 2:1 ratio of chocolate to whipping cream. He also recommended melting the chocolate and heating the cream, then combining the two.
Normally the method advised is that the cream is heated and then poured over the chocolate and used to melt it. I found that the ganache was much silkier using Sam’s method.
With the ganache made, I left it to cool and began tempering my chocolate.
Tempering chocolate means to melt chocolate gently and then cool it in a controlled way until a desired temperature is reached and then heat it back up to your chosen temperature.
Why temper your chocolate? Well, tempering ensures that the chocolate will have a nice snap to it when set and it will have a shiny glossy finish. Un-tempered chocolate generally dries out white and can be grainy, it also will bend rather than snap in two.
So how do you temper chocolate? Well I used the ‘seeding’ method. I weighed out 300g of dark chocolate and put half of it in a bowl and sat it over a pan of simmering water. I melted the chocolate until it reached 55˚C and then took it off the pan of water and added the remaining un-melted chocolate.
I continued to stir the melted and un-melted chocolate, until all of it had melted and I had achieved a temperature of 27-28˚C. I then heated the chocolate very gently until the temperature rose to 31˚C. This is the recommended temperature for dark chocolate and 29-30˚C for milk chocolate.
My chocolate was then ready to use.
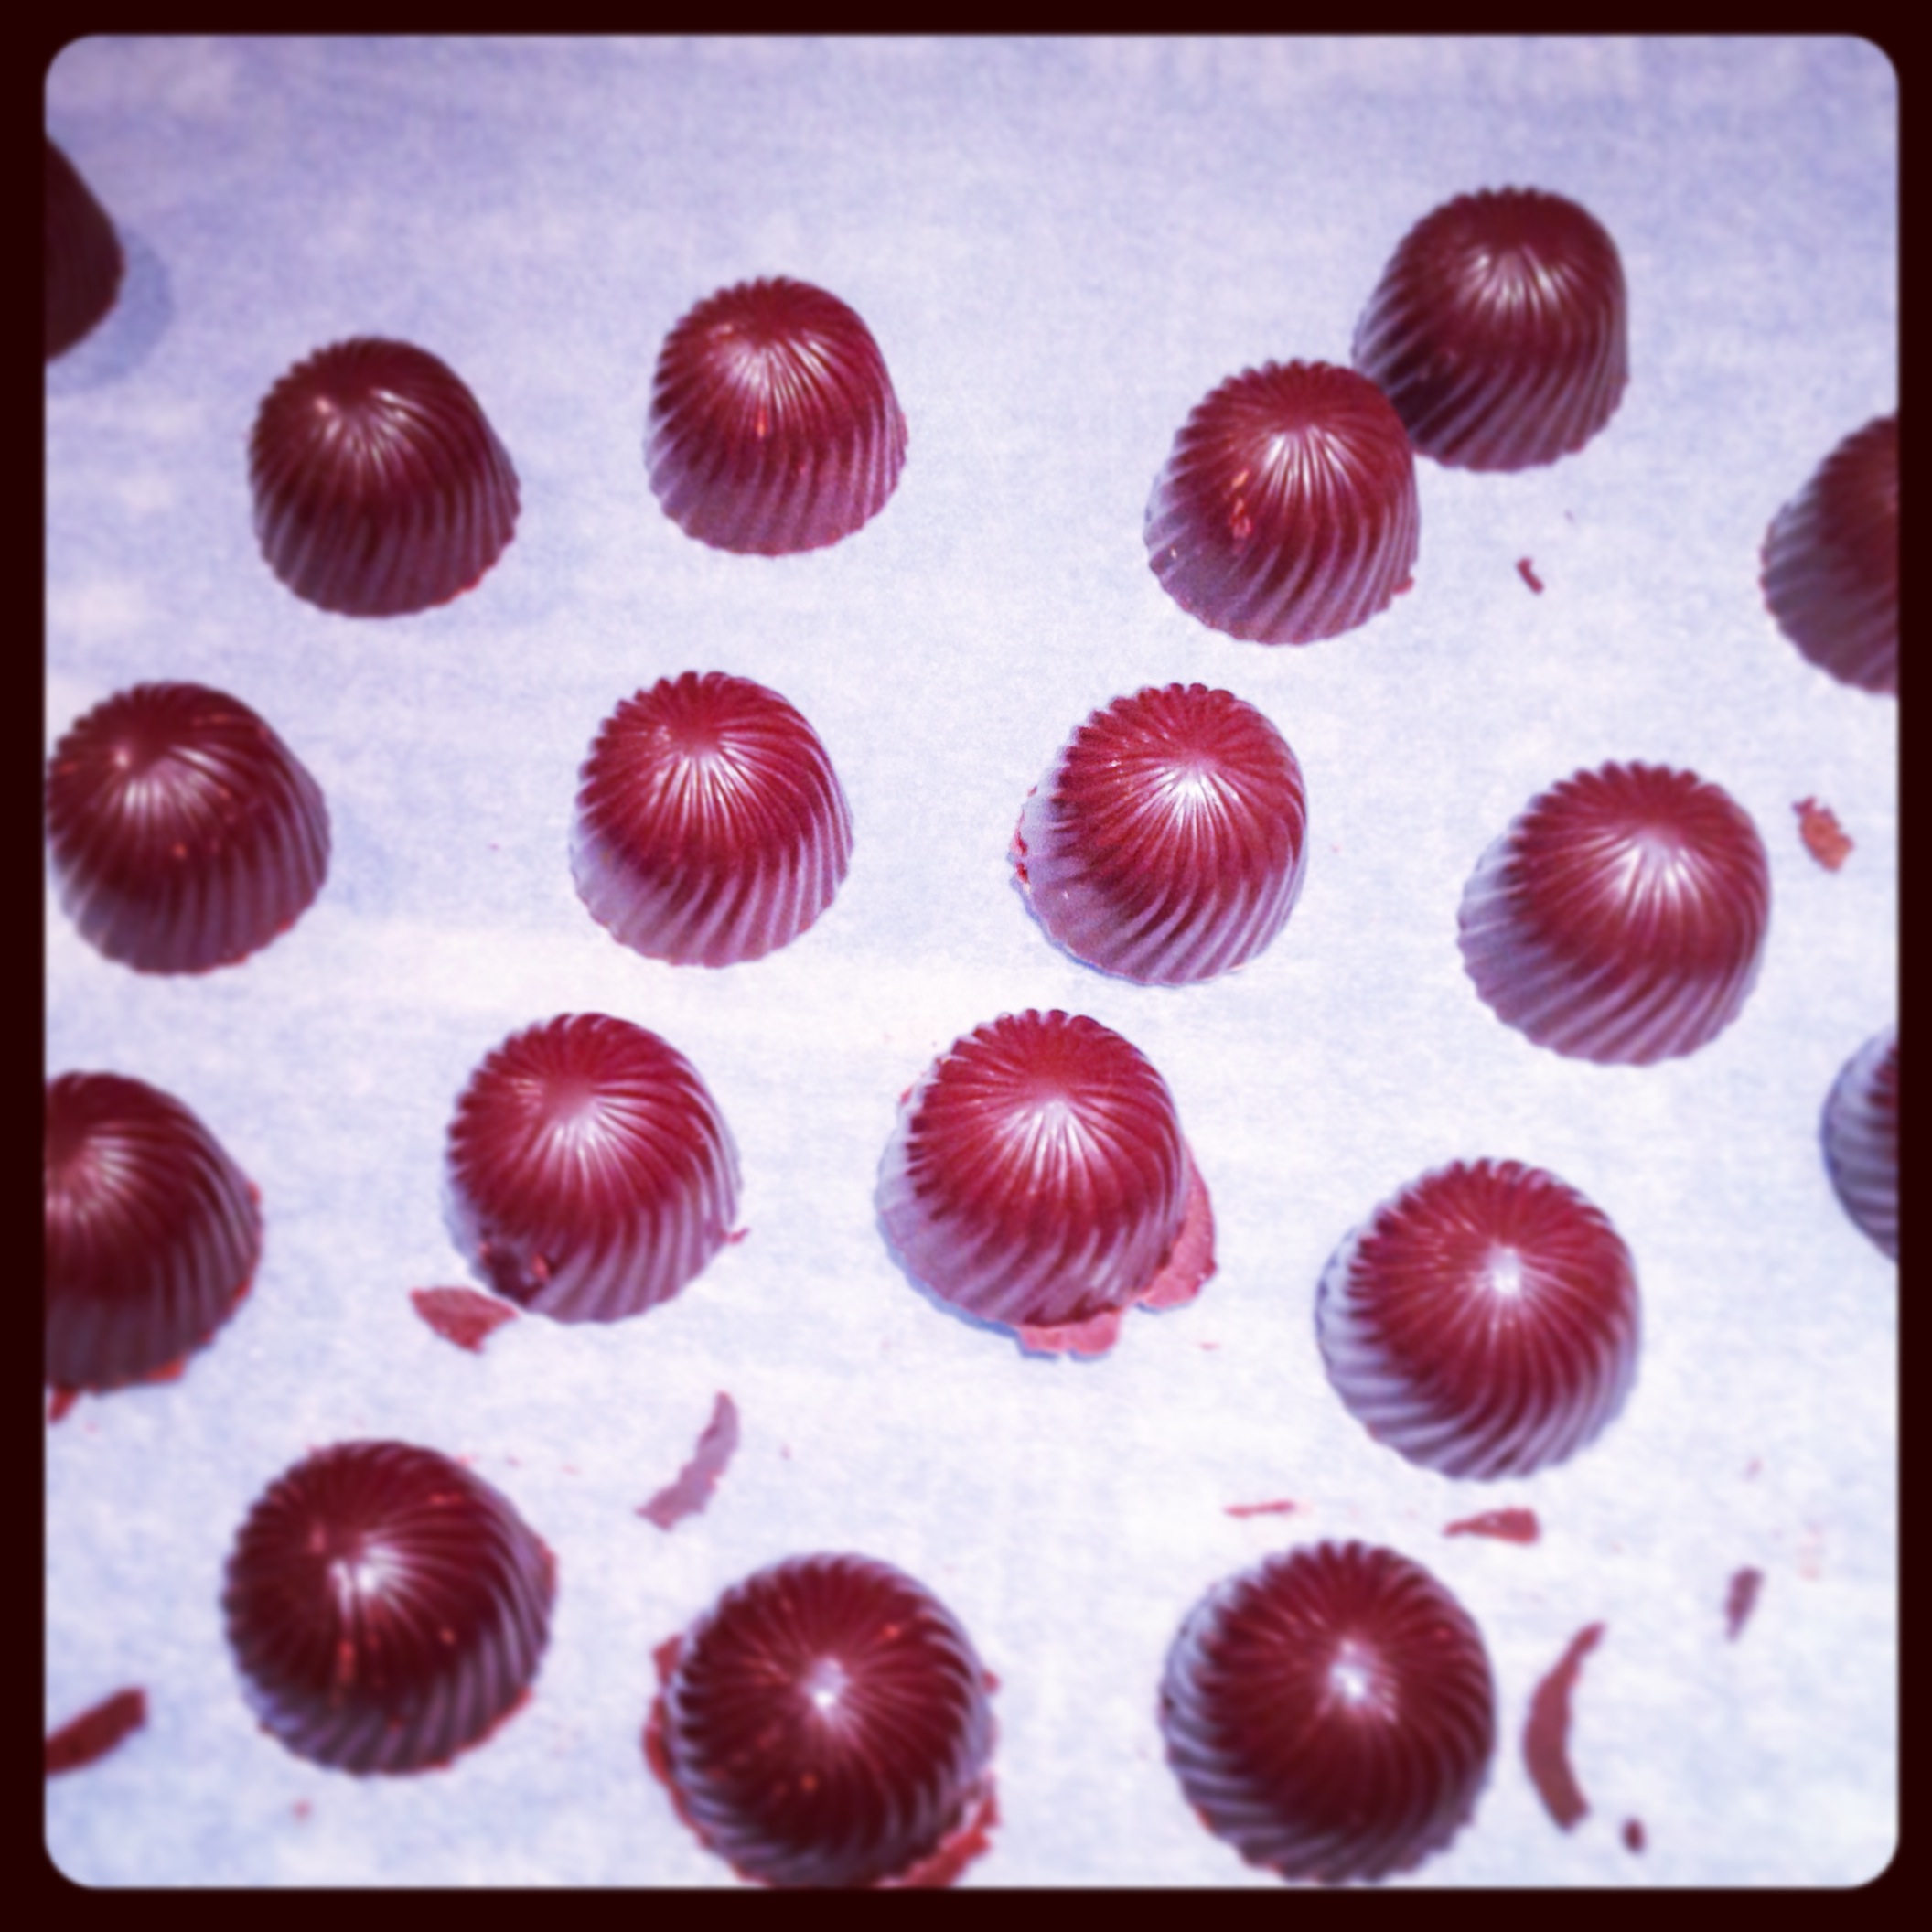
I bought some truffle moulds from Lakeland that have been designed in conjunction with Paul A Young. The other equipment I needed was a scraper. This is how I removed the excess chocolate from the mould.
I cleaned the mould using some cotton wool, this was to make sure that there wasn’t any dust or fluff that would affect the finished result.
Then the chocolate is poured into the mould and you gently tap the mould to disperse the chocolate, ensuring that all of the holes are filled. The excess chocolate is then poured back into the bowl.
Lastly take the scraper and place the mould on a flat surface, scrape off the remaining excess so that the truffles are left with a sharp edge. This video gives a great demonstration of how to fill the moulds.
I then placed the mould in the fridge and waited at least 15 mins for the thin layer of chocolate to set. Then I piped the rum ganache into the holes, taking care not to overfill the crevices. The last step was to add a layer of chocolate to ‘seal’ the truffles.
I simply poured the remaining tempered chocolate over the mould, gave it a tap and then used the scraper to spread the chocolate out and remove the excess. The finish you want is so that there is minimal chocolate on the actual mould and it’s all inside the holes.
Then I left the truffles in the fridge for an hour to set. To get the truffles out of the mould I flexed it between my hands and lightly tapped the back of it with a rolling pin. They should just fall out. Some of mine didn’t and I ended up giving it a really good whack with the rolling pin.
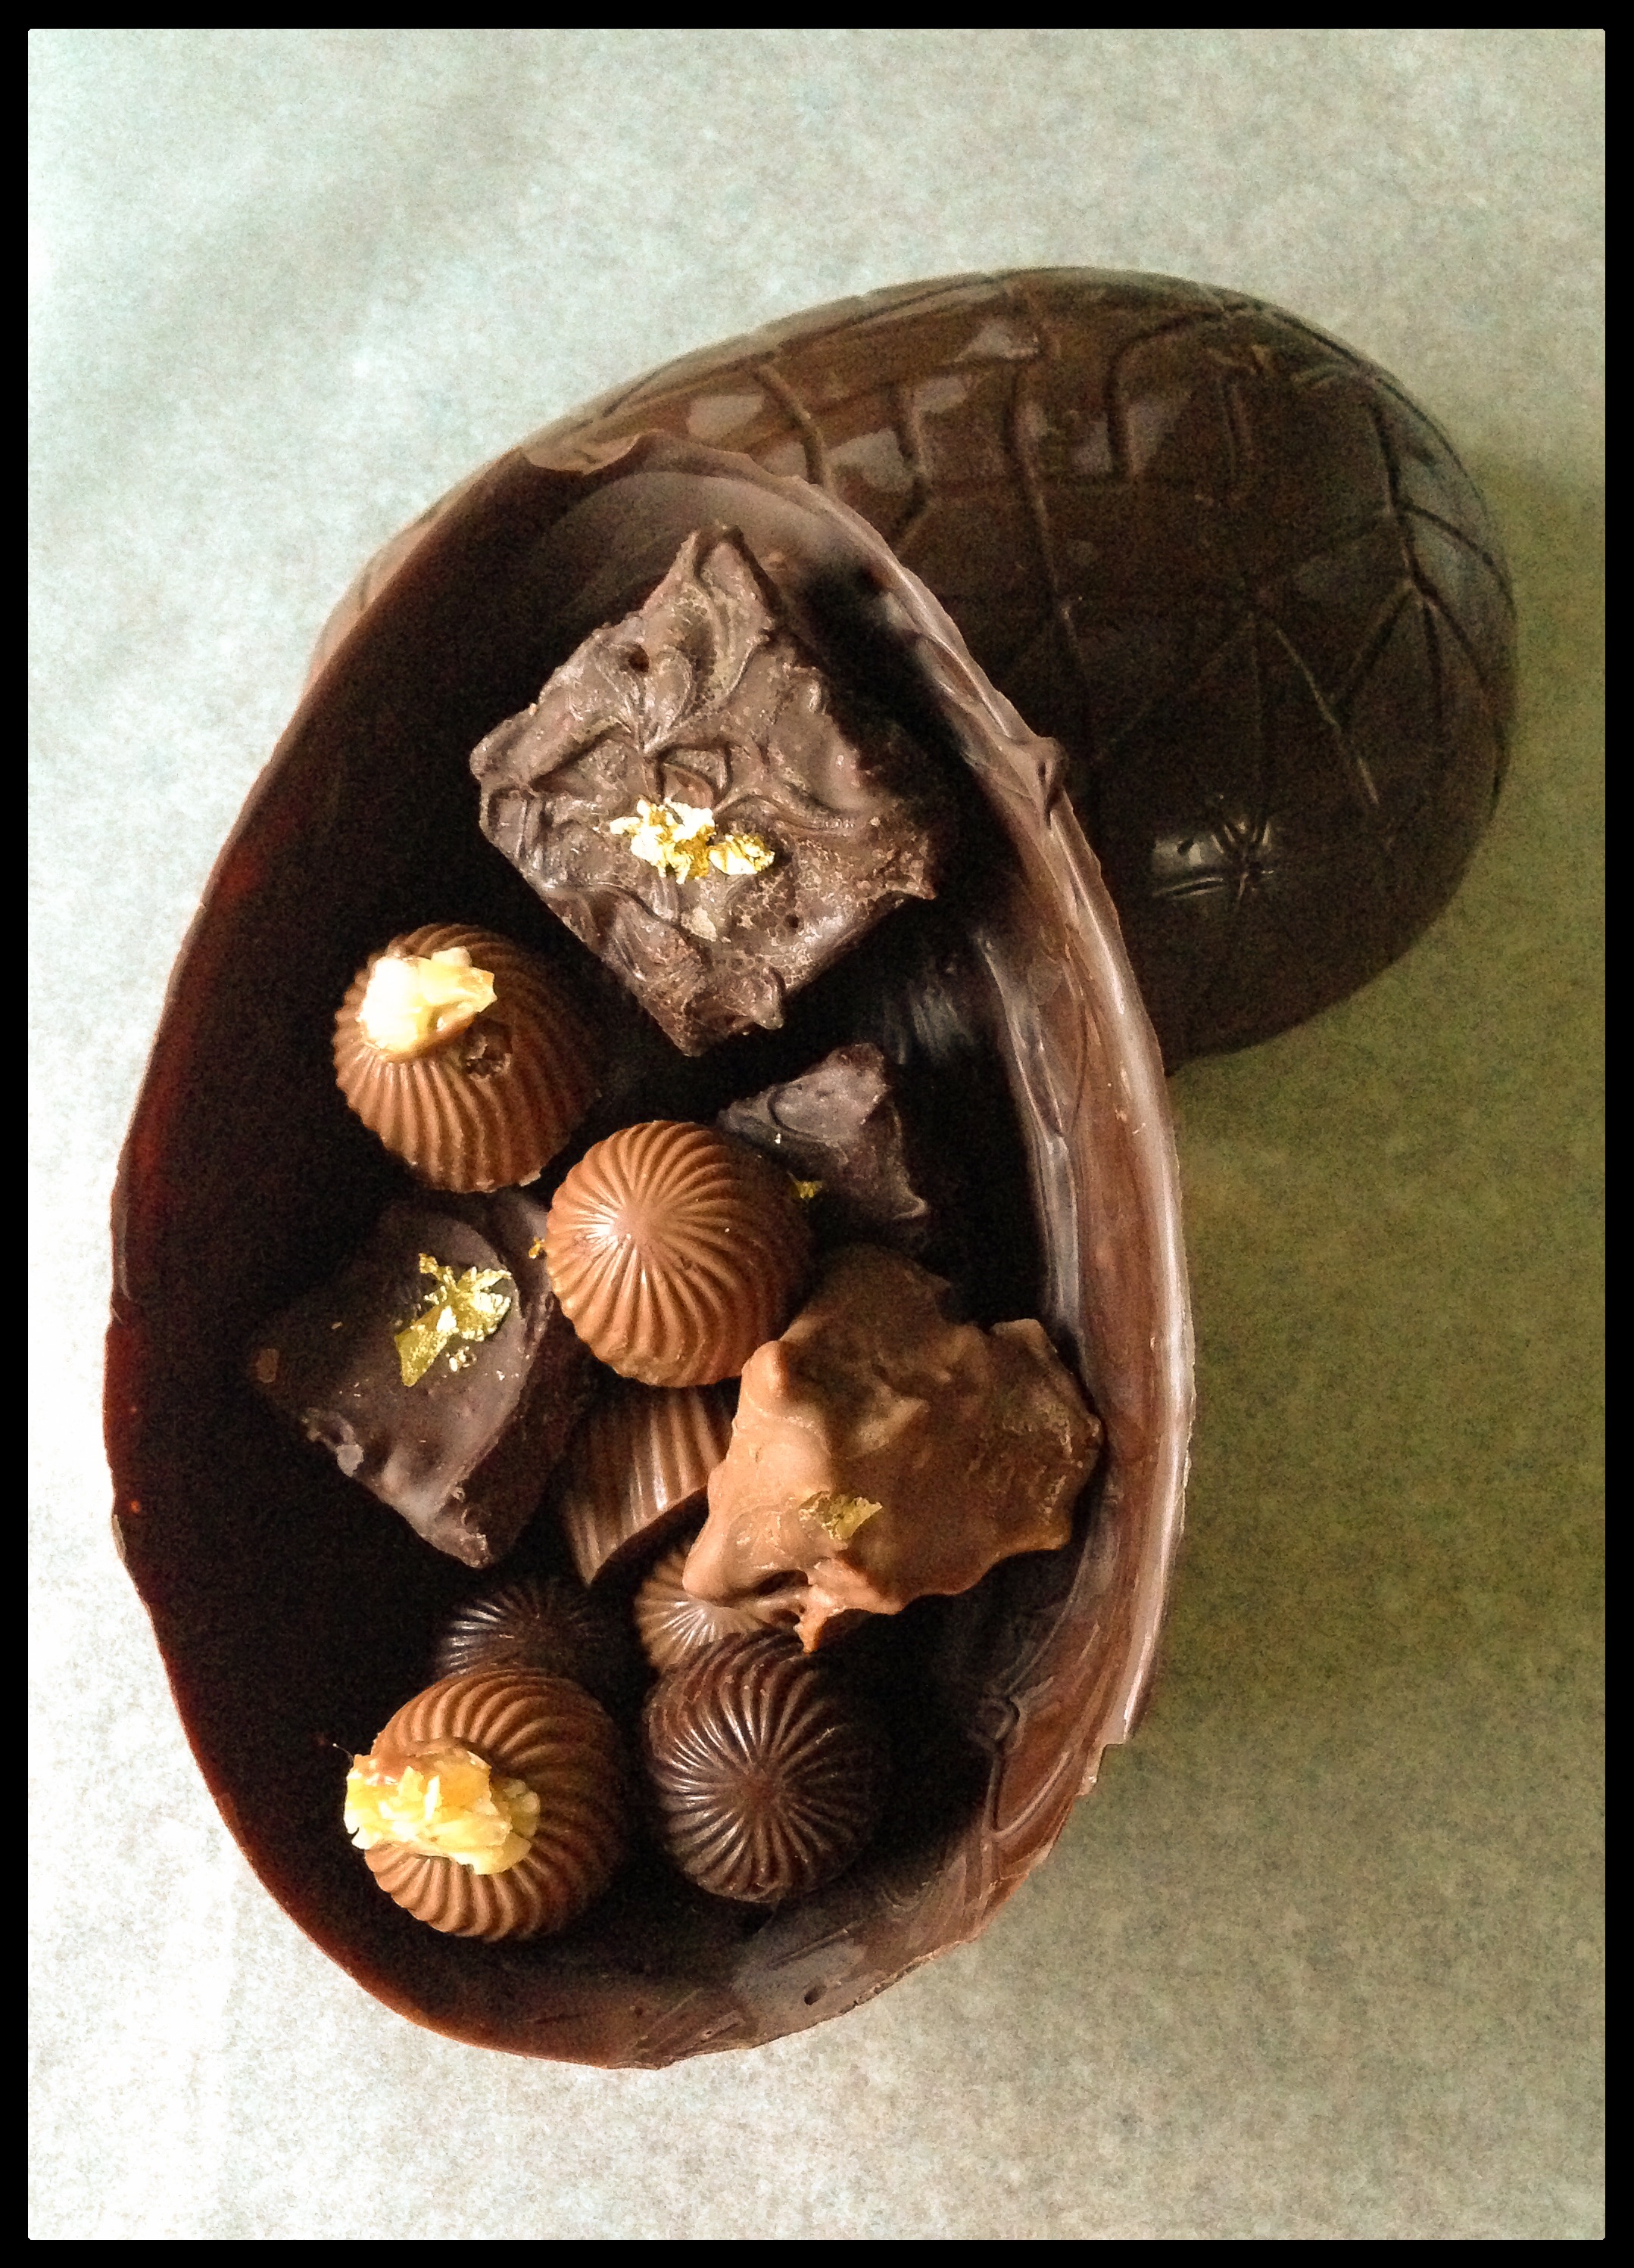
Pleased with how well this first batch went, I decided that I would make Easter eggs and fill them with a variety of truffles, honeycomb and sea-salted fudge.
The next evening, I set about making my ganache and other confectionery, ready to be coated in tempered chocolate.
Recipes for all of the successful components will be posted at the end of this blog entry.
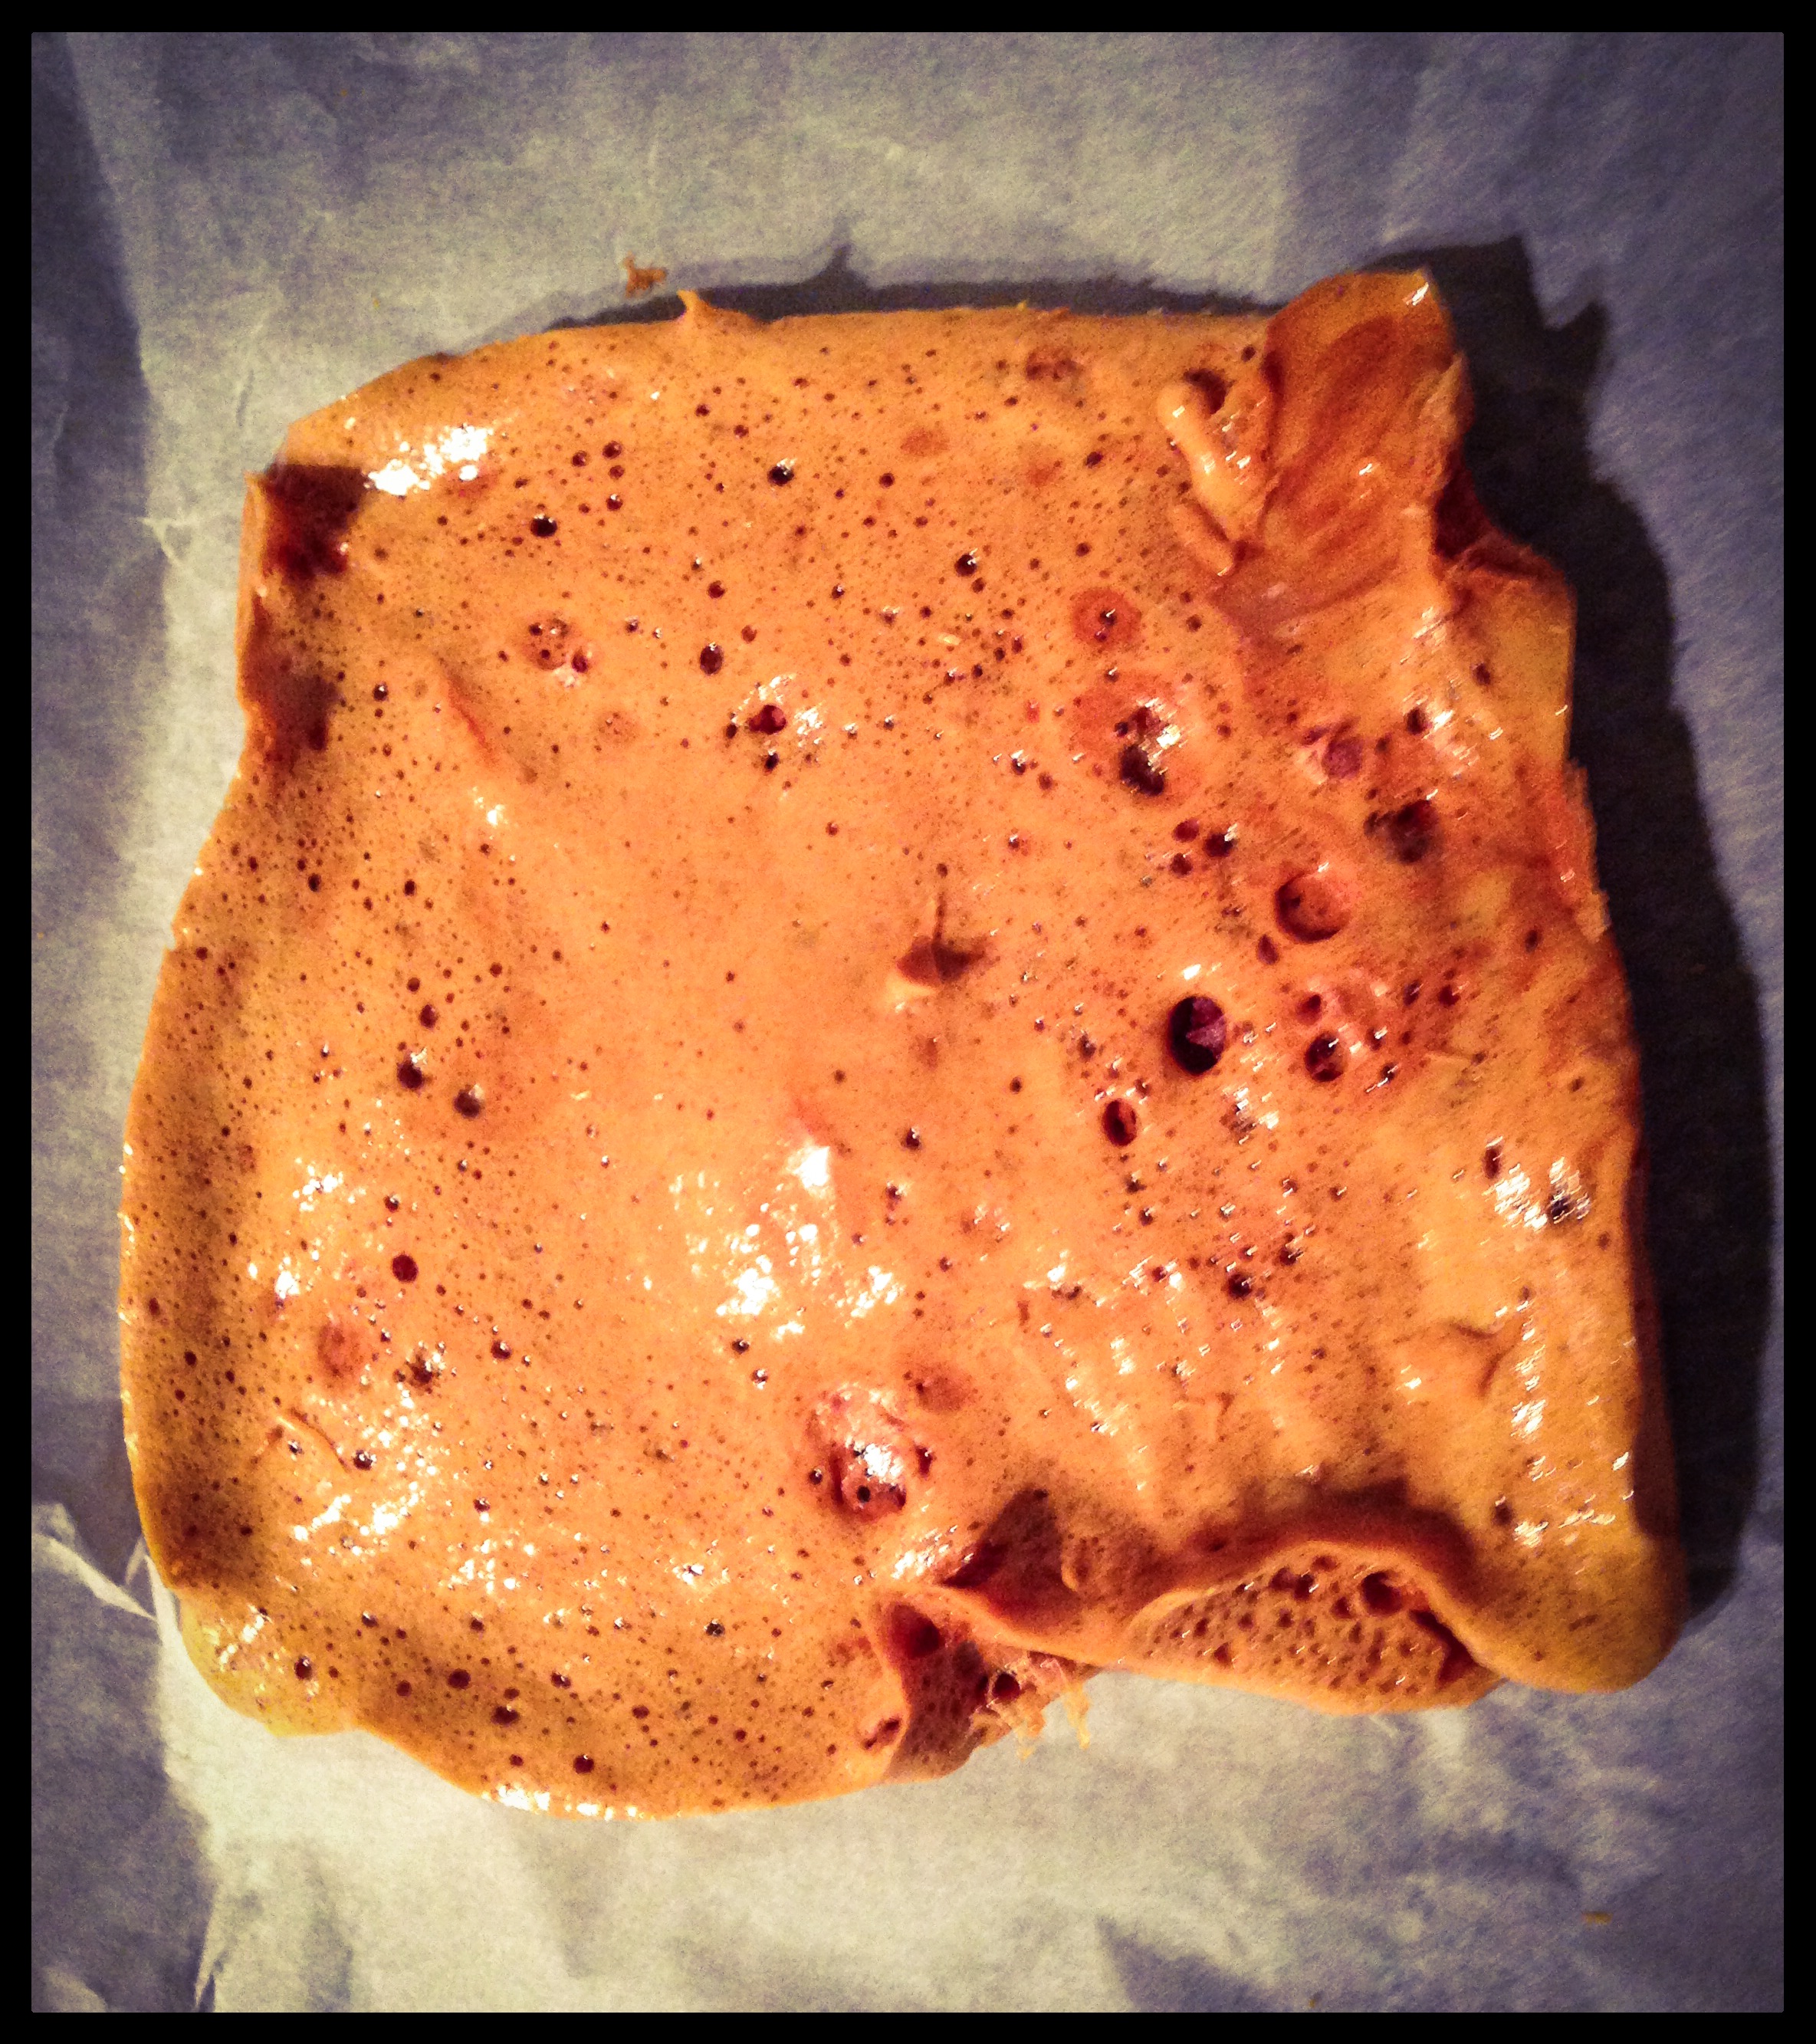
Firstly I made the honeycomb. I never really knew how honeycomb was made, so I was quite excited to this. I needed to heat sugar and golden syrup to 145˚C before the bicarbonate of soda was added.
As it was getting up to temperature my sugar thermometer decided to fail and the display went. It was reading around 130˚C, however I think it was out by a few degrees as my first batch of cinder toffee was indeed burnt to a cinder.
If this happens to you, be sure to immerse the pan in water and fill it with water, the sugar seems to just dissolve away and the pan is easy to clean.
So I made a second batch, the thermometer was sort of working again and I went by eye, stopping when the sugar became golden.
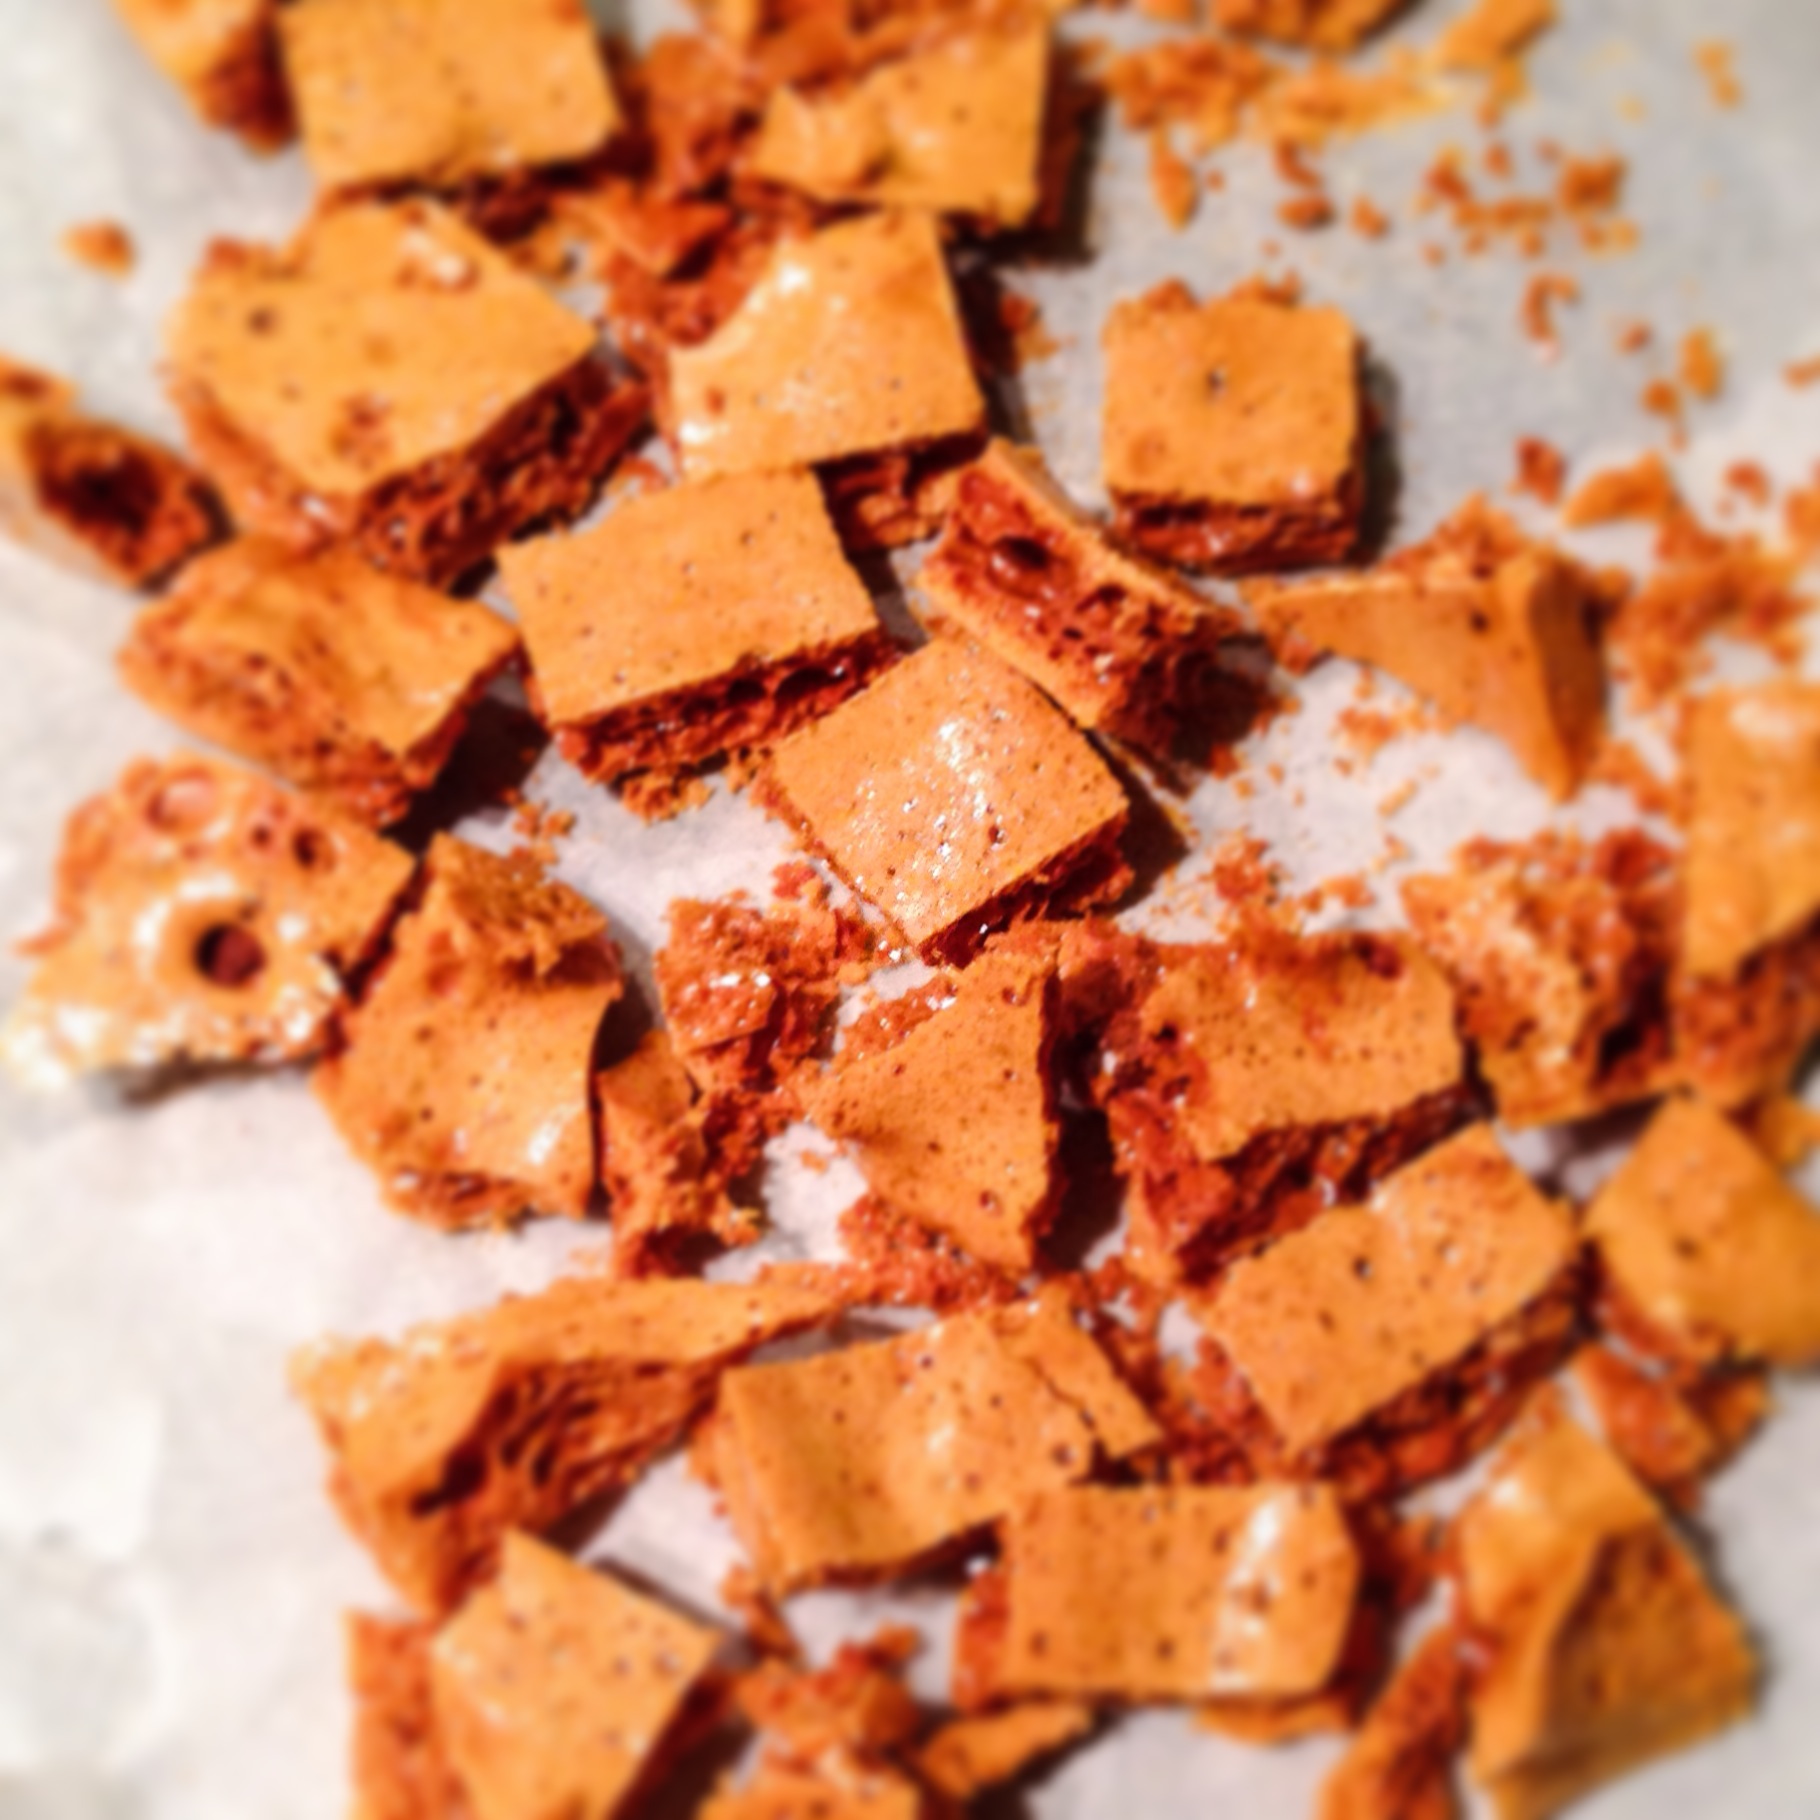
This time the honeycomb worked perfectly, I poured it in a lined pan to cool.
Next I made the fudge, again I had to heat sugar, butter and cream to 118˚C. By now my thermometer was achingly slow to give a reading and my fudge ended up like a toffee the texture of silly putty.
So I put that in the bin and I won’t be posting the recipe here! I will try fudge again when my new thermometer arrives.
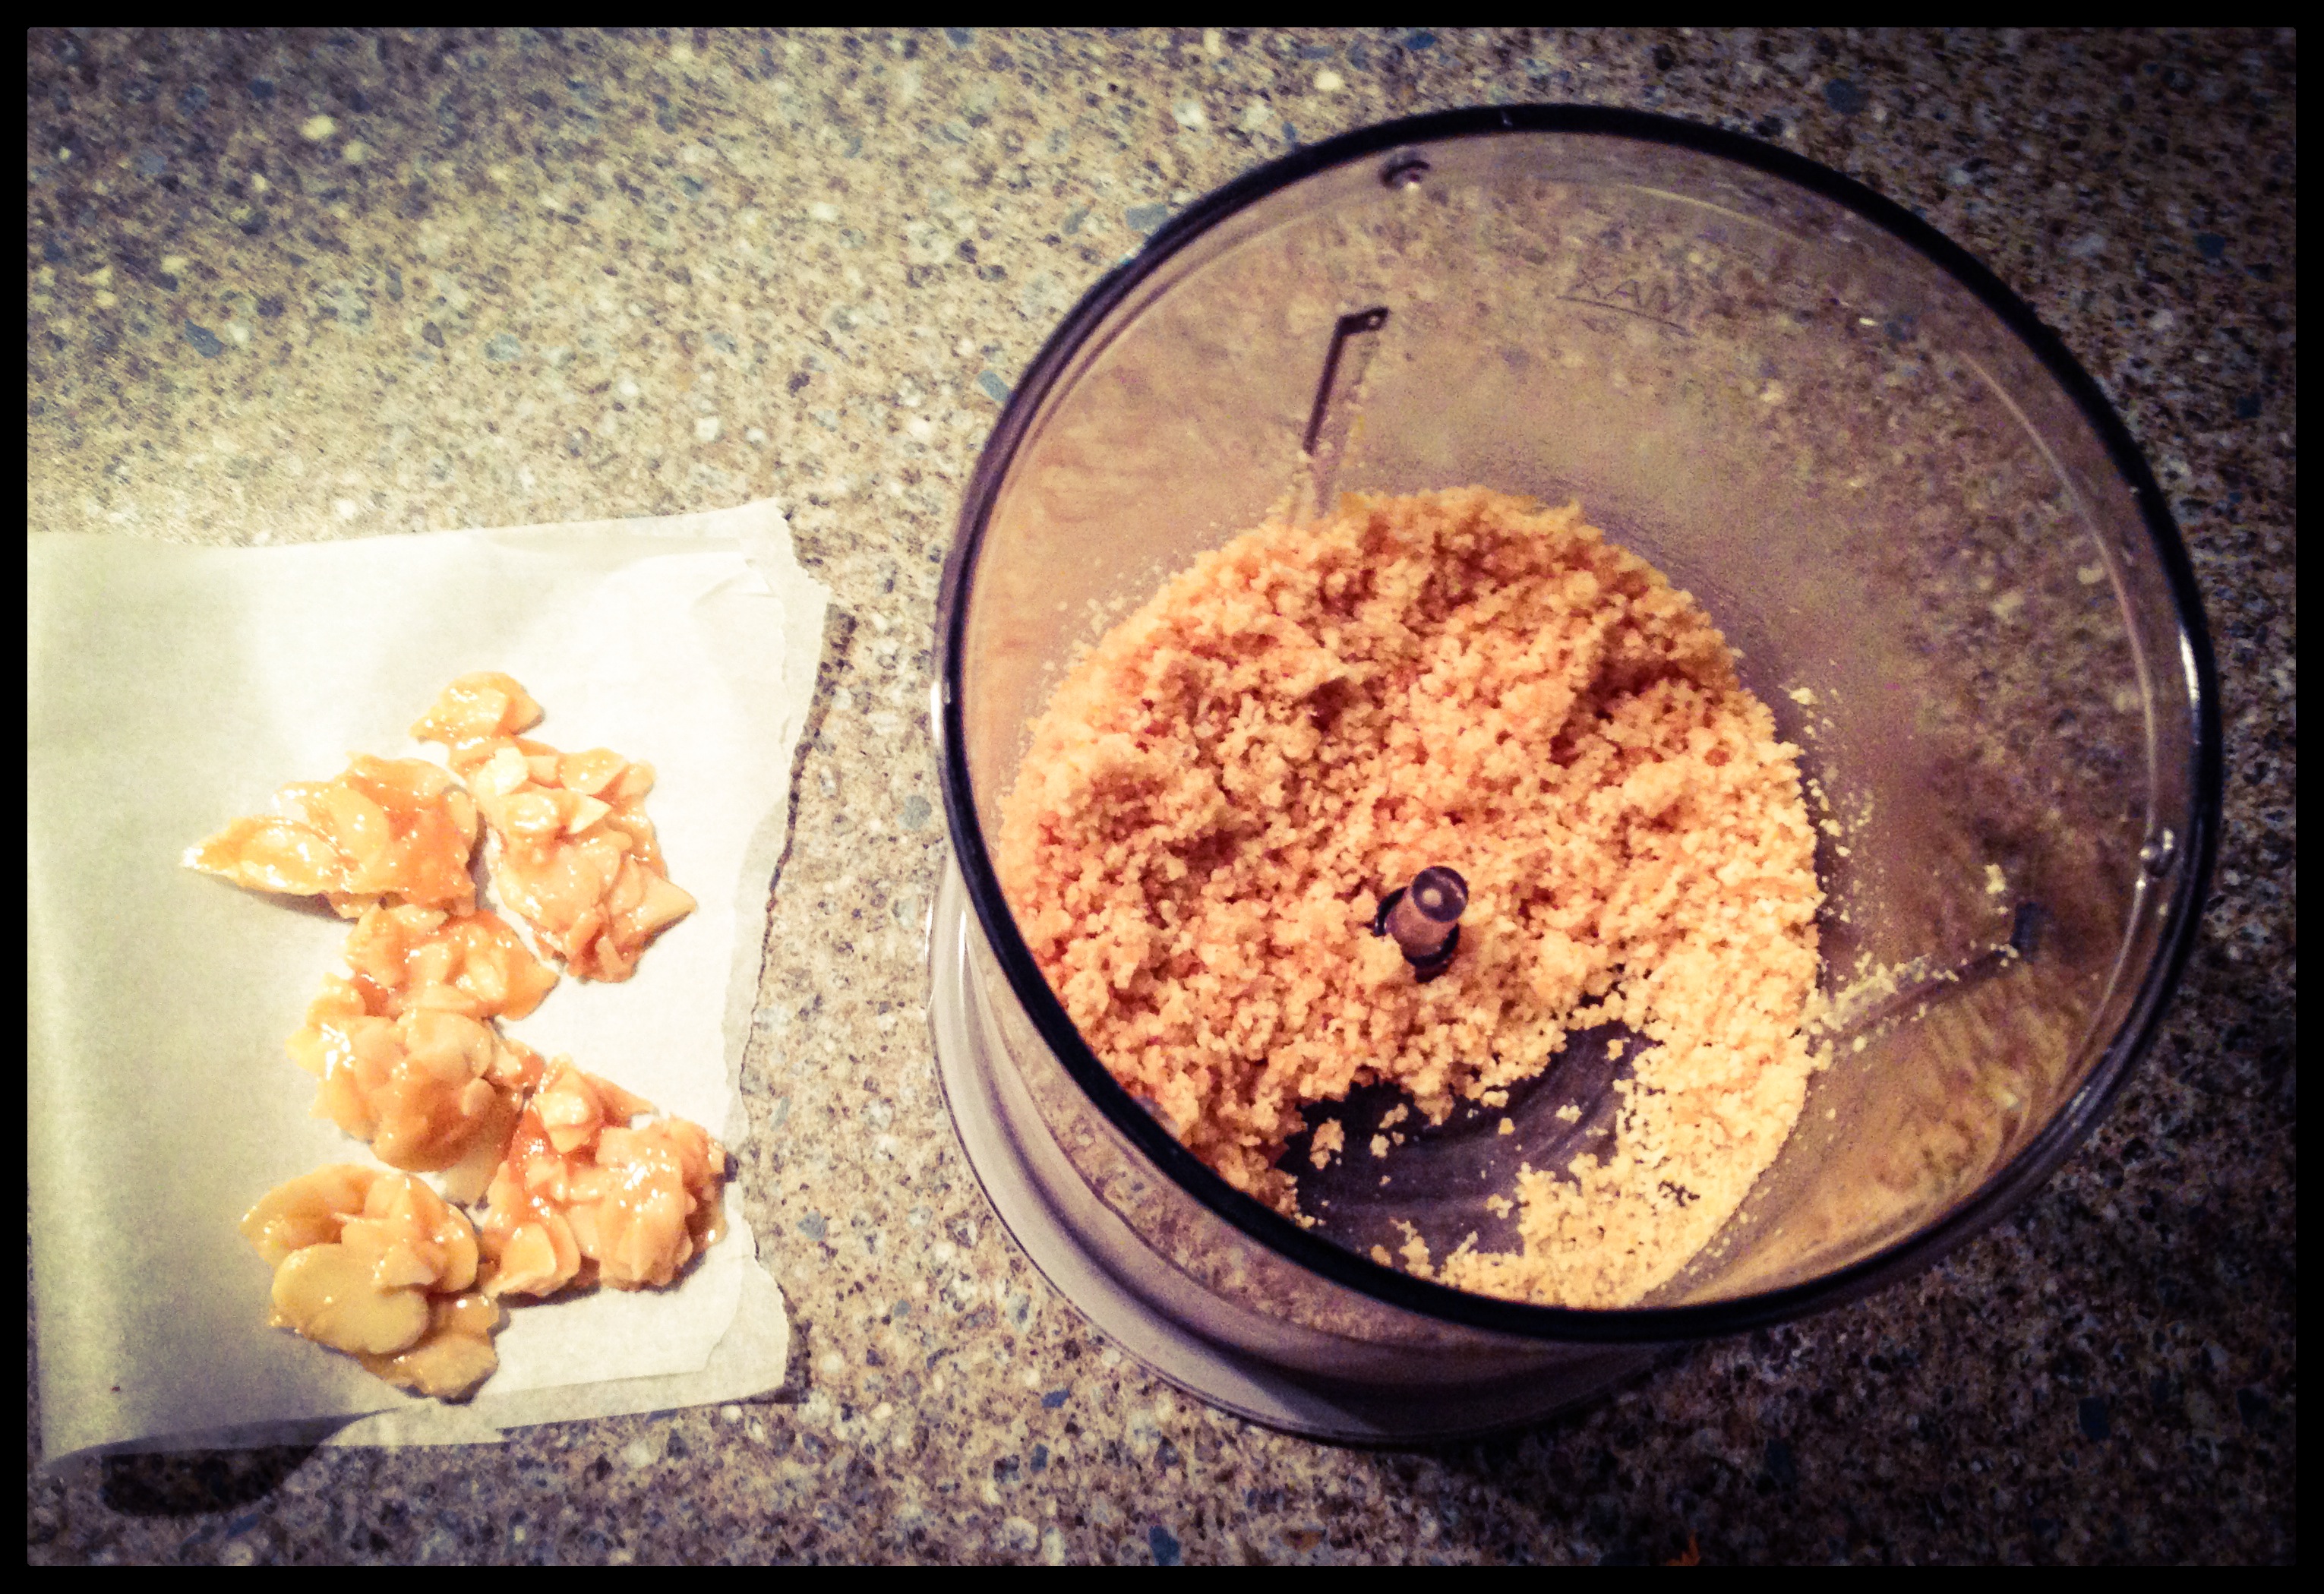
Still, pressing on, with even more sugar to heat, I made a quick almond brittle. This was to fill and decorate some of my truffles. Again with an unreliable thermometer this was tricky, but it worked out.
The last step was to make the ganache for Paul A Young’s Hot Cross Bun truffles, and a milk chocolate ganache to be used on its own and in the almond praline truffles.
I’ve talked enough about chocolate tempering now. Suffice to say that to make the other truffles, I followed exactly the same method as detailed above. Filling the trays with the varying ganaches.
I made some chocolate eggs too, these didn’t turn out as perfectly as I had hoped. I think that I under filled the moulds as the eggs were very fragile and melted quite quickly as I worked with them.
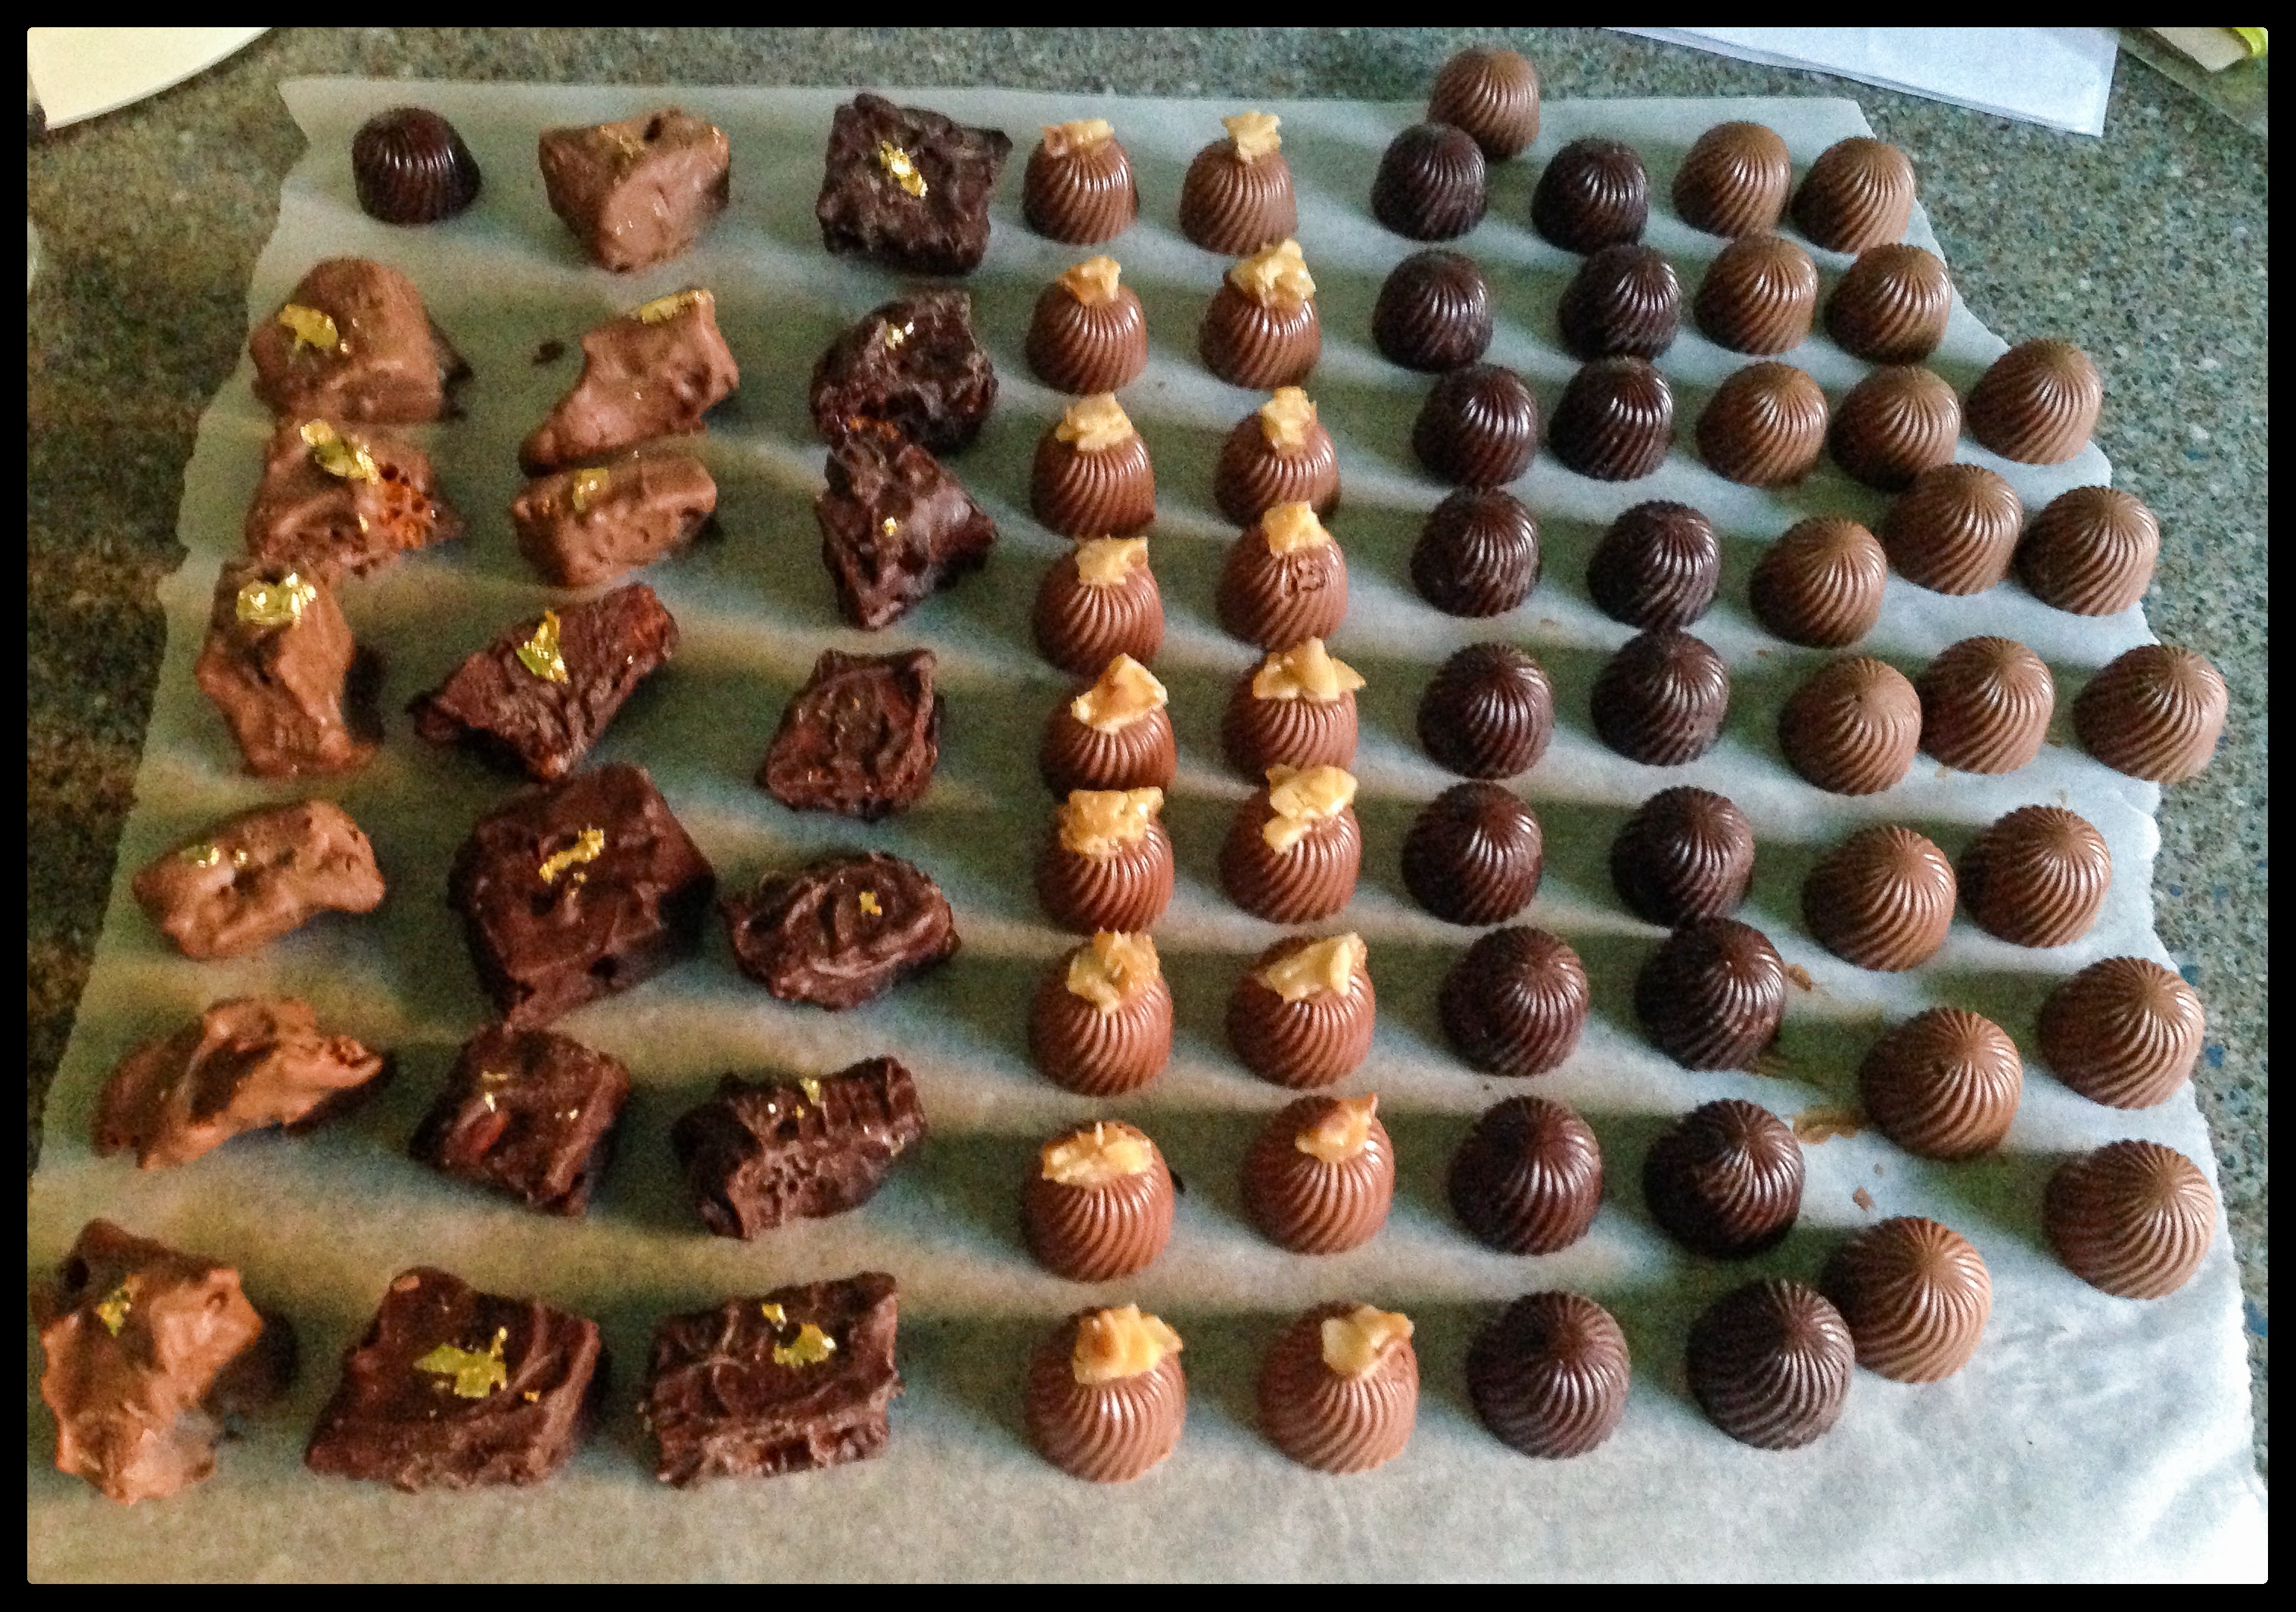
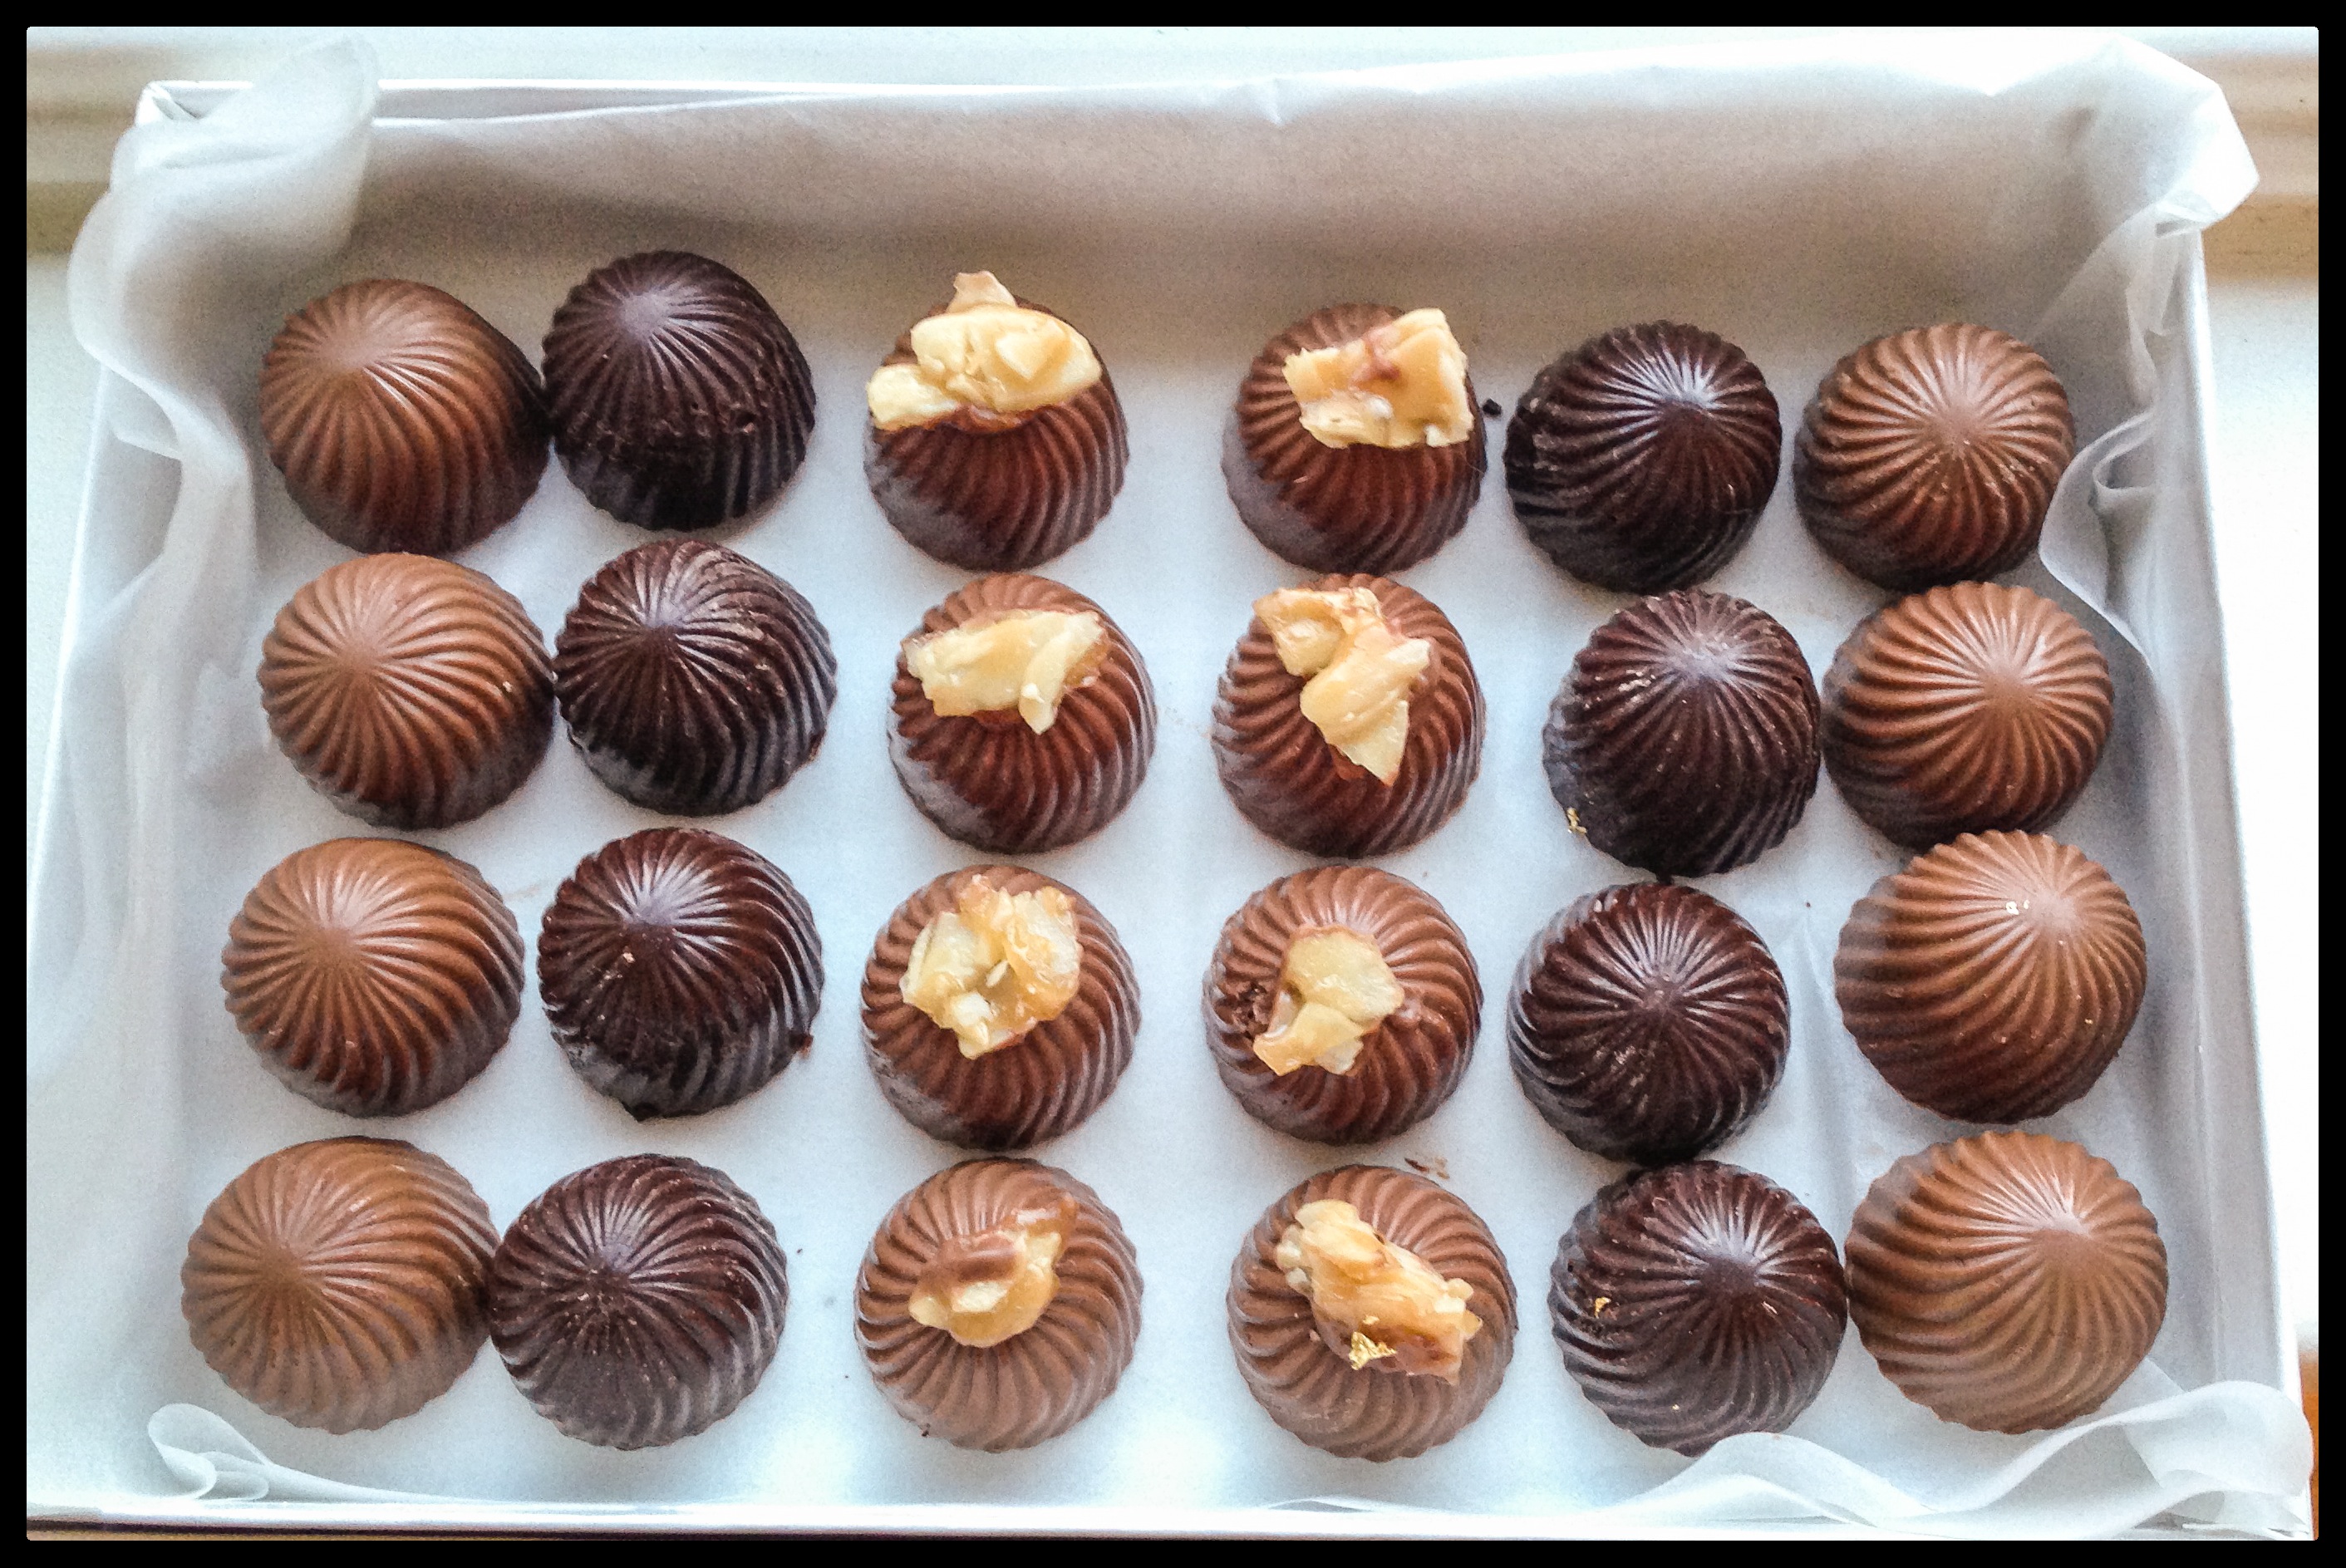
I decided I wanted to decorate my chocolates as well. I reserved some of the almond brittle and broke it into small pieces. Dipping the underside in melted chocolate and placing it on top of each truffle.
Naively I thought it might be fun to decorate the chocolate coated honeycomb with gold leaf. How wrong was I!
I’ve never worked with this stuff before, almost one entire sheet stuck to my hand. When I did manage to get it off, it wouldn’t stick to the dried chocolate. The next sheet just sort of crumpled in on itself.
If you squint you can see some gold leaf on the chocolate covered honeycomb below, but they didn’t exactly look how I envisioned.
Here are the recipes.
Finally, the recipe for Paul A Young’s ‘Hot Cross Bun’ truffles can be found here. I quartered the quantities as I wanted to make a much smaller batch of truffles. The recipe scaled down really well and the resulting truffle was delicious.
That’s it for this week, I hope you all enjoyed the break from the usual structure and that the inclusion of some recipes have made it a bit more interesting.
If you attempt any of these recipes, let me know how you got on and remember to be careful when working with all of the hot sugar. Also, get a good thermometer. I didn’t and I’m regretting it now. I’m going to get myself one of these.
Thanks for reading. See you next week.
Angela
Leave a Reply