Recipe: Tiramisu à l’Amaretto (Amaretto Tiramisu)
Level: Basic
Techniques: Coffee Sponge Cake, Amaretto Syrup, Marscarpone Mousse
Well here we have it, my seventh recipe and the first time (on this blog) I’ve had to throw a cake away and start again. I promised to be honest with you about my failures as well as my triumphs.
More about that later…
I’ve now moved on to the chapter dealing with ‘Les Gâteaux Classiques (Classic Cakes and Desserts)’. For me this is the type of patisserie that I am desperate to learn. This is the reason I signed up for the course, to learn classics like the Fraisier, Opera, St Honore, Paris-Brest and Eclair to name just a few.
So, I shall be making a few more than just two recipes from this chapter. Also, based on how the Amaretto Tiramisu went, I think I might choose another basic recipe next!
Tiramisu is a well-known Italian dessert, with a lengthy history dating all the way back to the 1960s! Okay, so it’s truly a retro dessert, it does taste great though. Typically lots of Italian chefs claim to be the brains behind the dish, the name of which literally means ‘pick-me-up’.
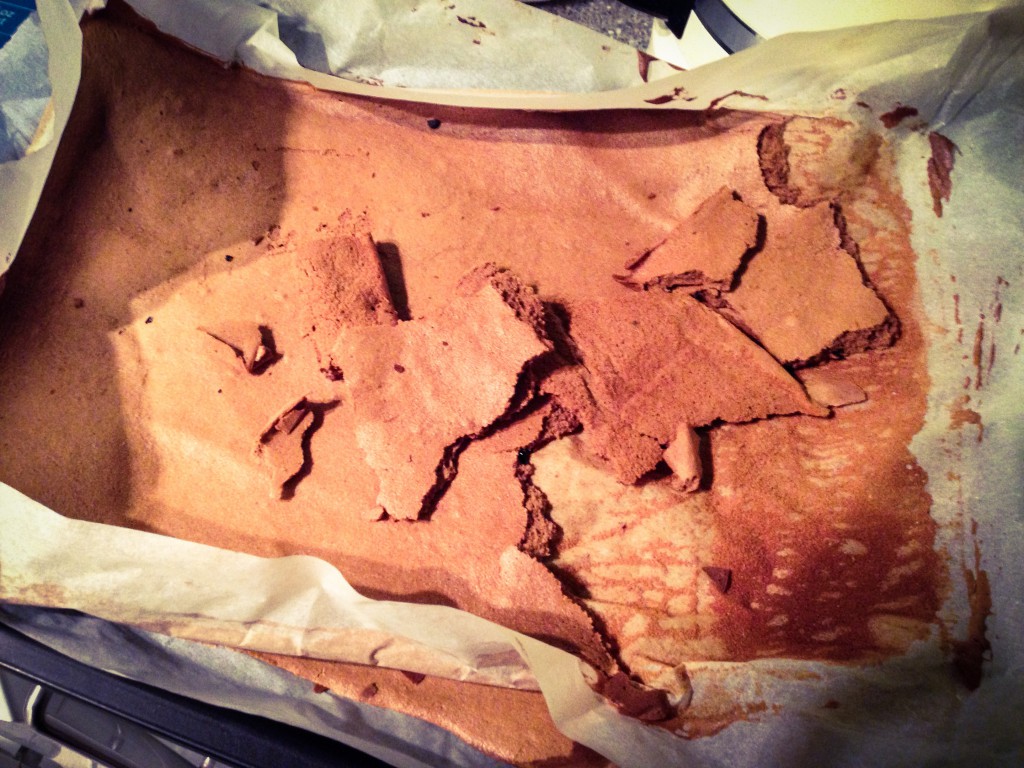
This leads me nicely back to the current recipe. It all went a bit awry when I was whipping the eggs. I got a little bit of yolk mixed in with the whites and I don’t think I whipped them enough before adding the sugar. The cakes need to be really light and because they are so large and thin (40cmx30cmx2cm) they have a really short cooking time of around 12mins per cake. No margin for error there.
As I didn’t whip the eggs enough, my cake batter was extremely runny. This resulted in a pancake effect. The resulting cake was flat, tasteless and sort of funny smelling (not sure if that’s related). Also, last week the bulb went inside my oven, so I was actually using the torch on my iPhone to check the progress of these cakes! I need to dig out the manual and sort out the bulb. Anyway, here is a picture of the debris…
In a strange twist of fate, I had decided to make the cakes earlier in the evening to get a head start. This meant that I had time to go out and buy more eggs, so that I could attempt the cakes again.
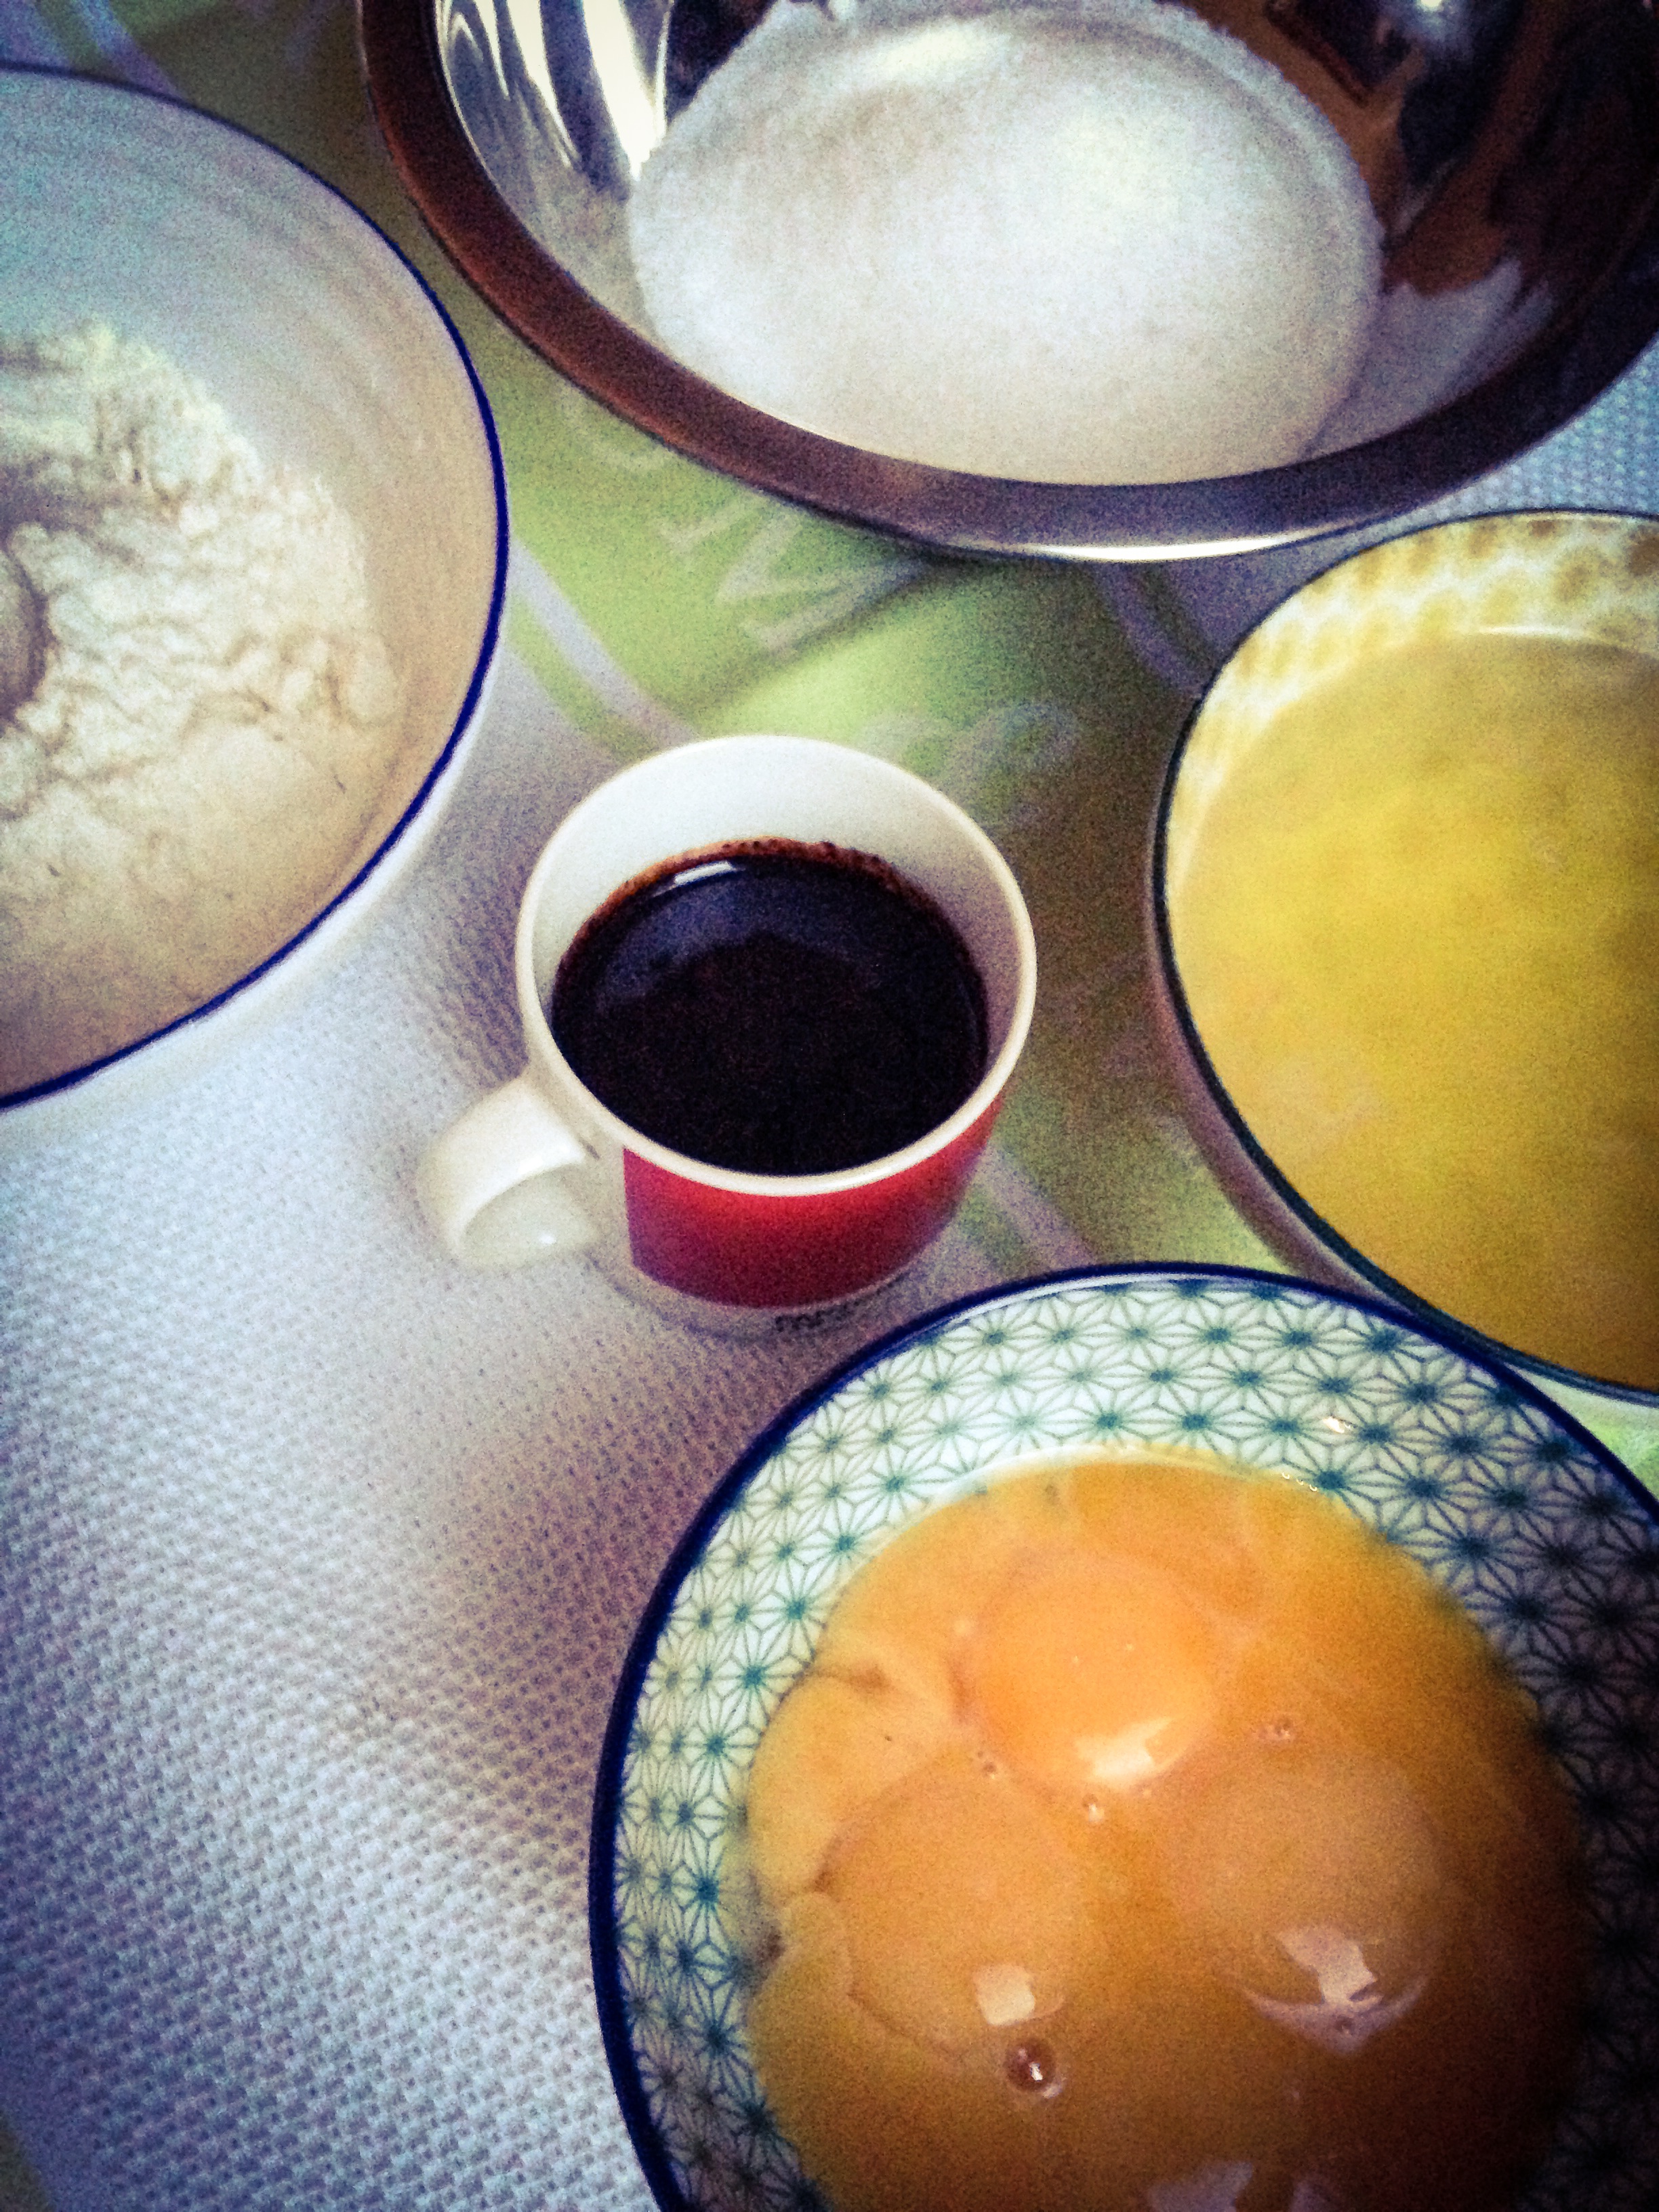
Back from the shops, I started again. Whipping the egg whites with the sugar, then adding the yolks and coffee paste (a mixture of instant coffee diluted with espresso) and finally folding in the flour.
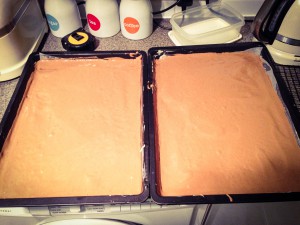
I spooned the cake mixture into two massive cake pans and cooked them in the oven for 12mins, until lightly coloured.
While the cakes cooled, I had a mousse to make. This was another of those sugar syrup moments. Flashbacks of last week’s debacle came to mind. Using my improved method, I heated the sugar to just below 115˚C and added it to the whipped egg yolks. This time it went without a hitch, I then whipped the cream in one bowl and beat the mascarpone in another.
I slowly added the cooled egg/syrup mixture to the mascarpone and beat it until combined. This mousse also had the addition of gelatine so that it set firmly. Sadly this also meant it wasn’t vegetarian friendly, although you could use vegetarian gelatine or omit it altogether.
I softened the gelatine leaves in water, then squeezed out the liquid and warmed the gelatine in the microwave for a few seconds. I added some of the mascarpone mixture to the gelatine and stirred it quickly to combine. I then tipped this back into the rest of the mascarpone and finally folded in the whipped cream.
I then needed to make the amaretto syrup, this was simple enough, a combination of coffee, icing sugar and amaretto mixed together.
Because the finished cake was so big, working with quantities this large in my domestic kitchen was quite daunting. I was only just able to fit the cakes into my oven!
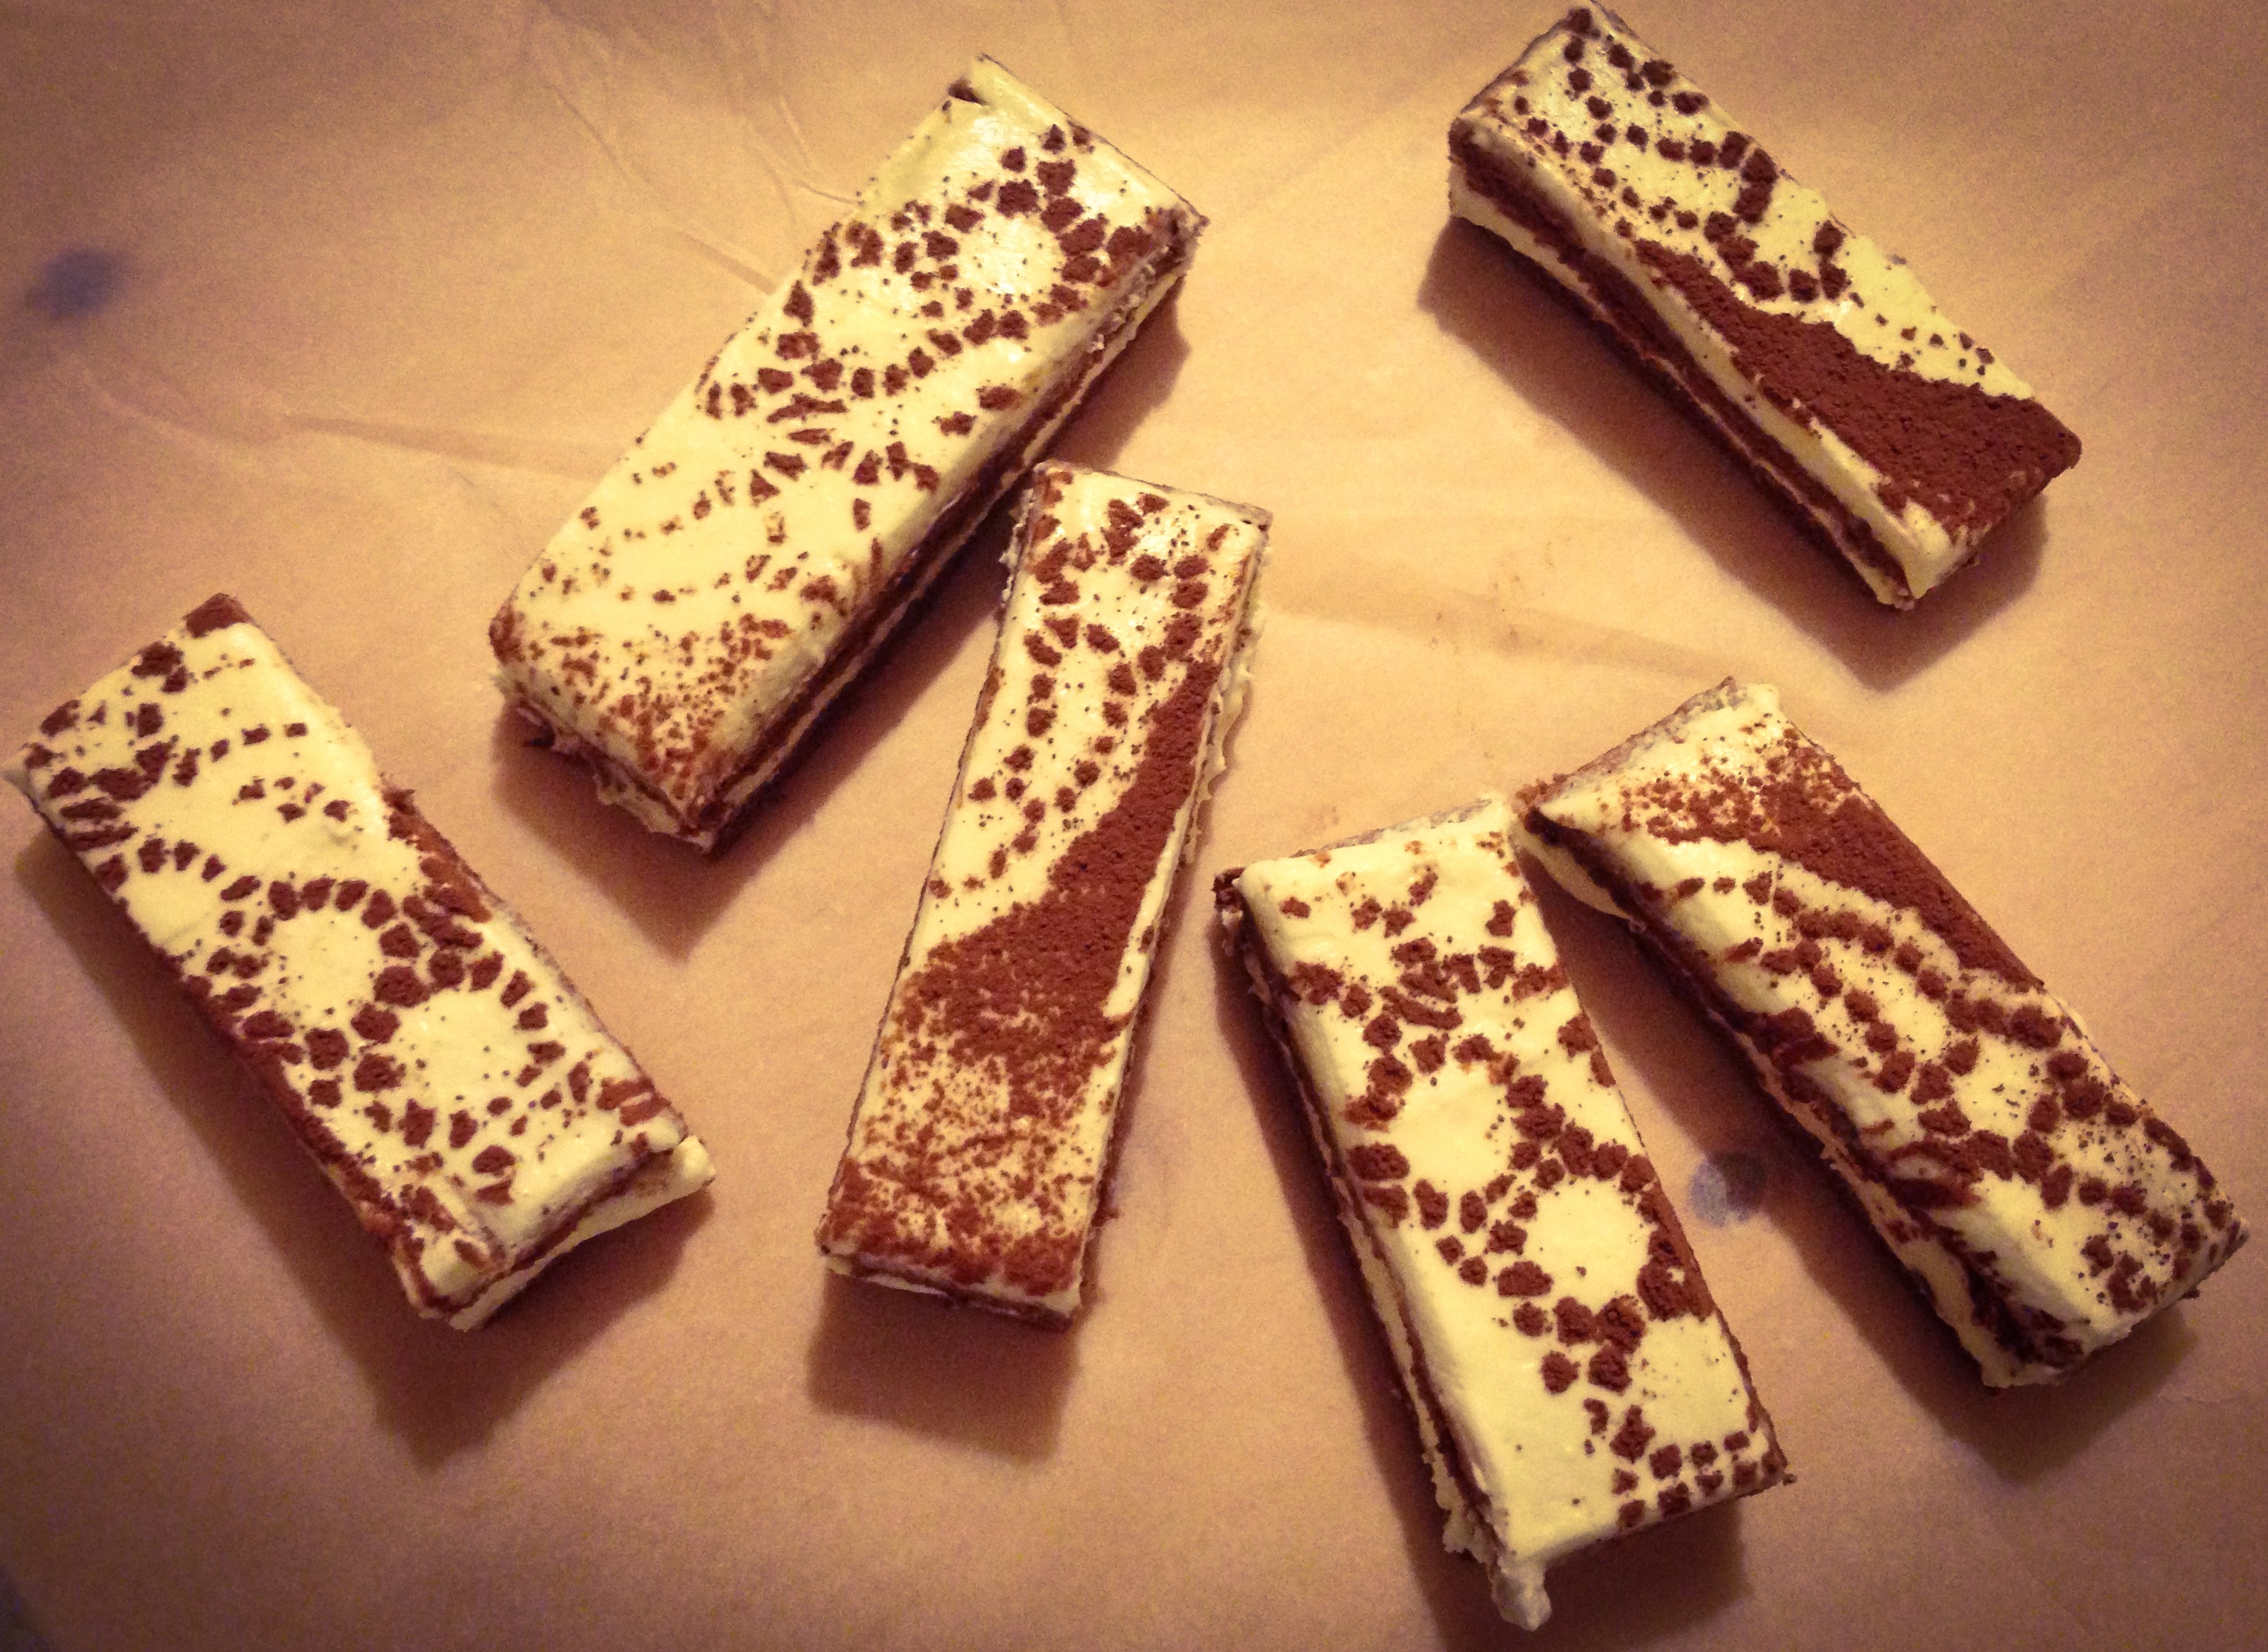
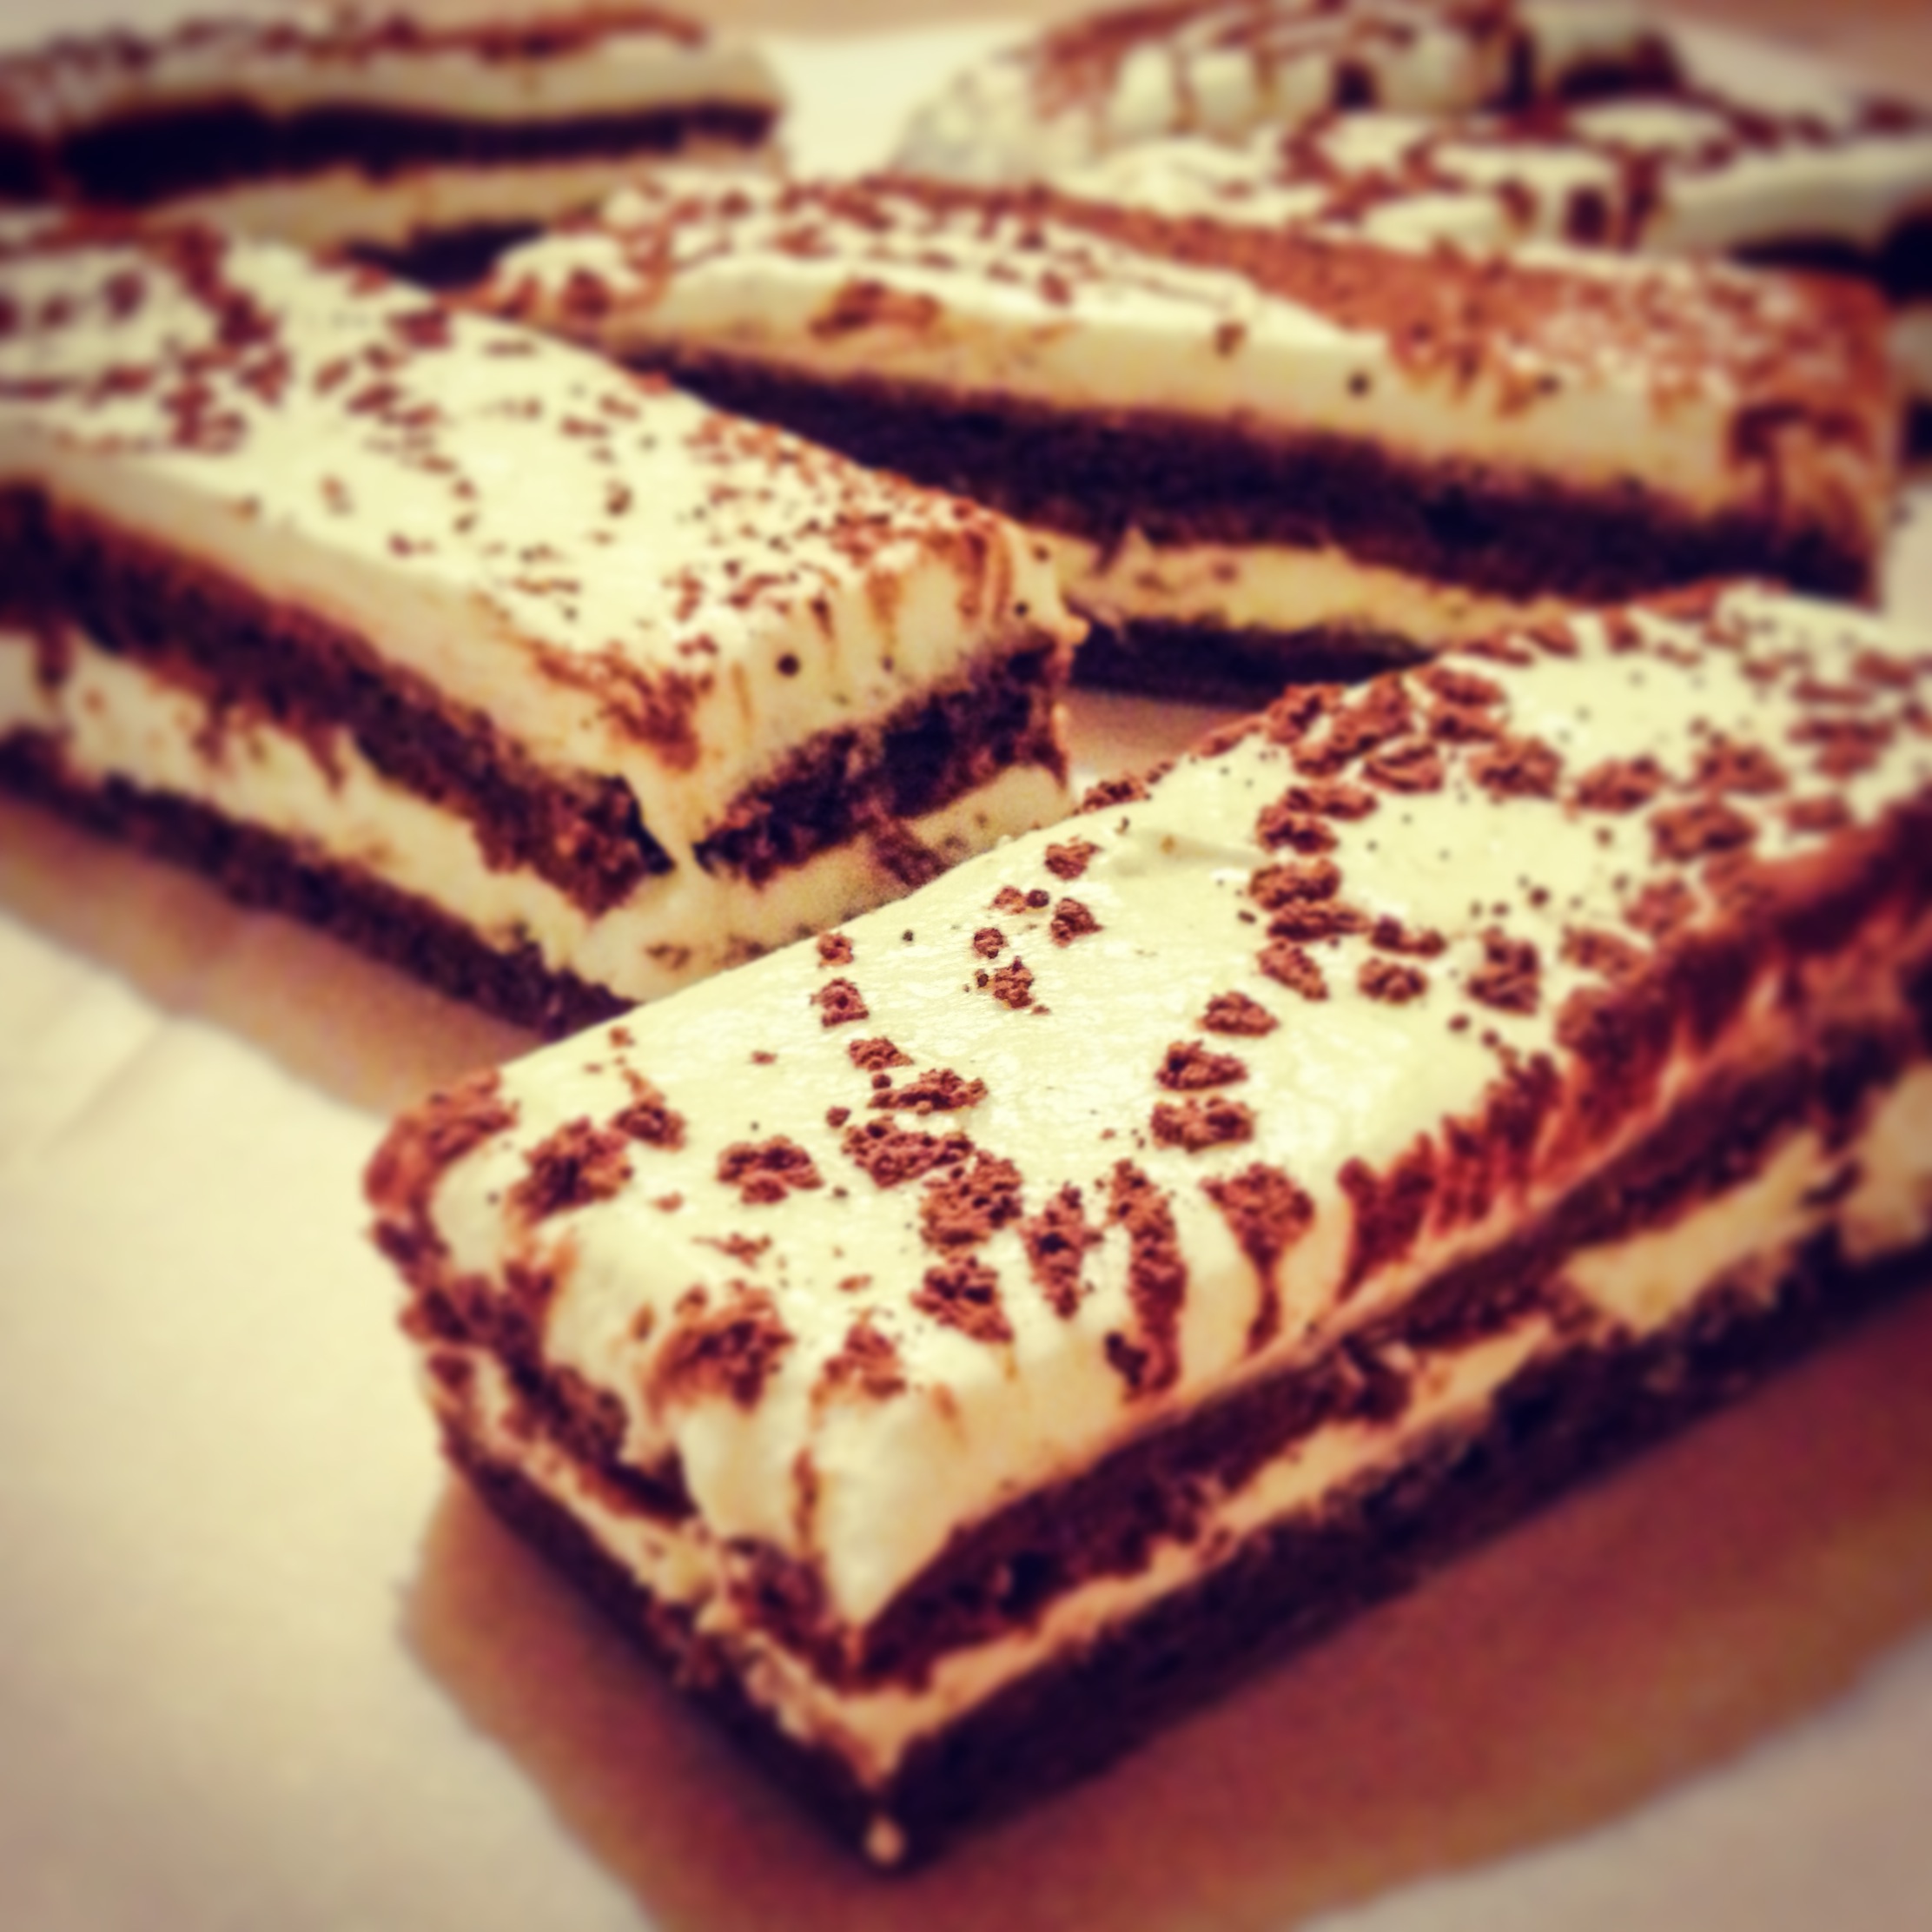
Now it was time to assemble the beast! I placed a tray on the side and covered it with greaseproof paper and using my pastry ring I cut out both of the pieces of cake. I then placed one piece of cake in the ring, brushed it with the amaretto syrup and smeared half the mascarpone mousse on top. I then placed the other cake in the ring, brushed it with more amaretto syrup, covered it with the remaining mousse and placed it in the freezer to set for an hour.
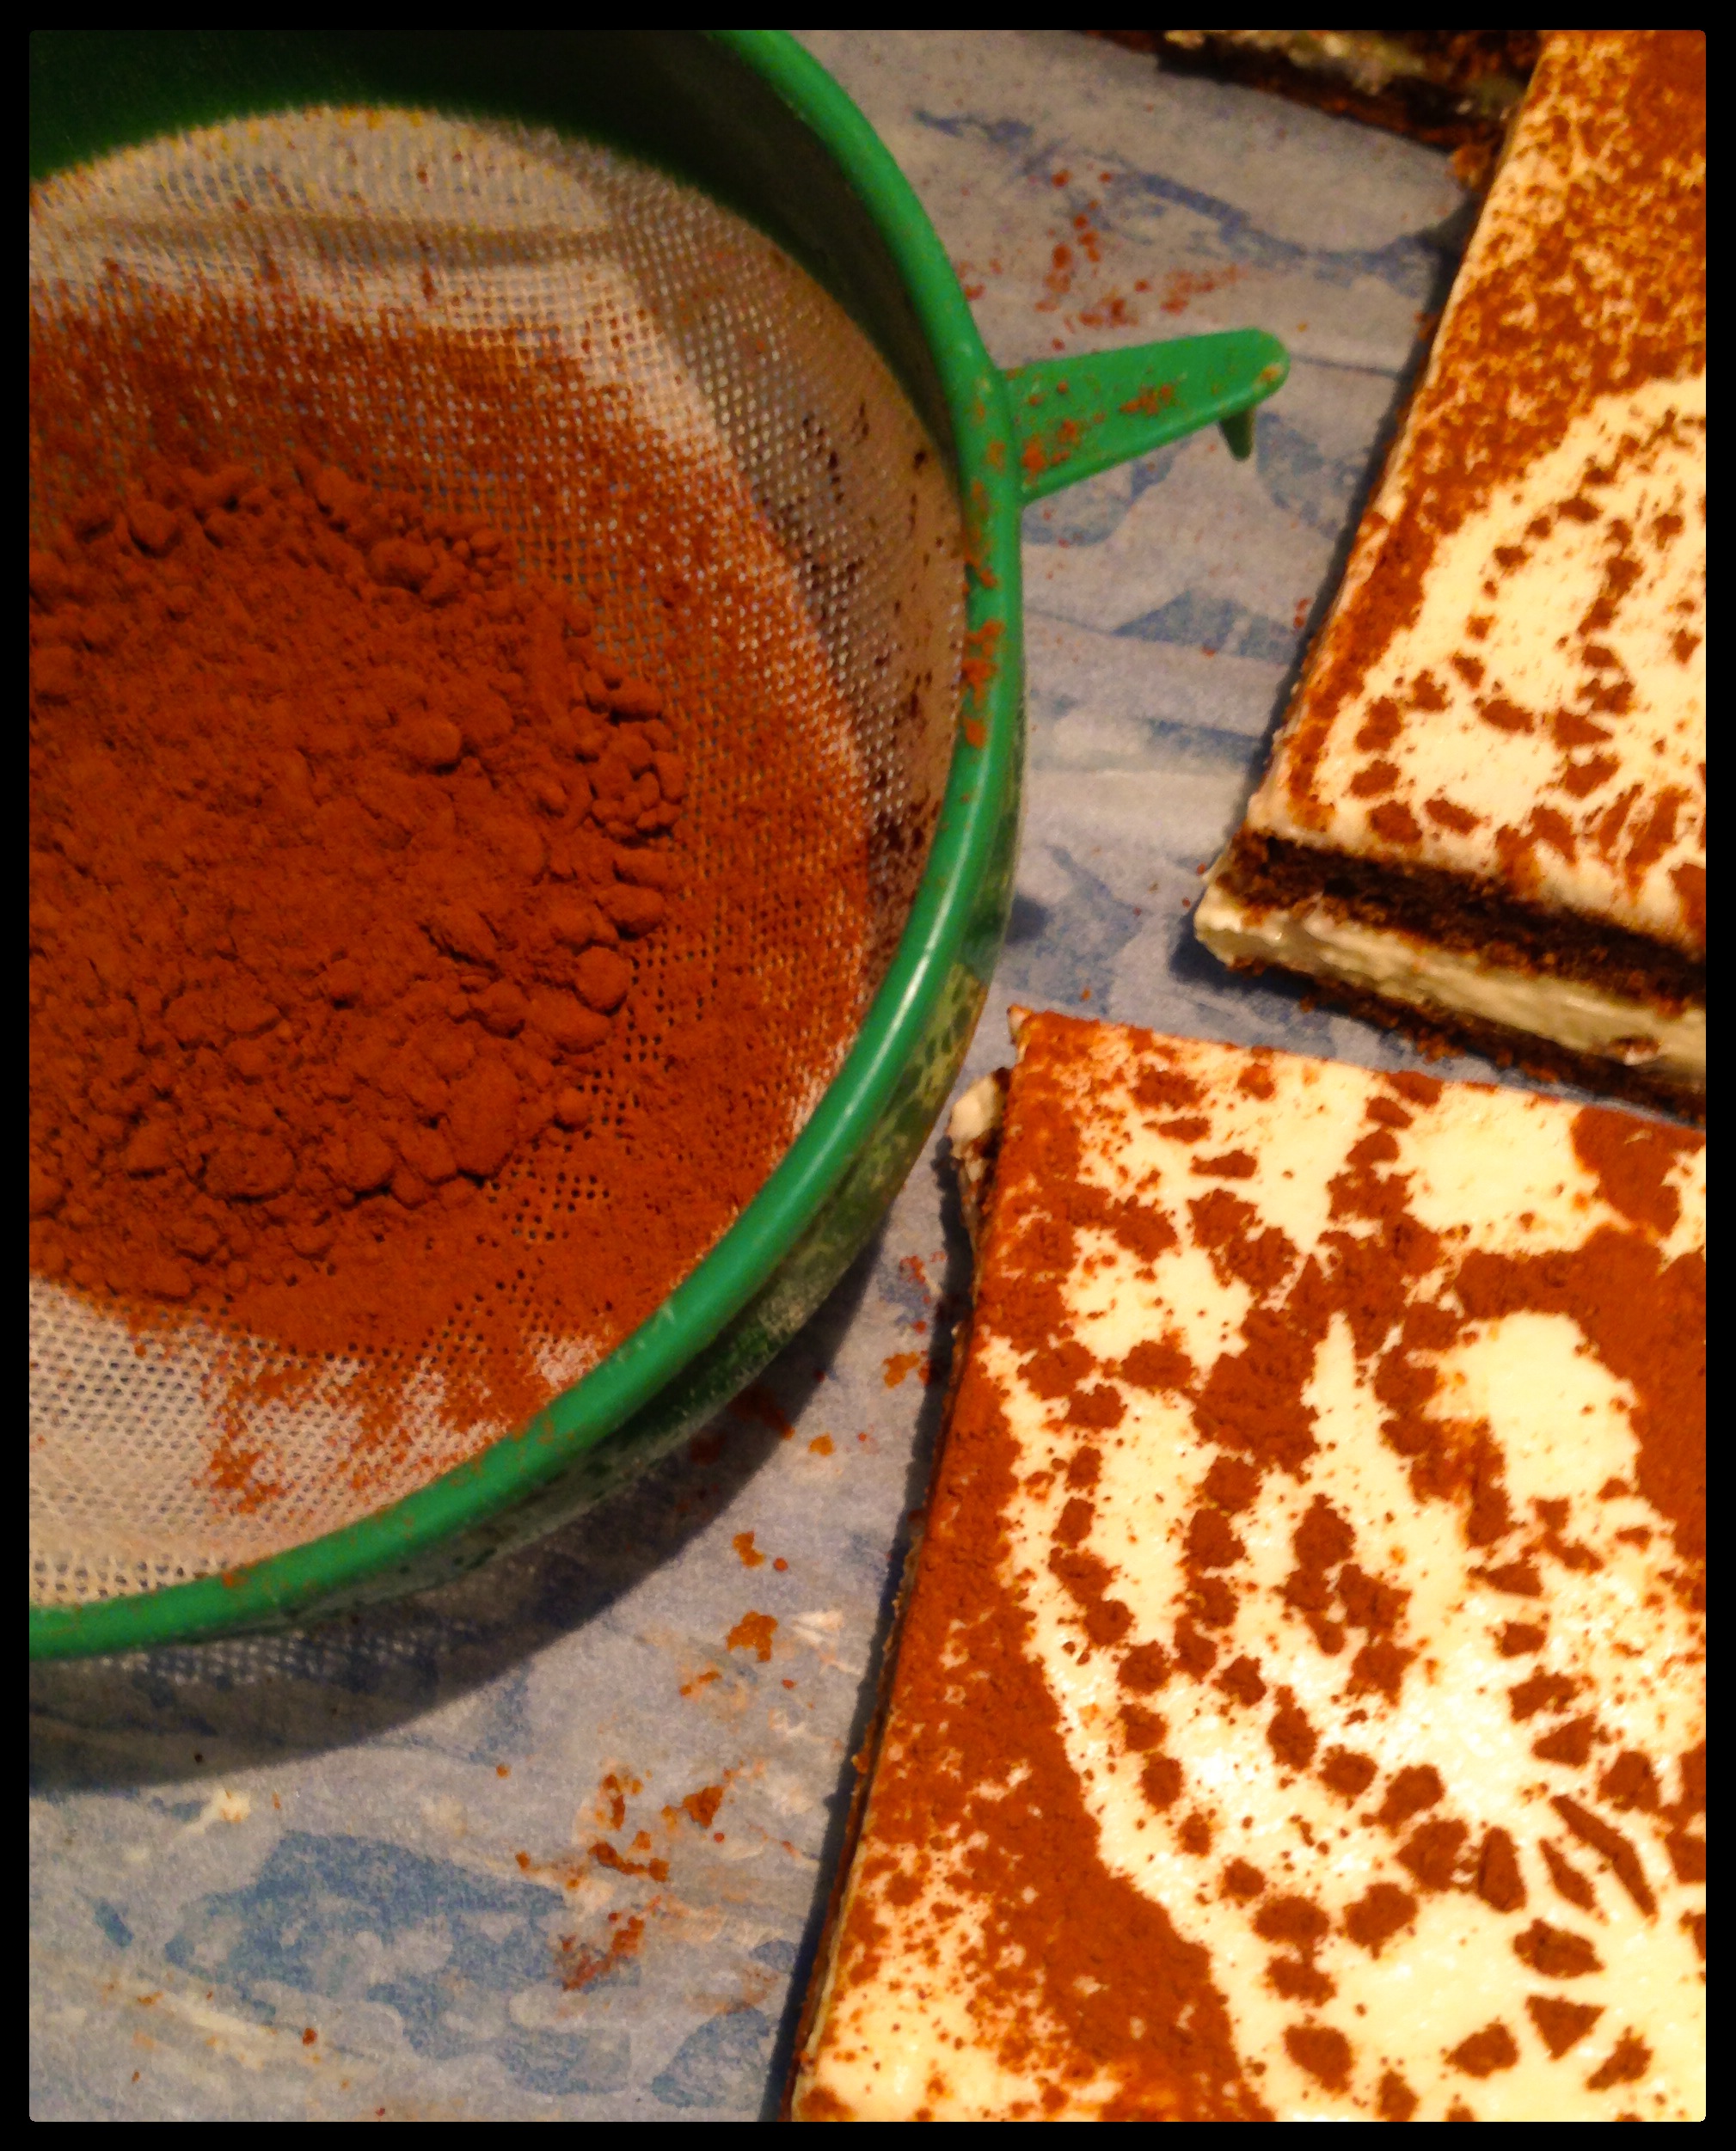
The cake just fitted in the top drawer of my freezer, it took a bit of juggling. After an hour, I took it out of the freezer, dusted it with cocoa powder and cut it into portions. Finally, I was done.
The end result was not as pristine as I was hoping for, I guess that just comes with practice. However, it tasted good and wasn’t too bad on the eye.

Next week, the Fraisier. It’s an intermediate recipe, so I am notching it up a little I guess.
Thanks for reading.
Angela
Leave a Reply