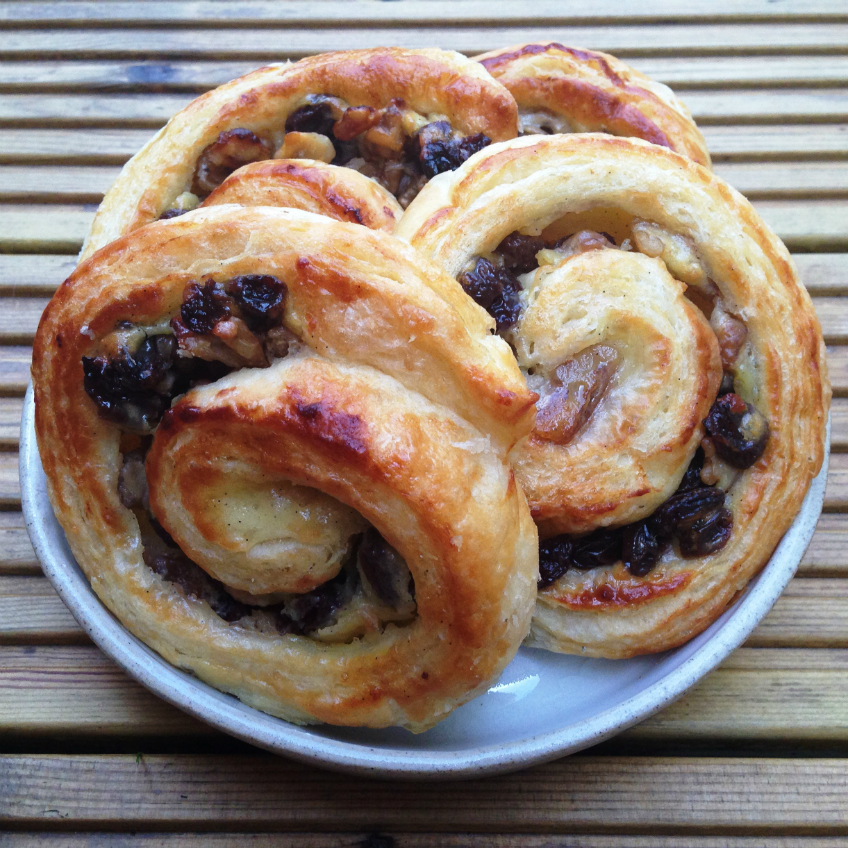
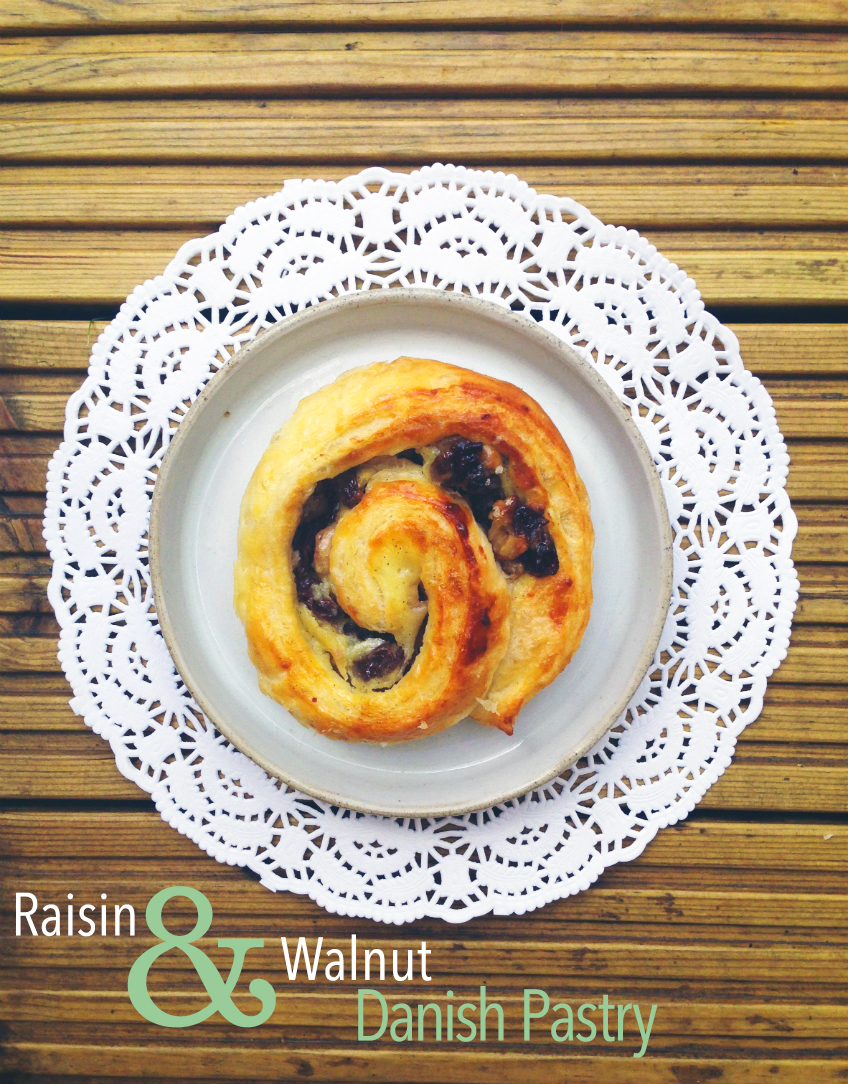
The viennoiserie chapter of the ‘the book’ is almost drawing to a close. I have baked my three final recipes and I wanted to share the latest one with you. I decided to try making danish pastries again after my last batch were a bit lacklustre. This time I made Raisin & Walnut Danish Pastries.
Danishes are a laminated, yeast-leavened dough. In simpler terms, laminated means layering dough or pastry with fat and rolling and folding it so as to create layers, which will puff up when cooking.
Yeast-leavened, means the dough has had yeast added as the leavening or raising agent. Sourdough is an example of naturally leavened dough, as the flour and water are left to ferment, producing their own bacteria and yeast. The other main group of breads is unleavened bread, which means that no raising agents has been used. Examples of unleavened bread are tortillas, chapatis and matzos.
Hopefully that has helped demystify some of the different varieties of bread. Next time you visit a local market and see a bread stall, you’ll be able to order bread with aplomb.
Danishes take a while to make as there is a lot of chilling time involved, before you even begin to prove the dough. However there are ways to work the process into your day and fit the baking around you.
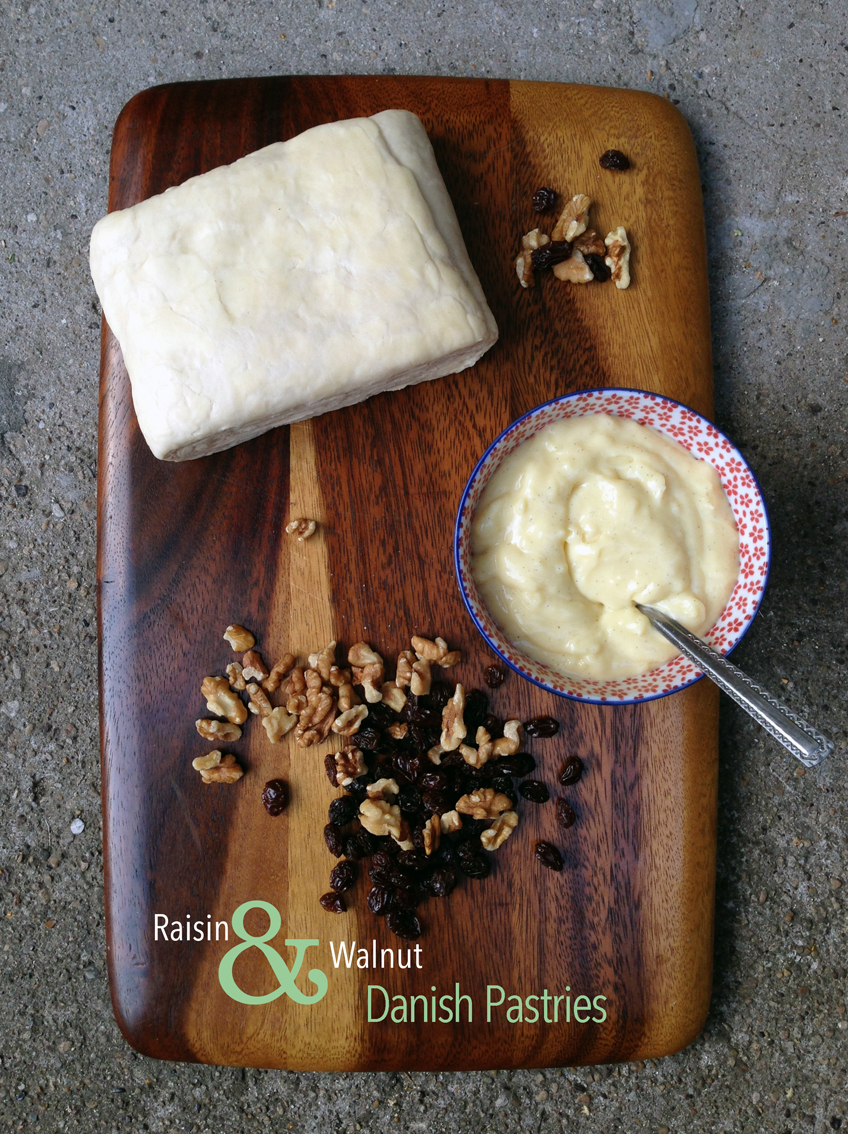
As the photograph of the ingredients show, pastry cream is used in this recipe to keep everything moist and custardy. The process of making the dough is very similar to making puff pastry, but as discussed earlier, yeast is added to make the pastries rise and give them a more doughy and less flaky texture than using puff pastry.
The first step to making the pastry is to combine all of the dry ingredients in a bowl, making sure the fresh yeast doesn’t touch the salt. Then add the wet ingredients and bind the dough together, kneading it, until it looks like this:
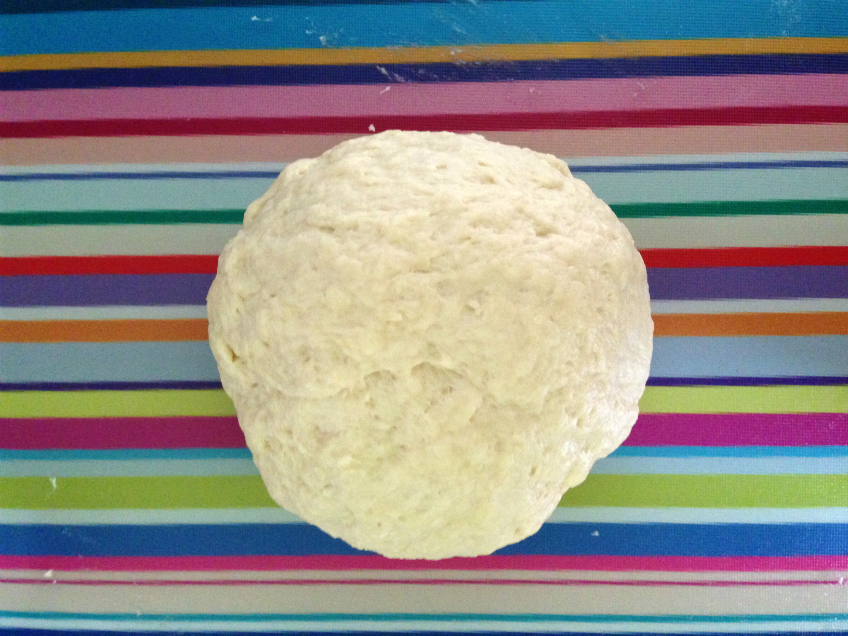
Wrap the dough in clingfilm and place it in the fridge. The recommended resting time for this is 2 hours, however at this stage, I left the dough in the fridge overnight and it was absolutely fine. The dough did begin to prove, but I just flattened it back down again with my hands and carried on with the remaining steps.
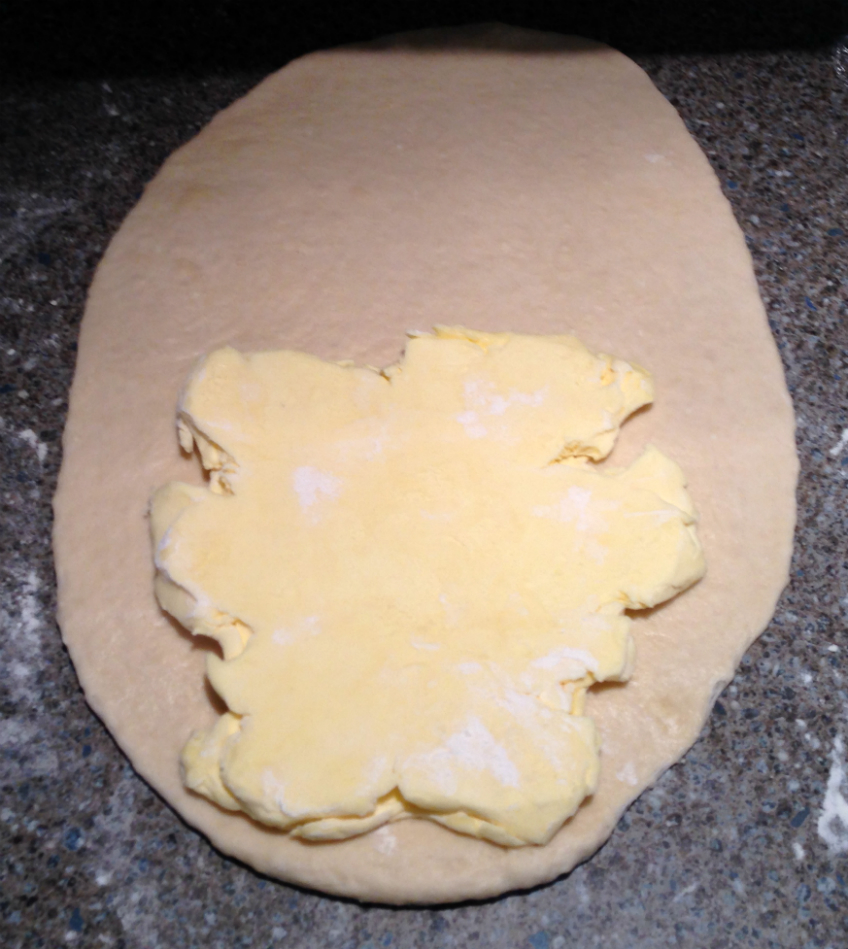
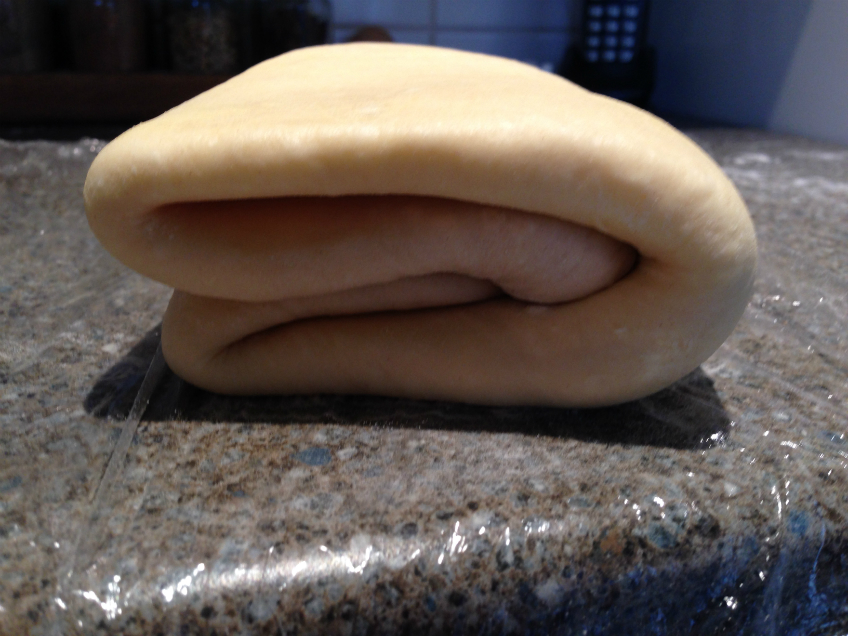
When the dough has rested, it is rolled out and the remaining butter is added, the dough is folded over so that the butter is completely encased in the dough.
The dough is turned 90 degrees clockwise and rolled out again. The bottom third is folded up, and the top third is folded down to meet the edge. This is then folded in half to create a double fold, so that there are four layers of dough (see below).
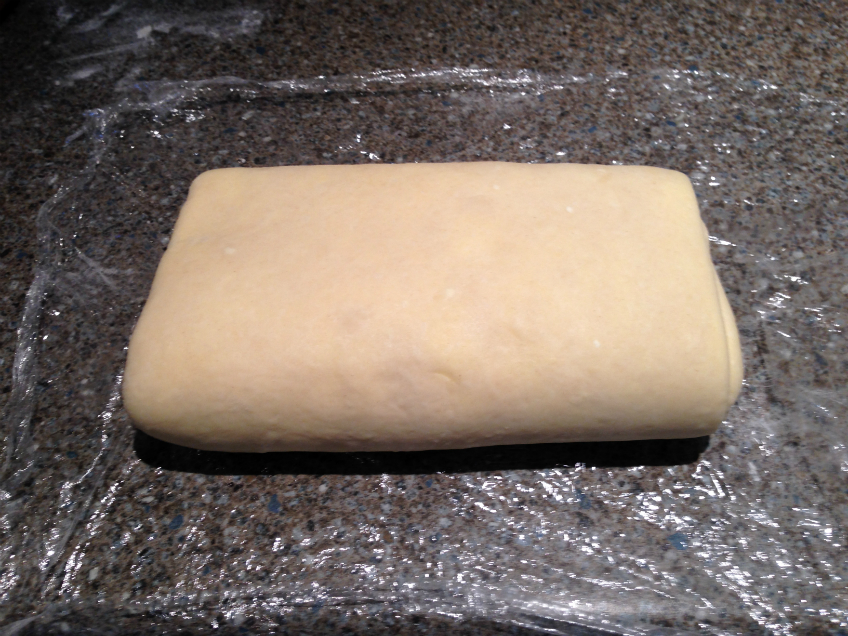
This is placed in the fridge for another hour to rest. The dough is then taken out, rolled and folded again, left to rest for another hour in the fridge and then it is ready to use.
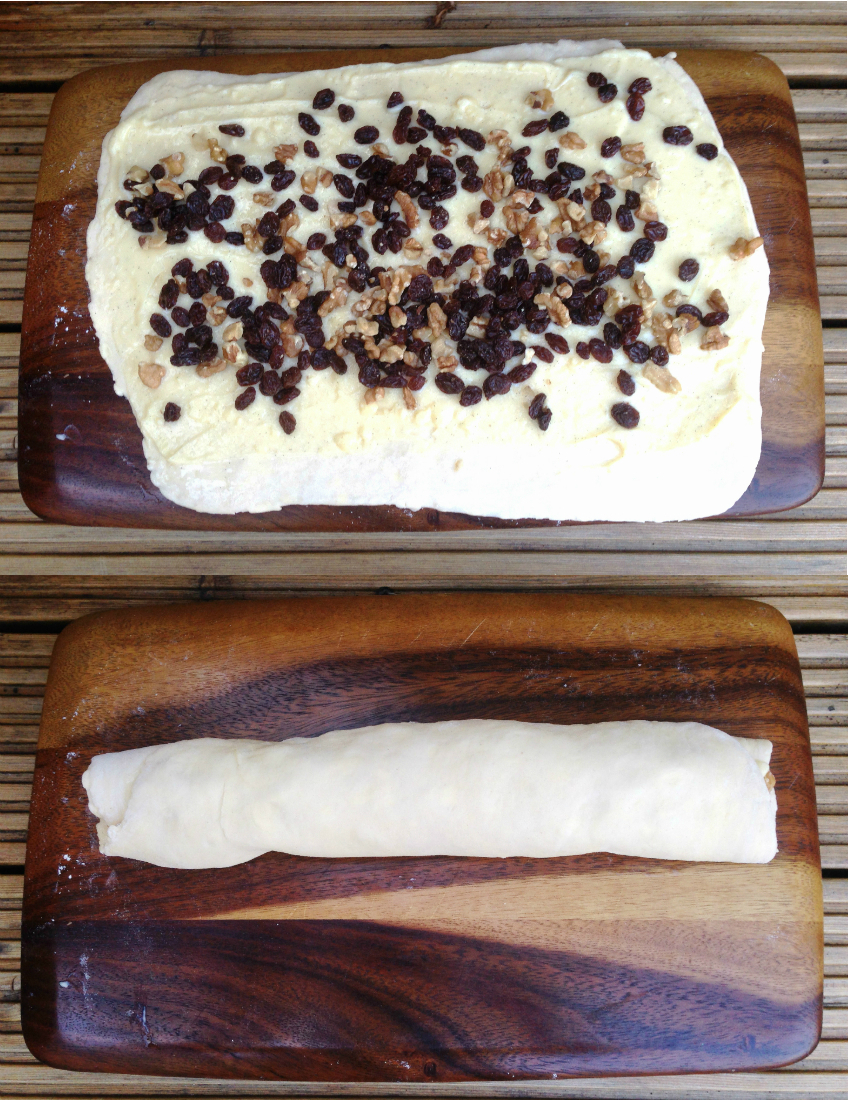
The pastry is halved and one portion is placed back in the fridge, while the other is rolled out into a rectangle 6mm thick and spread with some creme patissiere that I made earlier (in true TV style). Be sure to leave an edge about 1.5cm without any creme patissiere so that you can use this to seal the danish pastry.
I then sprinkled the raisins and chopped walnuts over the creme patissiere, pressed them down lightly with a rolling pin and rolled up the pastry as tightly as possible. The edge is brushed with water and pressed down.
The rolled danish is wrapped in cling-film and placed in the freezer for 30mins to firm up, ready for slicing. These steps are repeated with the other half of the pastry and that too is placed in the freezer.
The danishes are then sliced into 2cm portions and laid on a baking tray to prove. At this point, you can choose to freeze the cut pastries and use them at a later date. Simply defrost the pastries overnight on a baking tray in the fridge, or at room temperature and allow them to prove to double their current size.
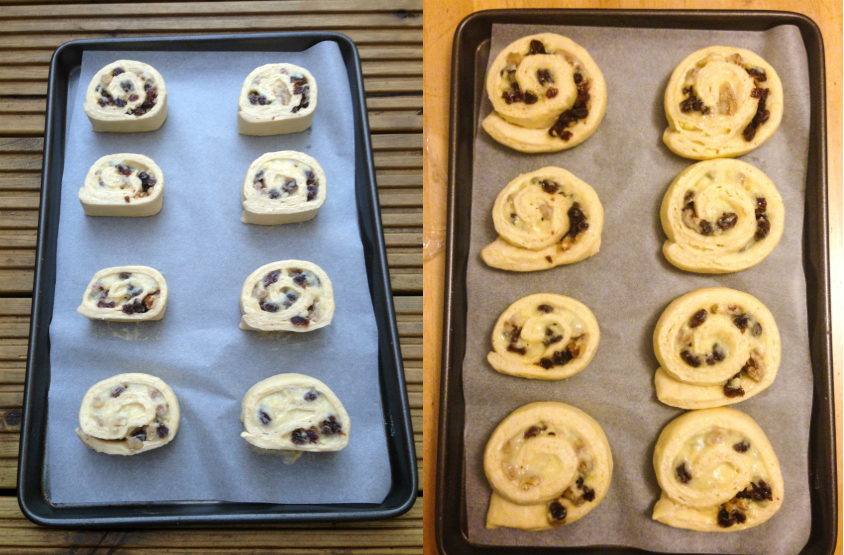
The final stage after all of that resting, chilling and proving is to bake the pastries for 15 mins and then coat them in a sugar syrup as soon as they come out of the oven.
This pastries are actually very easy to make and I hope my step by step pictures guide you along the way, so that you can try to make these yourself at home. The recipe makes a large batch of around 30 danishes, so it’s very useful that you can freeze these for another occasion and use them to impress friends when you have fresh danishes you prepared yourself for breakfast.
Here’s the recipe:
RAISIN & WALNUT DANISH PASTRIES
Ingredients
- **DANISH PASTRY**
- 375 g Strong White Flour or white bread flour
- 25 g Granulated Sugar
- 5 g Salt
- 15 g Powdered Milk
- 25 g Fresh Yeast 2 3/4 tsps of dried fast action yeast
- 2 large eggs
- 115 ml Water
- 40 g Cubed Softened Unsalted Butter
- 250 g Chilled Unsalted Butter
- 200 g Raisins
- 100 g Chopped Walnuts
- **PASTRY CREAM**
- 1 Vanilla Bean
- 500 ml Milk skimmed/semi-skimmed/whole will all do fine
- 2 Tsp Unsalted Butter
- 4 Egg Yolks
- 100 g Granulated Sugar
- 40 g Corn Flour
- 2 Tbsp Plain Flour
- **SYRUP**
- 50 g Icing Sugar
- 4 tsps water
Instructions
- Place the flour, sugar, salt and powdered milk in a large bowl. Crumble in the yeast, making sure it doesn't touch the salt.
- Add the egg and the water and knead with your hands until the dough is firm, it will be quite dense at this point.
- Add the softened butter and knead until it is fully mixed in.
- Knead the dough until it is smooth and elastic.
- Shape it into a ball, cover with cling film and place in the fridge for at least 2 hours.
- Ten minutes before your pastry is ready to come out of the fridge, place your remaining block of butter in the freezer.
- On a floured surface roll out the dough to a rectangle that is 6mm thick.
- Place the butter between two pieces of greaseproof paper and roll it out into a rectangle half the size of the dough.
- Arrange the dough so a short edge is facing you and place the butter on the bottom half of the dough. Press the edges of the butter into the dough with your fingers. Fold down the top half of the dough to completely enclose the butter.
- Turn the dough 90 degrees clockwise.
- Roll out the dough lengthwise until it is 7mm thick.
- Fold up the bottom third of the dough, fold the top part of the dough down so it touches the edge of the dough.
- Then fold the dough in half, encasing the edges so that they are on the inside of the fold.
- You should now have four layers of dough, if you look at the side.
- Cover in cling film and place in the fridge for 1 hour.
- Take the dough out of the fridge, roll it out to a rectangle about 7mm thick.
- Fold the bottom third up and the top third down to cover the bottom third, like a letter.
- Cover with cling film and chill for 1 hour.
- **NOW MAKE THE PASTRY CREAM**
- Split the vanilla bean lengthways and scrape out the seeds.
- Combine the milk, butter, vanilla bean and seeds in a saucepan and bring to a boil.
- Whisk the egg yolks with the sugar in a bowl until the sugar is mixed in and the mixture is quite pale. Then add the corn flour and flour.
- Strain the hot milk into the egg mixture, whisking constantly.
- Return the mixture to the saucepan and stir until the cream thickens.
- Remove the pan from the heat and scrape the pastry cream into a shallow bowl. Place a piece of clingfilm on the surface of the pastry cream to stop it forming a skin, then chill it completely.
- **BACK TO THE DANISH PASTRY**
- Halve the dough and put one batch back in the fridge.
- On a floured surface roll out the dough into a rectangle that is 4mm thick.
- Whisk the chilled pastry cream to combine it and spread half the cream evenly over the dough. Leave a 1.5cm border on one of the long sides of the pastry.
- Sprinkle half the raisins and half chopped walnuts over the pastry cream and press them in gently.
- Lightly brush the pastry border with water.
- Fold over the long edge that is opposite to the bare edge and roll the pastry up tightly working towards the border. Press along the border to seal the dough.
- Wrap in clingfilm, transfer to a baking tray and place in the freezer for 30mins.
- Repeat these steps with the second batch of dough and the remaining pastry cream, fruit and nuts.
- Line 4 trays with greaseproof paper if cooking both batches of danishes, (or line 2 trays and cut up one of the danish rolls as explained in the steps below and place in the freezer. These will keep for 3 months in the freezer and you just need to defrost it overnight on a baking tray in the fridge and then proceed with the next few steps).
- Using a bread knife cut the roll into slices 2cm thick.
- Transfer the sliced rolls to the baking sheet, placing them well apart.
- Cover loosely with clingfilm and allow them to rise in a warm place until doubled in size (about 2 hours).
- Preheat the oven to 180 degrees.
- Lightly beat the remaining egg.
- If the pastries unfurl as they rise, tuck the edges under, brush the pastries with the egg glaze and bake for 15 mins or until golden brown.
- Mix the icing sugar and water together, you should have a thin syrup. When the pastries are done, remove them from the oven and brush immediately with the syrup to glaze the pastries, leave them to cool before eating.

Have you ever tried to make danish pastries? Do you have a quicker recipe? If you try these, let me know how you get on.
Thanks for reading.
Angela
Emily @amummytoo
Perfect swirl there and one of my favourite pastries. Thanks so much for linking up with #recipeoftheweek. Sorry I was particularly slow getting over for this one. I’ve pinned it to my food board and a tweet will go out shortly 🙂
patisseriemakesperfect
Thank you Emily. A good swirl is key. Taste is so important, but so is the visual, they do say you eat with your eyes.
Jodie
these look so good they make me wish i liked raisins. 😀 but danish pastries with a creme filling are the best! it’s really nice that you can make a ton of them and then just pop a few in the oven to bake up. perfect for a sunday morning. but omg, 42 steps?!! that seems so daunting even though i know it’s just little things that need to be done. i love the inclusion of the recipe and the option to print! i’m going to make good use of that. 🙂
patisseriemakesperfect
Jodie for you, I’d take out the raisins and add anything you like! Yes I decided to start including the recipes in the posts as well as in the recipes section. Glad you found it useful. Lots of steps, but it’s because of the folding etc. Give it a read and I’m sure you’ll see it’s easy.